
Sonia's Side Table Makeover: before, during, and after
Earlier this summer, I poked around Facebook Marketplace to find a small table for Sonia.
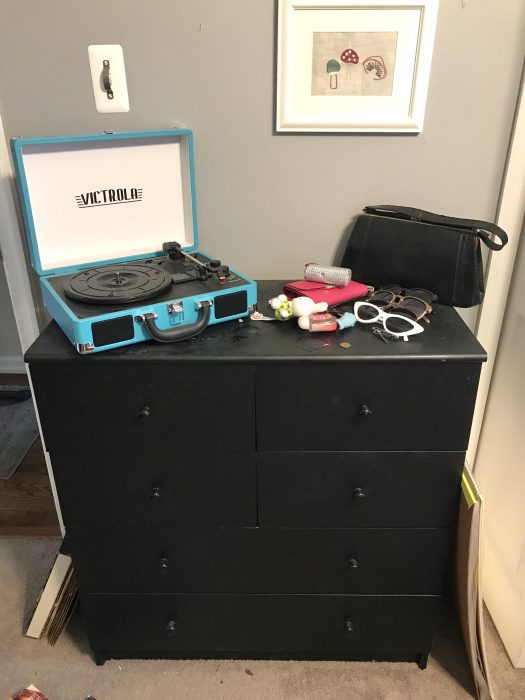
There was an old black dresser there (from Mr. FG's bachelor days!) and she wanted something smaller and more beautiful to replace it.
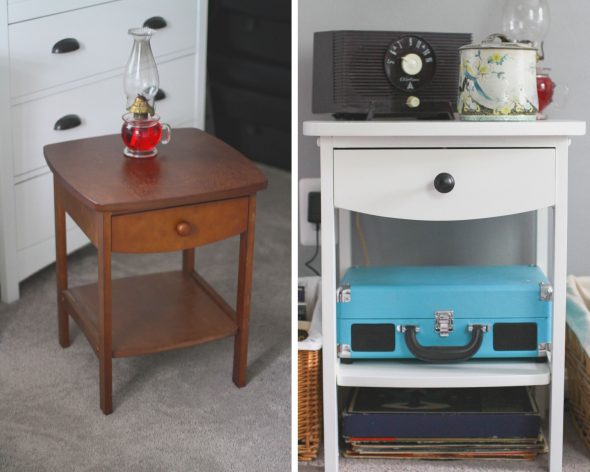
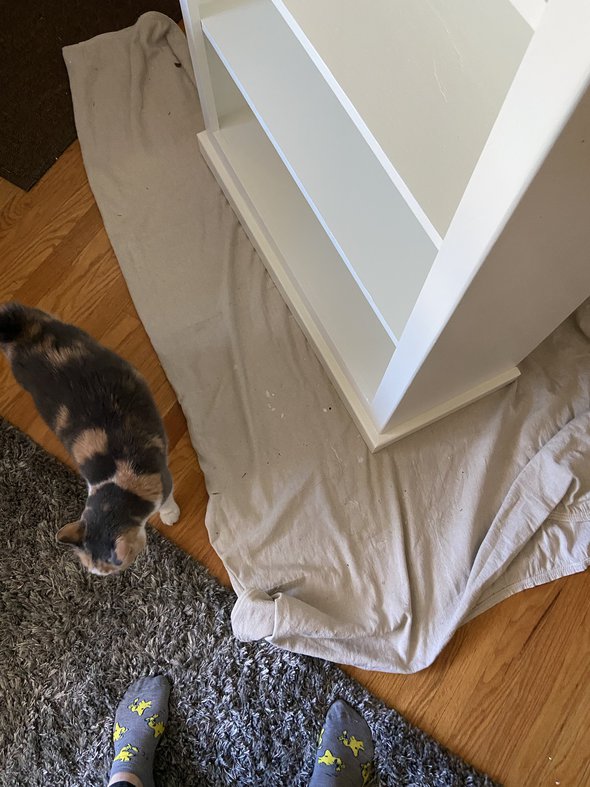
So, I found this table.
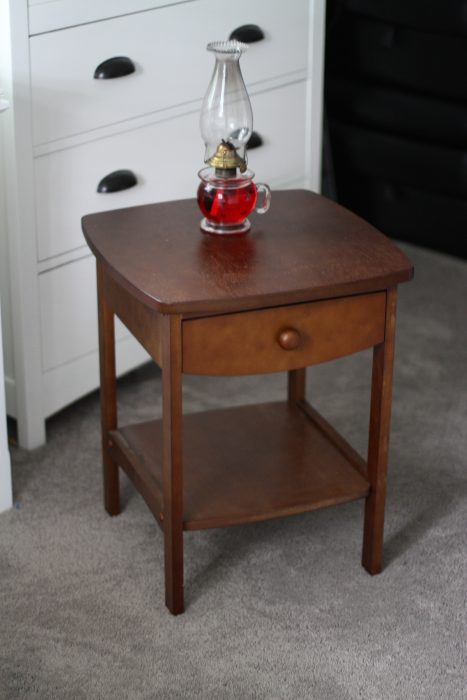
It wasn't bad as-is, but the finish was kind of worn. And it didn't match the rest of Sonia's furniture at all.
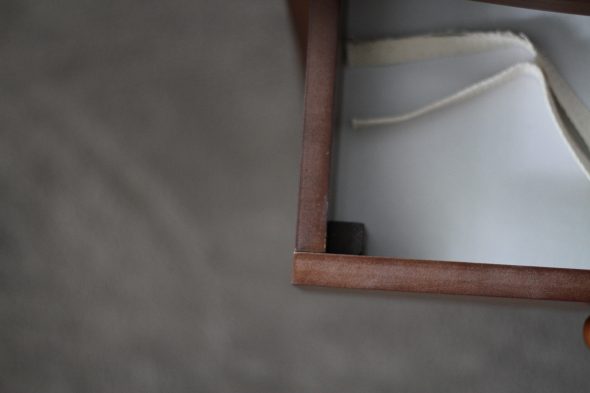
For all of you that hate to see old furniture painted, rest assured that this was just a mass-produced piece.
No dovetails!
The nightstand sat in her room for a while, untouched, because
- July was consistently too hot for painting
- August was consistently too wet and humid for painting
Finally at the end of August, the weather broke enough for me to tackle this project.
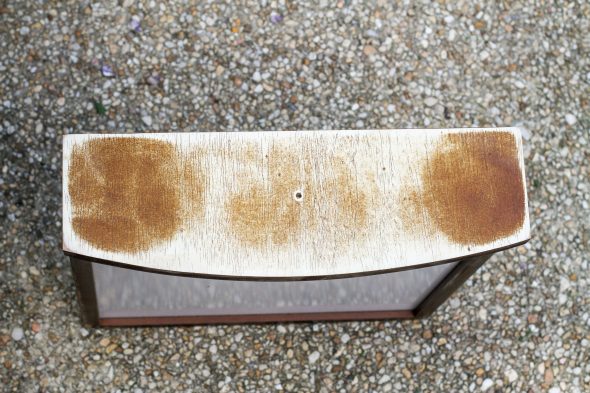
I sanded it, using my trusty Bosch orbital sander.
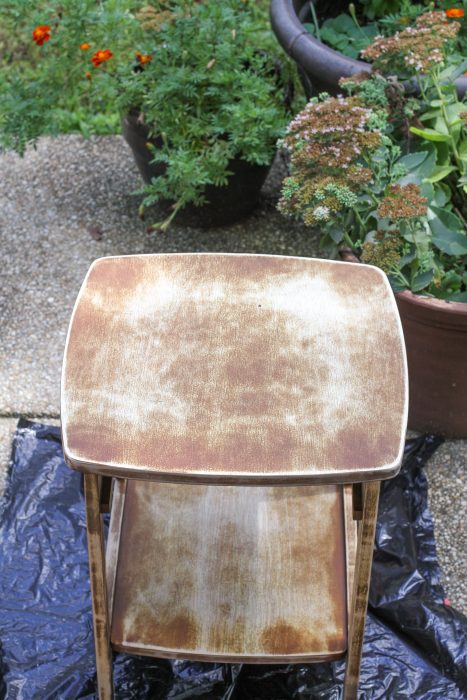
Since I was painting, not staining, I just removed the majority of the finish. I didn't have to get down to bare wood.
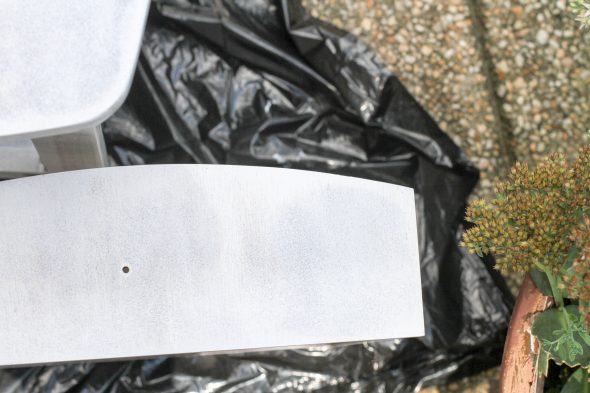
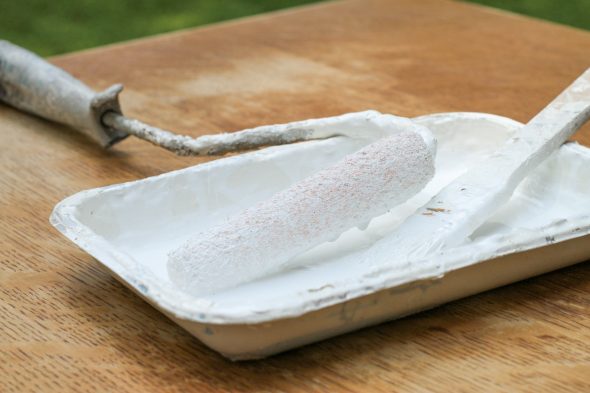
Then I rolled/brushed on a coat of Zinnser 1-2-3 primer.
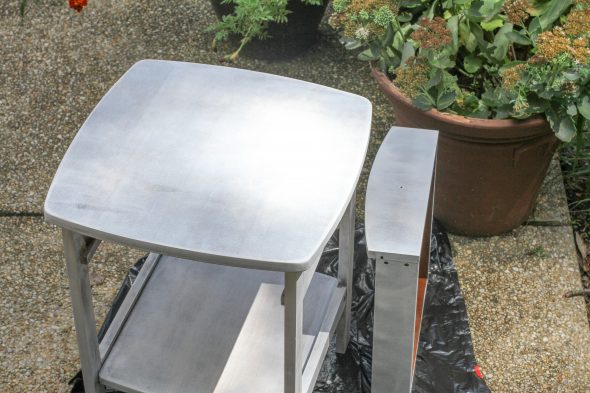
You can see that the primer coat always looks a bit blotchy; that's totally fine. Primer isn't for coverage; primer is for helping the finish stick.

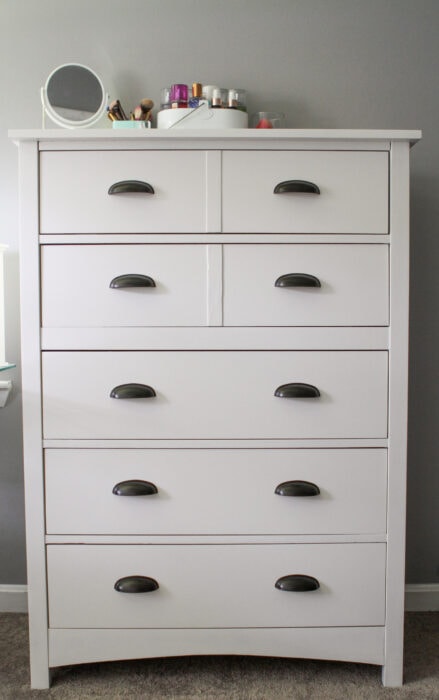
Once that dried, I applied two coats of Benjamin Moore Advance paint in Cloud White (sheen is satin).
I've used this paint on:
Benjamin Moore Advance paint is easy to apply, cleans up with water, and dries to a hard, durable finish. Major thumbs up!
(not sponsored; I just like this paint.)
It is fairly expensive, but I only needed a single gallon to do my entire kitchen full of cabinets.

And this second gallon has done two beds, a big dresser, and two nightstands. I've only used about half a gallon even after all that furniture painting.
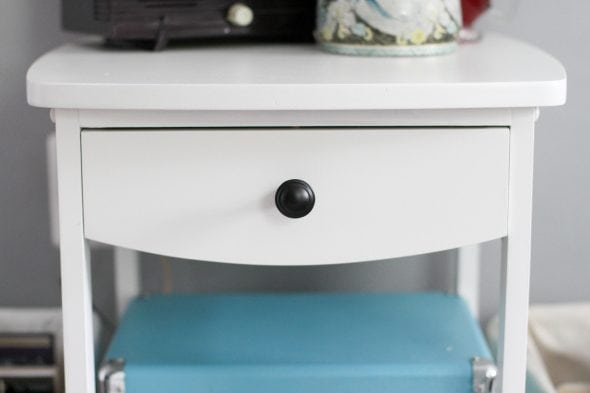
I considered just painting the original wooden handle, but instead, I went to Home Depot and bought a knob that matched the finished on Sonia's dresser drawer pulls.
And while I was at it, I switched out the brushed nickel pulls on her desk for bronzed pulls.
Now all the furniture in her room has matching pulls, and it all looks so much more coordinated!
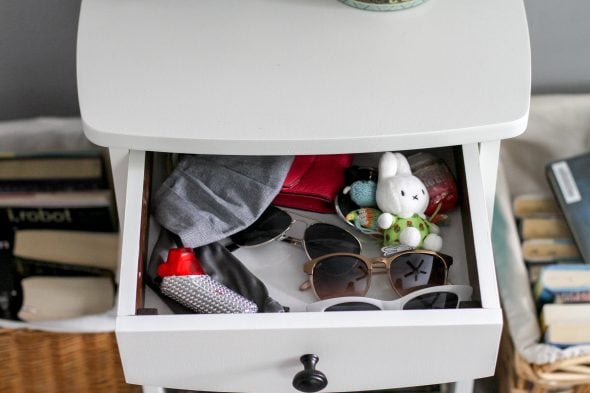
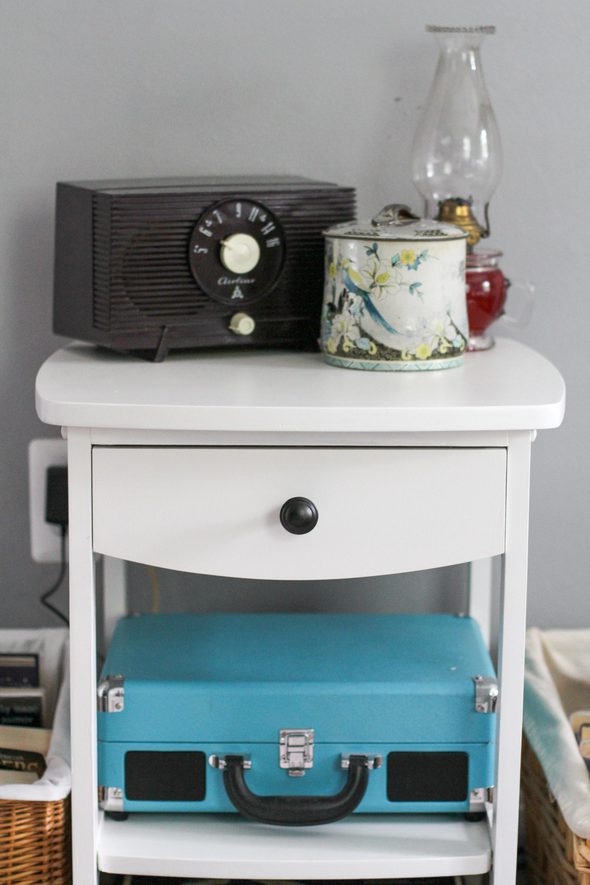
Sonia keeps her sunglasses, wallets,keys, mask, and inhaler in the drawer; all the things she needs to leave the house.
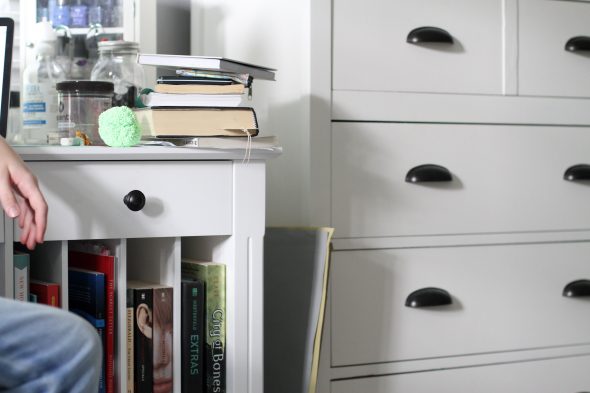
Her record player fits perfectly on the shelf.
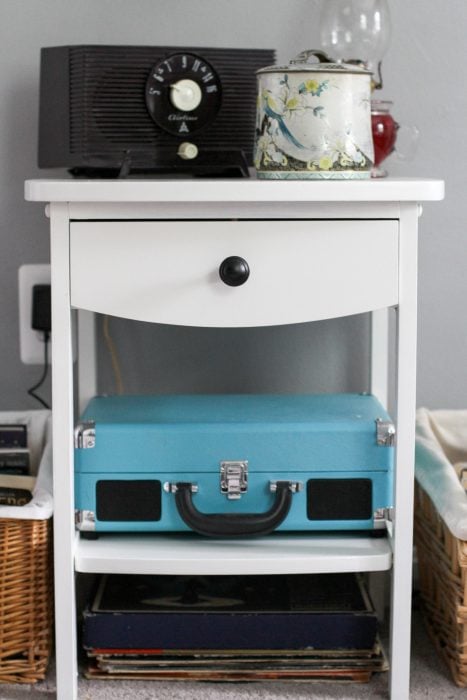
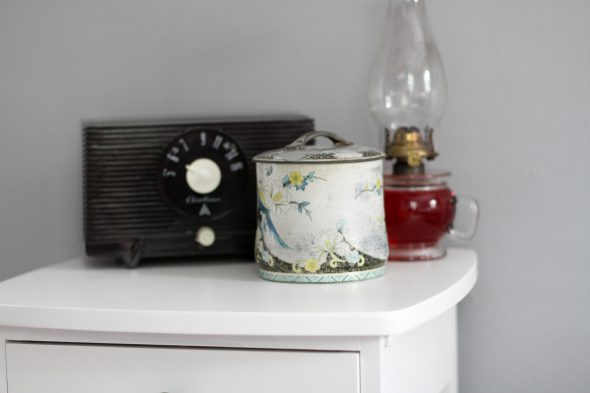
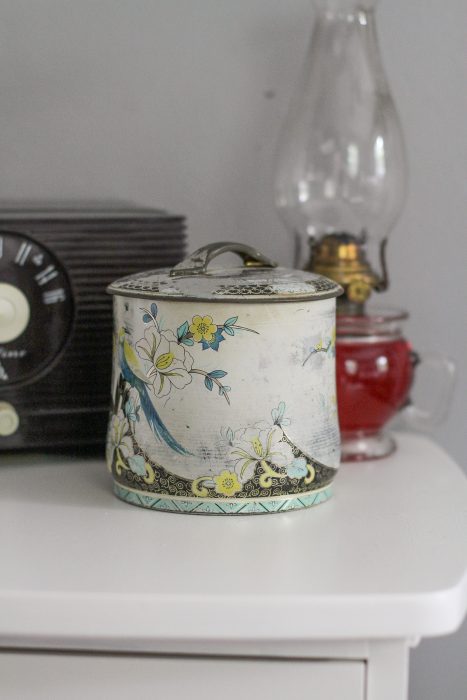
And on the top she has an oil lamp (from an antique store), a vintage container with buttons (from my aunt) and a vintage radio (from 605 Mod).

The Facebook Marketplace seller had asked to see photos of the table when it was done, so I messaged her a few "after" photos, and she was delighted.
So. The seller is happy, and so is Sonia.
Happiness all around!
If you have any questions about furniture painting, let me know in the comments.
P.S. Click here to see all of the posts I've ever done about painting.
I continue to be impressed at your furniture painting. Not something I am motivated to do.
I had an oil lamp in my room when I was a kid (with no oil in it), because I wanted to be like Laura Ingalls Wilder. And now that I'm closer to her lifestyle than I ever thought I would be, I am devoutly grateful to have electricity. 🙂
We're a park ranger family from Tennessee, and our utilities can be a little unreliable. It's amazing how having to rough it occasionally will make you grateful for the times you can enjoy modern technology!
Count me in as devoutly thankful for electricity etc.! But when the power is out, we do actually use some of the lamps that have lived in this house since before we were alive. It's usually for brief outages, though, since (thankfully) we have invested in a generator.
We have forced power outages on windy days because of the wildfires And that certainly makes you even more thankful for electricity, especially because we are on a well so we need power to have water.
Us, too. Nothing like a few days without running water to make one really enjoy the electricity coming back on.
My grandmother used to use oil lamps when she would (regularly) lose power in a storm. She has since moved on to LED lamps. Harbor Freight has some nice and bright ones for really cheap.
Battra,
Thank you so very much for your advice and referral to Harbor Freight. I went on their website and checked...the prices are really great. I have been looking for frugal alternate lighting since last year when we had multiple tornados all on the same day here in Ohio. We didn't have damage but had no power for a week. I just didn't want to pay a lot for something I hope and pray to not need. Again, thanks!
I find it great that your kids have nice matching furniture. I never had matching furniture until ... oh wait. I still don't.
That's a really nice vintage radio. Does it work?
I think it's fantastic that she has such a refined taste. Not refined as in elegant necessarily, though it is also that, but that she knows what style she likes and invests that direction.
High five on the painting!
It looks lovely. I collect miniature oil lamps, and buttons!
I have a very old piece of furniture that has been painted more than once, likely by my great grandmother. Would you sand it, try to remove the paint, or just prime and paint again? I'm not even sure if it was a dresser or a sideboard. But it's big enough that I'd prefer to do it right the first time! I've never refinished furniture before.
Whether or not you should sand all depends on how the finish currently is. Is it really shiny? If so, I'd sand just to remove the sheen. It's hard for paint or primer to stick to a shiny surface.
Is the finish peeling or flaking? If so, I'd sand until you have an even surface.
But if the finish is smooth and is not shiny, you could probably skip the sanding.
if you think the wood is nice underneath, you can use a paint stripper and remove the paint. Then just sand lightly and stain and polyurethane (or just poly if you like the color of the wood). I've done this a few times and it has turned out beautiful. The little dents and scratches add a beautiful character to it and it is so warm and homey. I love wood (but lighter woods, not the super dark ones). I've also refinished the surface of the table and painted legs that were just to hard to sand all the grooves. My kitchen table is a beautiful wood top and a painted blue pedestal underneath.
Beautiful!
That is a darling little table and you did a great job on it. It just cheers me up. Can a table be cheerful? That one seems to be. It sure worked out well on the size, too. Yesterday, I wanted to go get peaches. Today, I want to paint furniture.
Yes, it can certainly be cheerful! Although, it's probably cheerful because of Sonia's accessories. She has a lot of colorful things in her room, which make her white furniture cheerful.
This looks awesome!
Since you mentioned Sonia's asthma (again) I have a question. I've developed Asthma 4 years ago ( I'm 57) I have to use an inhaler as well. It helps to control the asthma but I have an ongoing thrush problem because of it. Did Sonia ever have to deal with this problem?
Nope, she has not dealt with that at all. I'm so sorry to hear it's been a problem for you!
My mother had this problem but only with the inhalers that were powder based. Once she switch to a mist inhaler the problem resolved.
I don't know of that will help at all but I am so sorry you are dealing with the thrush that I wanted to mention it.
I have had this problem, too, but my Dr. gave me an extender tube to use with the inhaler, and it works. Make sure to rinse your mouth really well after using & brush your teeth and tongue too.
I was going to say the same thing. Both my kids have had to use daily inhalers (different from their rescue inhalers) and the doctor prescribed a "spacer" so you depress the button on the inhaler, the medication goes into the spacer, and you inhale from that. But they always rinsed out their mouths immediately after inhaling the medication to avoid thrush.
Hi Kristin - what paint sheen (eggshell, satin, glossy, ?, etc.) do you use when painting furniture? I've tried painting some bookshelves, but they always seem to stick to the books (or vice versa). This is after I've let the shelves dry for a day or two. Thanks!
I use the satin sheen from Benjamin Moore. Totally understand the stickiness problem you're describing, and I think the solution is probably to use an alkyd paint instead of a latex paint. Benjamin Moore advance is an alkyd, and it dries to a hard finish that is not prone to sticking.
I haven't used it on a bookshelf, but I have used it for dressers and nightstands, and I have not had sticking problems.
I definitely do let the paint dry for several days before putting books and other accessories on top, so you are on the right track there.
Edit commented on a problem with thrush. Rincing with water or mouthwash after each use really helps. I am on Advair &it works wonders
I love Sonias vintage style! I love anything from the 40s - 70s. New is boring.
My guess is, along with good quality paint, the primer has a huge impact on how much paint is used in the final process, thus stretching to cover all of your cupboards etc. etc. A lot of people don't want to take the time to prime or use "one coat" paint over darker paint or wood and expect good results. It's nice to see the results of someone who takes the time to do it right. It looks really good and very cohesive and yet, still, a bit eclectic. I love it.
Thank you! I love that multiple pieces of furniture can be made to match just by using the same paint. Sonia's bed, dresser, and side table were all different colors of stained wood before, and now they all match nicely.
And yes, I agree about taking the time for all the steps of painting. It's annoying to not just be able to skip right to the rewarding step of painting, but I think sanding and priming really does produce better, longer-lasting results.
I'm always amazed at how a coat of paint totally changes the situation - and then changing the pulls is the cherry on top. I find brown furniture tends to make me think old and worn and so I have a hard time imagining it looking young and fresh. Your posts really help me with that.
Paint really can make a piece of furniture look completely new! Once you've done it a few times, you start to see old pieces with new eyes. 🙂
And yes, new hardware is so fun to add. It can really be a deciding factor in the look of a piece.
I repainted my old 70s wood cabinets. They were is great shape but ugly. My mom bought new cabinets. In a few years they are already falling apart. The old solid wood cabinets I have are indestructible. They just needed a new coat of paint and hardware. I did a new gray with touch of bluish green color. It’s been years and I love them.
I collect the same style of vintage containers. They decorate a top shelf in my office at school. I miss seeing them and students commenting on them now that I am working completely online from home!
You need to put them in the background of your Zoom camera. 🙂
That is truly an awesome idea!
Yes, I like before & afters.
And since I don't like CHANGE much, it is interesting to see what others change.
Marvelous job on the table. What a perfect bedside table! But .... I love the button tin the best. And the cute bunny in her top drawer. 🙂
Isn't that bunny the cutest??
When I first saw the table, I thought it was veneer on top of wood, which was quite common in the sixties at least, but I guess it has to be a wood finish to sand it? Can you sand and paint over a veneer?
I think this one is indeed a wood veneer. I've sanded and painting lots of veneer pieces; you just have to be careful not to get TOO crazy with the sanding, or you will go through the veneer.
That's good to know. Thank you, but I still will probably never get around to it. Lol! You might find this interesting -- my mother-in-law covered an old desk with walnut looking Contac paper, and 50 years later it's still holding up, with maybe two teeny signs of wear on a drawer corner. Obviously the knobs were painted but she did a great job. I didn't even realize it wasn't a new paint job.
Wow, that's some impressive adhesive on that Contac paper!
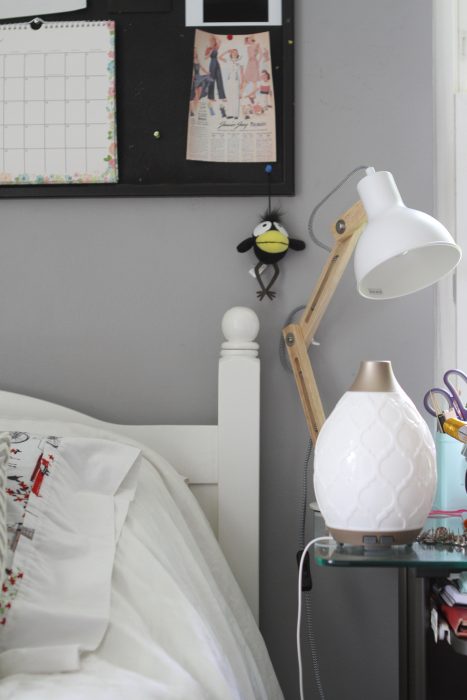
A nightstand (bedside table) without a lamp for reading in bed? Or does she actually use the little oil lamp? It looks beautiful, though; all of your furniture painting does!.
Oh she does actually use the oil lamp!
But this table is not right by her bed; her desk is right next to her bed. So, her little white swing arm lamp sits on the desk next to her bed.
You can see it in the first photo in this post: https://www.thefrugalgirl.com/two-twin-beds-painted/
I am almost done with my first wood furniture painting project--an old mass-produced dresser.
My 8-year-old is just happy to have it bright blue, but where I had to hand-sand the awkward bits, there are visible scratches. (I tried a few different grits but it didn't seem to make much difference.) Any advice how I can avoid that next time?
Usually the scratches are caused by high grit sandpaper. The finer the grit, the less likely you are to leave scratches.
Do you know what grit you started with? Next time, I'd try a finer grit than whatever you started with, and that should fix the problem.
Happily, eight-year-olds are not that picky!
I went as high as 150 but I guess I will go even higher next time! Glad I started with something that was already in imperfect condition. Thanks, Kristen!
Great job on the side table! And, really, on all her furniture. I am pretty smitten with the button tin, though.