
How to make a chalkboard from an ugly framed print
2019 note: this post is a few years old, back when sponsored posts had to be published on a separate page. I really like the chalkboards I made for this post, though, so I thought this deserved a spot on the actual blog.
Remember when I ventured into the world of stain last summer?
Well, I'm using the same lovely water-based, tintable Premium Wood Finish.
Readers, this is great stuff. And apparently I'm not the only one who thinks so because Cabot Premium Wood Finish won the 2014 Product of the Year award.
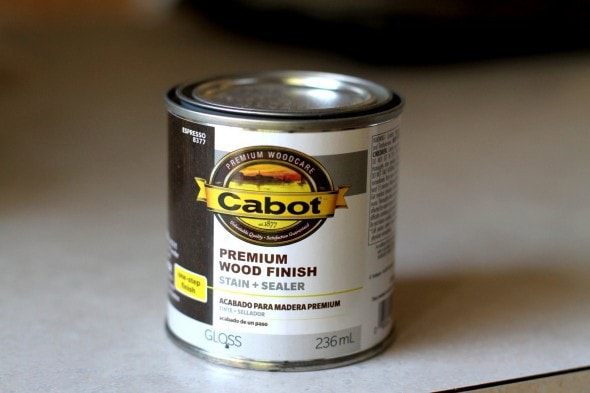
Normally I avoid stain because I really loathe using oil-based products (The cleanup is such a headache!), but this product is water based, which means you can wash your hands and brushes with plain old water.
Love.
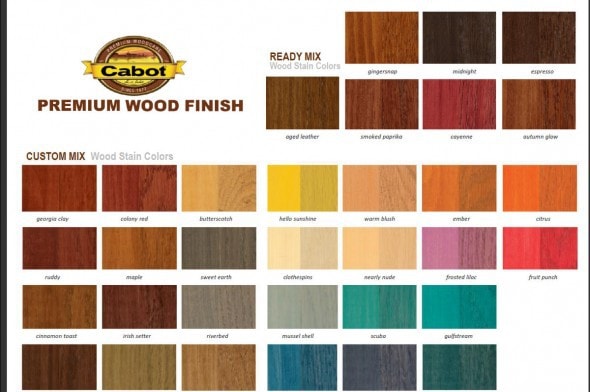
Also, you can get all kinds of crazy colors with this stain (How fun is the fruit punch??)
Cabot sent me some more stain and a few unfinished frames for this project.
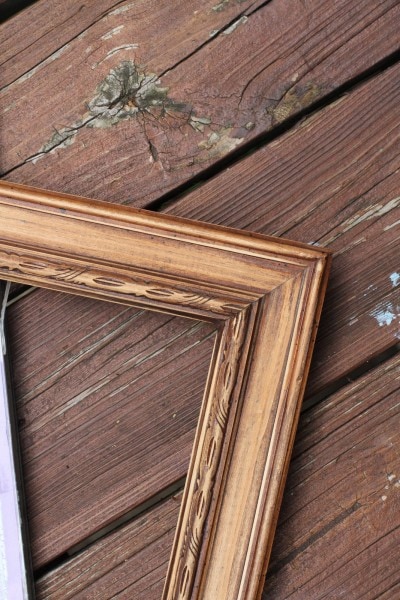
But I figured that while I was at it, I might as well do a bunch of staining, so I visited Goodwill and found these beauties.
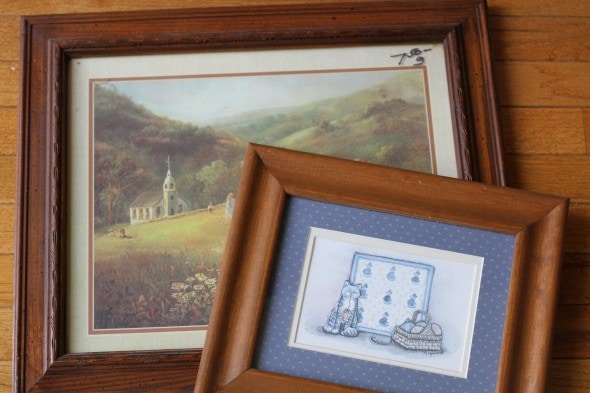
The large one is dated 1981, and the smaller one screams 1995 to me.
So, you know, I thought they could stand to be brought into the new millennium.
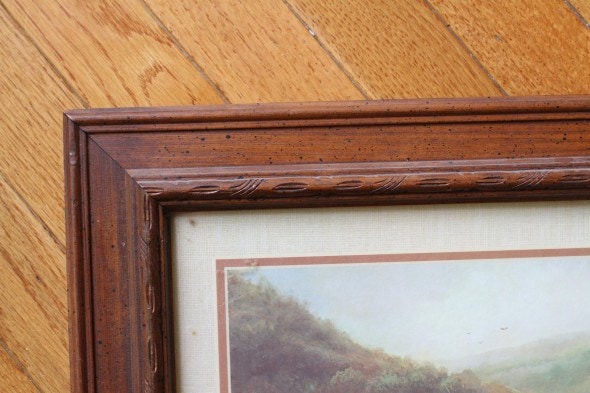
Did you notice the the large one has those odd 80's black dots on it, just like the mirror I stained last year??
I'm ridding the world of black speckled frames, one Goodwill purchase at a time. 😉
If that weren't enough, the print has a fake mat on it...it's all just one flat piece of paper.

Room for improvement, people!
The smaller frame had a fairly easy-to-remove back, but the larger one had a big piece of glued-on posterboard backing, which I unceremoniously ripped off.
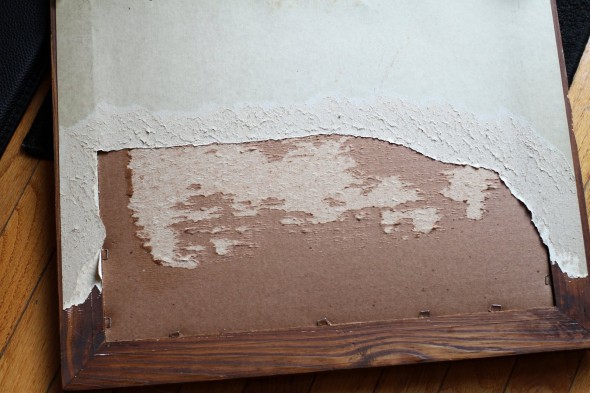
It looked pretty bad when I was done, but it's the back!
It goes against the wall!
No need to fret.
Once the ugly innards were out of the frames, it was time to sand. I started with the smaller Goodwill frame because it looked a little less difficult to sand.
And I gave the frame from Cabot a once-over too.
I used Mussel (a blue color) and Espresso (a dark, dark brown) last year, and to switch things up, I opted for Midnight (black) this time.
After one coat, I always think, "What the heck am I doing? I have made this more ugly than it was before!"

But a few coats later, all is well.
I tackled the larger frame next. And I discovered that if you're going with a darker stain, it's not actually necessary to remove Every Last Particle of the old finish.
Good thing, because the details on this frame were pretty tricky to sand, and I'd have had to drag out the stripper if I wanted to get it super-duper clean.
I put three coats of stain on the frames, but if you wanted more of the original wood color to show through, you could just do two. Cabot says to let the coats dry for two hours before adding another coat, but on a warm, low-humidity day, I didn't find that two hours were necessary.
The quick drying time makes this much speedier than it'd be with normal oil-based stain.
So, I got the frames stained up all nicely, but what about the inside?
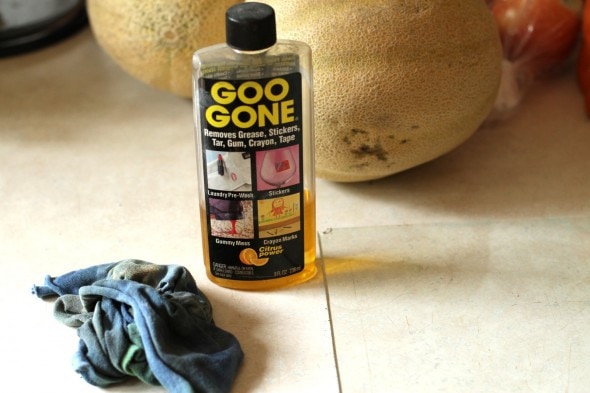
Well, I got out some Goo Gone to take off old sticker/glue residue.
And then I took the glass pieces into the backyard and sprayed chalkboard paint on 'em. I'd never used this type of paint before, but you guys, it's so much fun!
I kind of want to make everything into a chalkboard now.
The back of the glass just looks super glossy.
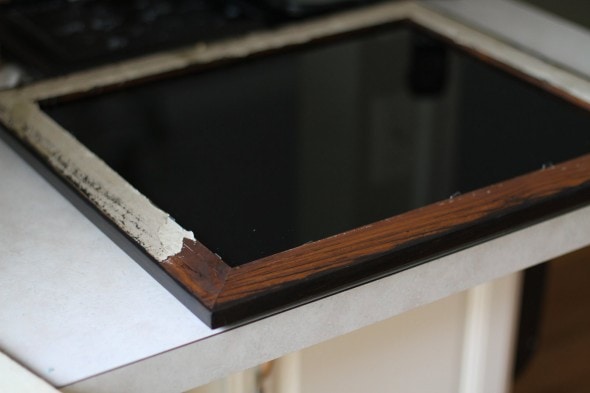
But the spray paint magically turns the front into a chalkboard.
How neat is that???
I know everyone else discovered chalkboard paint long before I did, so pardon my newbie enthusiasm.
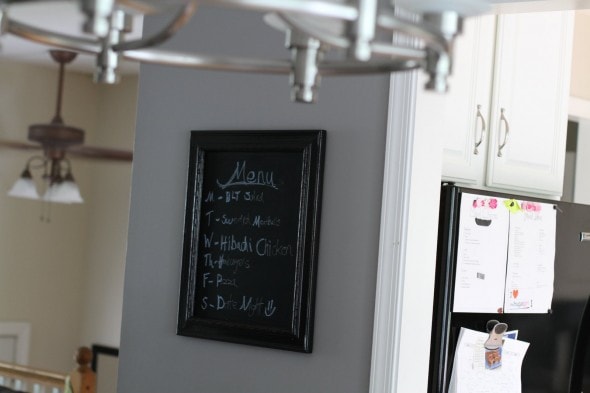
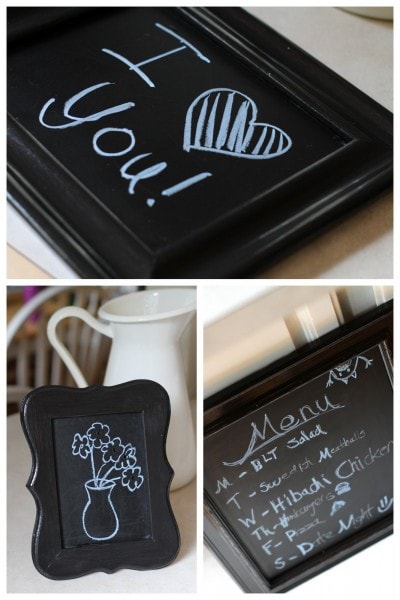
The large one seemed liked it should be a menu board.

(I am way not experienced at using chalk, so excuse the not-Pinterest-worthy writing!)
I had a terrible time trying to get a picture of this in my dining room (it's on the north side of the house and is pretty dark), but here's the best I could do.
Of course, Joshua couldn't resist adding a little something to the board. 😉

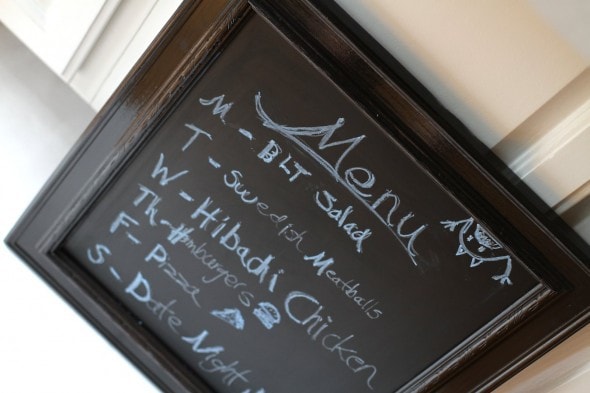
He added some food illustrations too.

I probably should just have him make up the menu board each week!
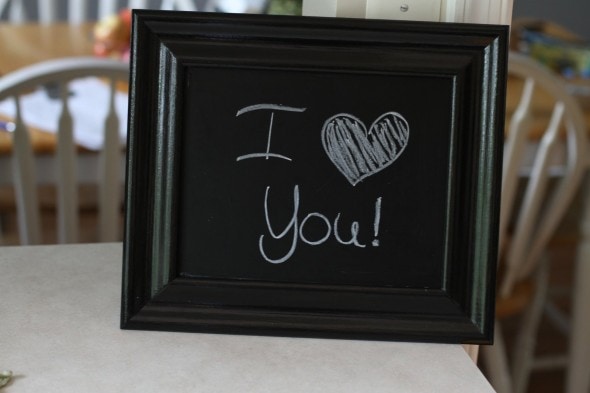
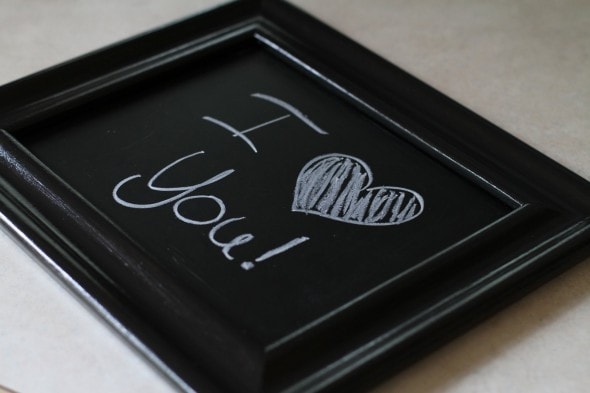
I haven't decided exactly where I'm gonna put the smaller frame yet. The girls all have white frames in their rooms, so this might end up being Joshua's.
Or maybe I'll hang it up in my room and Mr. FG and I can write mushy notes to each other.
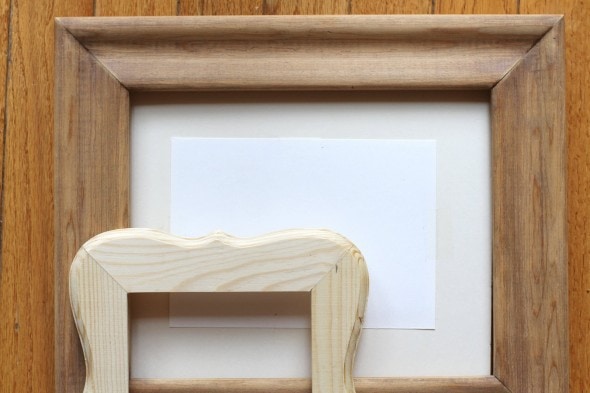
I'd originally planned to give the chalkboard treatment to the frame Cabot sent me, but it's got a clear plastic front piece instead of glass. And the can did not say it was ok to spray paint plastic.
So, I spray painted the MDF backing with chalkboard paint.
I thought this would be a little bit not ideal because of the black rivets (they hold the hangers and the back "leg" of the frame), but then I realized they could be worked into a drawing.

Joshua had a less demure idea for incorporating the rivets.
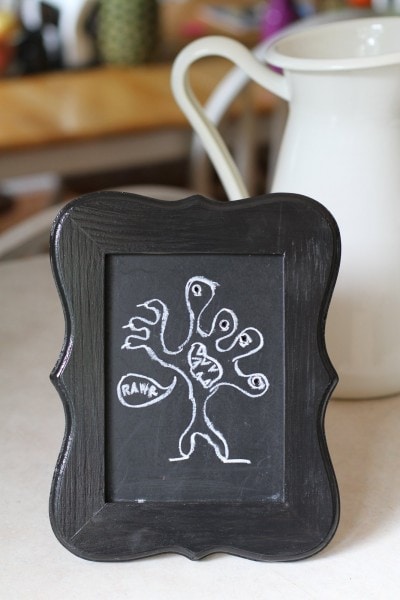
His drawings make me laugh.
Of course, we can also opt to use this as an honest-to-goodness picture frame if we prefer. But I think we might just keep it as a chalkboard. 😉
So, let's review.
Before:
After:
So much better!
I love it when I can turn something ugly/outdated into something lovely.
And you really could do this too, people.
As it happens, I'm using the Espresso stain (that I won from your website) now, to redo a table whose stain didn't fit in my living room. This is the first piece of furniture I've done anything remotely major to - not counting the table I tried to stain as practice, then gave it up as a bad job and painted it white - so I'm keeping my fingers crossed. I've been using a rag for the first two layers and a brush for the last one.
Oh, yay! How's it going so far?
TL; DNR: I'm glad to have tried and I don't plan to stain again.
I can see the brush strokes (did I use the wrong sort of brush?) and putting it back together has been a challenge. The table is ever-so-slightly a trapezoid rather than a square, which meant a lot of fussing before I figured it out. I had problems putting the practice table back together also. Do you have any hints for keeping track of how to reassemble?
Earlier this year I used the Espresso stain to re-do a nightstand. My daughter was moving into her first apartment and needed a nightstand. I found a really nice wooden one at a local thrift store for $10. It had water damage to the top like someone had left a plant on it for months. After sanding I applied two coats. It was wonderful! You's never know it was the same piece of furniture.
On a side note I just redid our kitchen chalkboard. It's a real piece of slate from a school house from the 1920's where my grandfather had taught. My father had made it a frame of unfinished rough cut wood. While the rough cut wood is interesting, it catches every piece of fuzz and hair in the world. I sanded the wood so it was textured but not rough. I painted it with the same white paint that I use on the trim in the kitchen. It really has refreshed the look in the kitchen and I get to keep pieces that mean something to my family.
Did I ever mention that the black speckles are attempting to mimic woodworm for an antique look? Well--they are.
I think actual woodworm could be a good look. But like most things faux, I think it would be better to leave the piece as-is. Faux stuff just usually is not very convincing!