
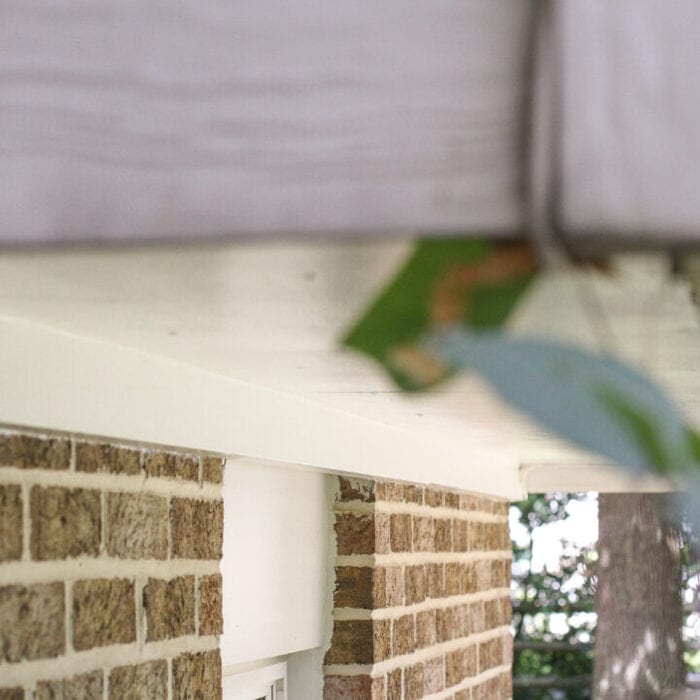
I got my soffit painted!
I've been putting this project off because it's been so hot here for so long.
But we finally got a break in the weather and I had a day with not too many obligations.
Time to sand and paint!
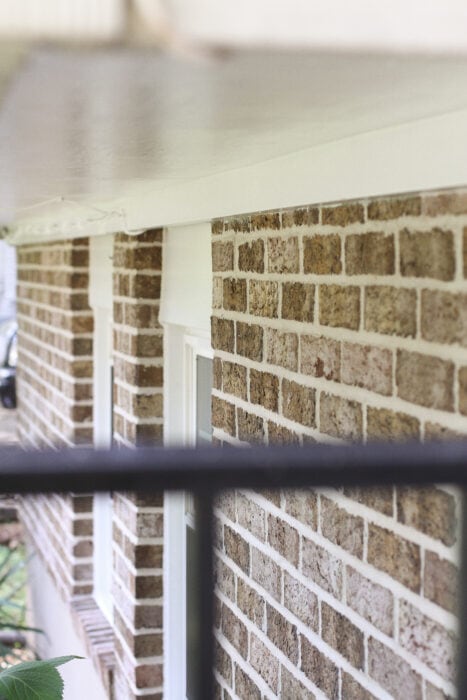
We have plywood soffits on our house, and I sanded and painted the back one a few years ago.
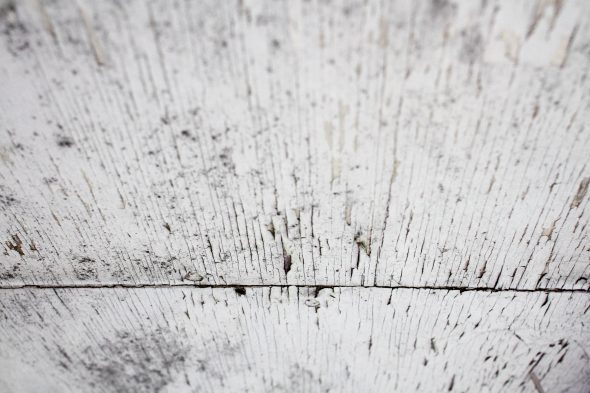
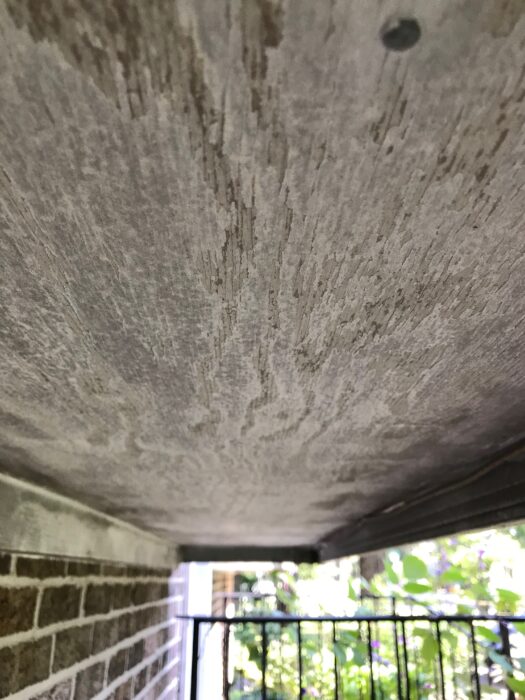
Before:
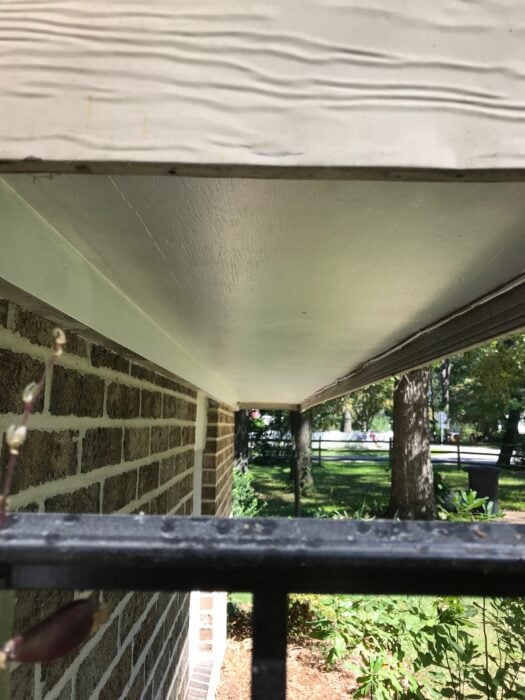
After:
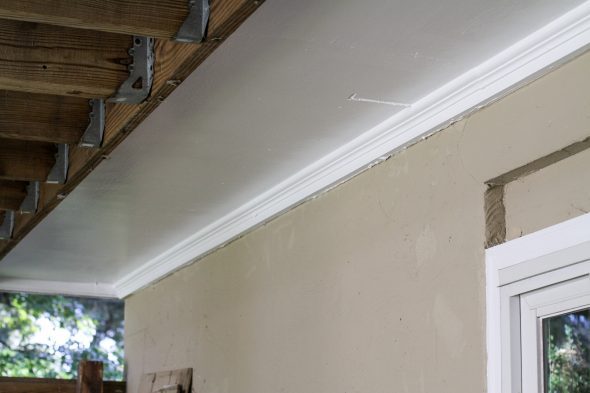
(They're still holding up great, two years later.)
I really procrastinated about the front ones, possibly because they're invisible unless you are lying down in our front yard.
But, they needed to be done so that the wood would be protected.
The paint was very dirty and peeling all over.
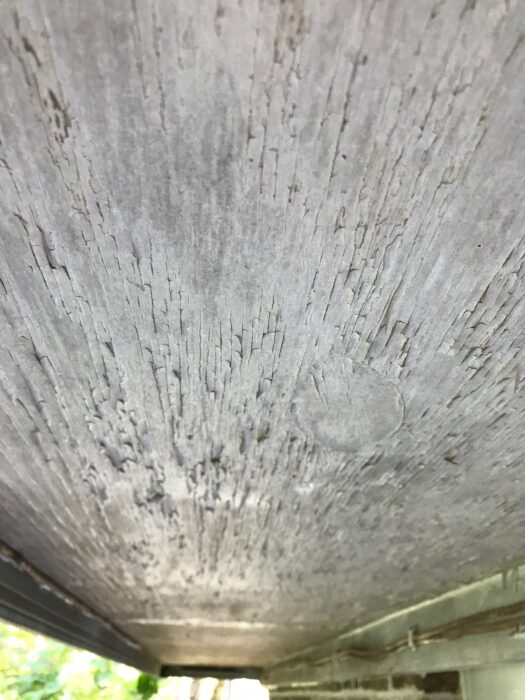
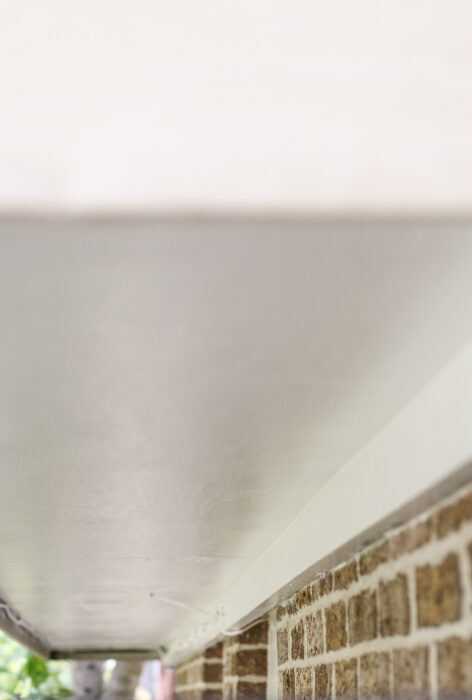
I sanded the whole thing with 60 grit sandpaper, using my orbital sander.
This is a rough enough grit to take all the loose pieces off without a ton of effort (important because no one wants to hold a sander upside down at chest height for very long!)
I don't worry about getting down to bare wood when I sand soffits. I just make sure the surface is even, with no loose paint.
Given that my back soffit paint is holding up super well, I can confidently say that this method works fine.
Note: 60 grit is way too rough to use on most furniture refinishing projects. But for a plywood soffit, it's fine.
After sanding, I did a little scrubbing of some of the dirty spots and wiped all the surfaces down with a rag (a tshirt rag, actually!) to make sure the sanding dust was gone.
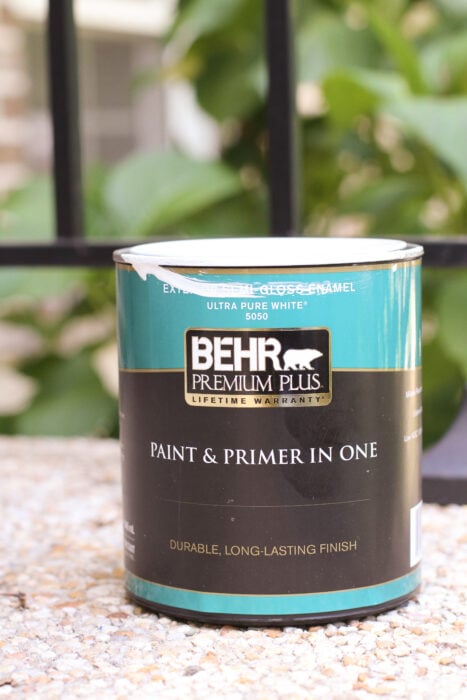
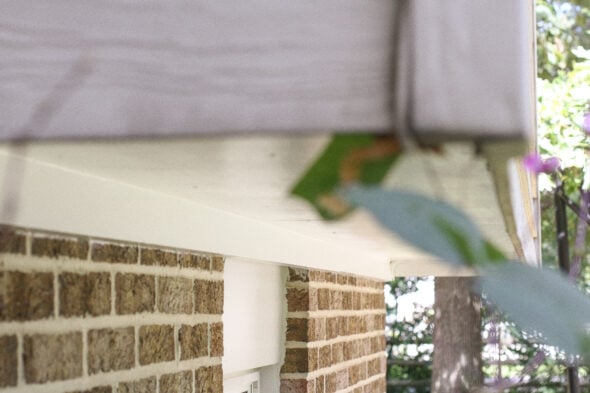
Then I primed it all with Zinsser 1-2-3 primer, which is what I used on the girls' beds, Sonia's dresser, and also my kitchen cabinets.
It looked VERY improved just after a coat of primer!
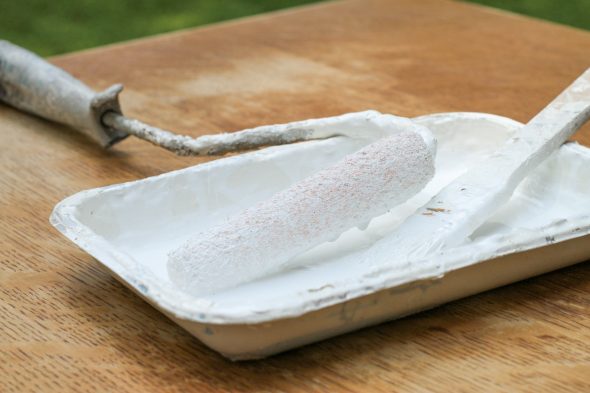
Then I did two coats of Behr exterior semi-gloss white paint.
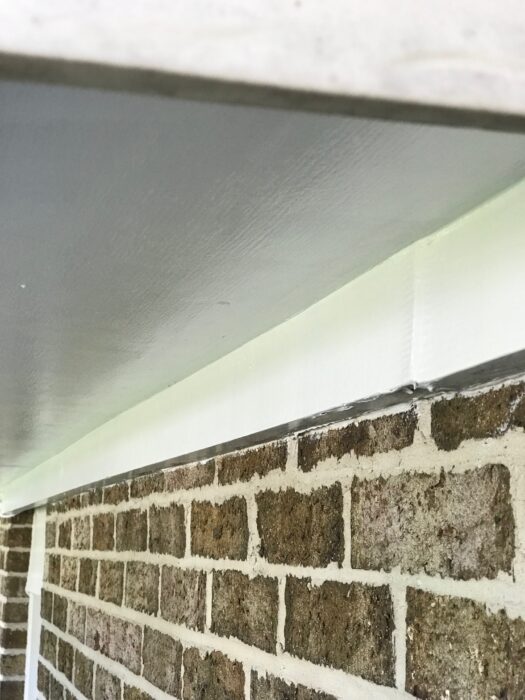
I use a mini roller (so good in small spaces) and a small paintbrush.
This whole thing looks so, so much better than it did before.
But because of the grade of our lot, no one except you guys will ever see how nice it looks.
If you come visit me, please peek under the overhang so you can admire my handiwork, ok? 😉
Not a super rewarding project, but I'm glad it's done! The wood will be protected now, and I don't have this hanging over my head anymore.
It was a nice cheap project too...I already had the sander, the sandpaper, and the primer.
I only had to buy a quart of white paint ($15), and I can use the leftover to touch up/repaint any other outdoor trim as necessary.
I don't know how many people on Pinterest need something this specific, but hey, here's a graphic just in case. 😉
Also, I made a little how-to card so that you have links to the products I used.
Email subscribers, click here to see the card on the blog.
How to repaint wood soffits
How to sand, prime, and paint peeling wood soffits
Materials
- Rags
- Zinsser 1-2-3 primer
- Exterior Semi-Gloss White Paint
- Mini paint roller
- Small paint brush
Tools
- Bosch Orbital Sander
Instructions
Notes
Unless you have really large soffits, you probably will only need to buy a quart of primer and exterior paint. Follow the instructions on the can for drying times. Your humidity and temperature will affect drying time as well, so use your sense of touch!
Recommended Products
As an Amazon Associate and member of other affiliate programs, I earn from qualifying purchases.


"Hanging over your head," ha. It looks really good.
I sanded and painted a dresser yesterday and thought of you. First time I'd ever used a power sander. I can't say I enjoyed it (so loud! so vibrate-y!), but the end result looks about a thousand percent better. And it will be very nice to get my sons' clothes out of totes on their bedroom floor.
Yep, your hands can feel a little numb after a while! I always wear big earmuffs for hearing protection because those things can be pretty loud.
We recently painted our two story home ourselves. I can definately say the soffits were the most difficult part. I think it's because of having to constantly look up. We sprayed a good portion of it on but there were lots of places that couldn't be sprayed. I didn't sand mine, but I probably should have. I just cleaned them well first and got rid of any spider webs. I didn't have any chippy paint to remove, probably because it's been so long since we last painted, lol. It felt strange painting areas no one would ever look at but I would drive me nuts if I didn't paint it all! Yours looks great!
Yeah, the chippy paint is the reason I sanded mine down. There were just so many shreds of the old paint there, it would have been impossible to paint over them with any success.
You did a great job! Wow, what a huge difference fresh paint can make! Also, thank you for the Pinterest graphic ~ cool! Have a blessed day!
We resided our house (original yellow wood siding was rotting), and it was twice as expensive to have the soffits done, so we painted them ourselves probably a year or more later. The soffits were still in great shape but the yellow didn't look great. Even though they are almost invisible painting them white made the house seem more put together. My husband and I are always surprised by the impact the finishing details have on the appearance of our home.
Ah, yes! Fresh white paint is quite magical.
While I don’t have any soffits to paint, I do have a tall porch post that needs a new coat. I’ve been putting it off due to 1) having to figure out what shade of off-white will match the rest of the trim and 2) needing a taller ladder to do the job. I also didn’t want to bake in the summer heat. Now that my youngest is going back to preschool this week, I will need to move the outdoor painting to the top of my to do list. I did manage to paint two indoor spaces over the summer.
Painting is so much less of a chore when you are not sweating to death out there!
I know only your readers will see that soffit, unless you get some pretty strange visitors who lie around in your yard, but doesn't it feel good to know it's DONE?
It looks very nice, by the way!
It does feel good! It's been on my to-do list for a while, and I'm glad to cross it off.
Just letting you know that I, here in Michigan, am appreciating the beauty of your freshly painted soffits. 😉
I FEEL SO MUCH BETTER NOW.
Seriously.
Nice work - looks great!! I am such a painting noob - why use a separate primer when the paint you have says it's got a primer built in? Does it give you a better outcome to use separate primer, or was it just because you had it on hand already?
Well, I figured, hey, I already had it on hand, and I wanted to be really sure that this paint job would hold up well in the outdoor weather. It might have been fine with no primer, but I wanted to be on the safe side.
If I'd been painting over a surface with intact paint, I might have been less inclined to use a primer. For instance, when I'm painting over interior walls, I never prime. But on a freshly sanded surface, I tend to prime.
Yea for you! I wish I was feeling that great “it’s done” feeling, but I guess I actually have to use this post to get motivated and DO my stuff, so thanks for the reminder of how good it’s going to feel! Off I go!