
Shoot Better | 7 ways to avoid blurry kid photos

This post is part of Shoot Better, a series about improving your photography skills frugally.
Since kids move almost all the time, getting sharp photos of them can be tricky.

I've got some techniques to avoid blurry kid photos, and though this series is mostly about skill-improving, not equipment-buying, I'll also share a few helpful equipment suggestions.
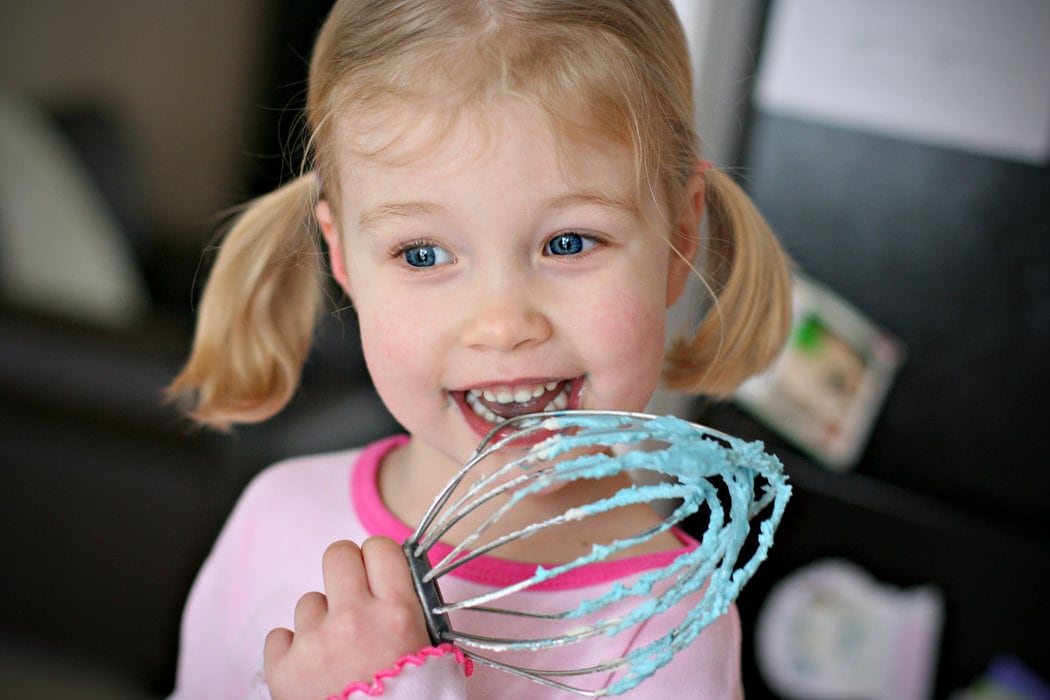
1. Sit and wait for a still moment.
Even very active kids do pause for a breath every now and then, so if you've got the time and patience, sit down and just wait for a still moment.
You'll have to be ready to go, because the pause will probably be brief, so just sit and follow your kid's movements with your camera so you can press the shutter button right away.

You'll want to keep the camera focused as you follow your kid's movements.
For most point and shoots, you'll depress the shutter button halfway. For most phones, you'll touch the spot you want to focus on.
2. Shoot in good light.
It's nearly pointless to try to photograph an active kid in low light (hello, blur!), but if you have nice, bright, even light, your camera will be able to take a picture much faster and that'll reduce the chance for blur.

3. Try an action preset.
A lot of point and shoots (and SLRs too) have a setting for action shots. Not all of these presets work super well, but at least give yours a try and see if it reduces blur.

Also, if you have an SLR, bump up the ISO (consult your manual for directions). This will allow your camera to take a better picture in lower light, although the result will be a little grainier.
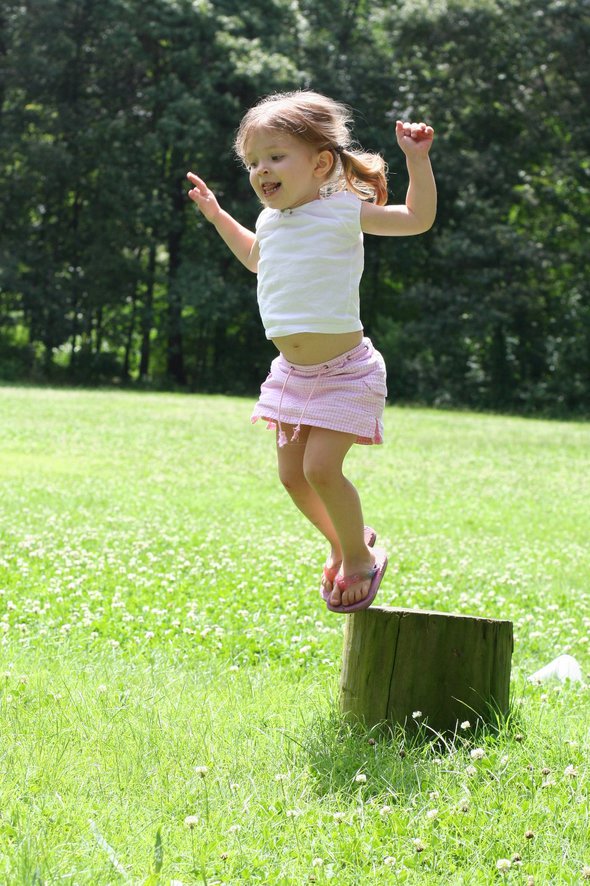
4. Embrace the blur.
If you have a kid who never sits still, you might want to embrace a few of your blurry photos because they show your kid's boundless energy. Put a few in a photo book!

5. Buy a fast lens.
If you have an SLR, you can buy a fast lens with a wide aperture, and this will help you to avoid blur, even in fairly low light.

My favorite lens is Canon EF 50mm f/1.4,![]() which runs about $330.
which runs about $330.
(95% of the photos you see on my blog are taken with that lens. It is my FAVE.)
If you can't manage that, there's a Canon EF 50mm f/1.8![]() for $125. It's not as nice or as fast, but it's gonna be WAY faster than the lens that came with your SLR.
for $125. It's not as nice or as fast, but it's gonna be WAY faster than the lens that came with your SLR.
I own Canon, but other SLR makers should offer similar lenses.
I know this might seem like a lot of money, but if you want to take pictures in low light, a 50mm lens is really super fabulous, and the 50mm 1.4 really cannot be beat.
Not everyone wants to spend $330 on a lens, but to me, it was completely and utterly worth it.
6. Shoot a lot.
If take a lot of shots, odds are better that at least some of them will turn out sharp. At some point, you'll probably catch a still moment, or a pause in movement.
I know that when you look at other people's photos, it seems that everything they take is sharp and lovely. But all of us have dud shots!

(I probably delete a good 50% of the shots I take.)
You're likely shooting digital, so there's no shame in being shutter-happy. It's not like you have to pay to develop the shots, after all.
7. Use flash with a LightScoop.
Flash WILL help you avoid blur, but flash is also generally terrible.
However!
You can improve flash results on your SLR by using a Lightscoop. It's a mere $30 and can really transform the way your flash photos look.
The Lightscoop snaps onto your camera and bounces the flash light up toward the ceiling, which gives you more even lighting.

Here's a photo with the flash and no lightscoop:

And here's one with the Light Scoop.

I posted a bunch more before/after Lightscoop photos right here.
You can actually get Lightscoops for compact cameras now too, so check and see if they've got one for your model.
______________________________
I'd love to hear if these tips help you improve your kid photos! And if any of you have some great tips/techniques to add, please do so in the comments.

I don't think I can add more since you kinda say everything I want to say. I love the 6th one the most, literally lmao at that.
I love #4. A lot of pictures of my kid are of his profile because he didn't want to arp what he was doing and look at the camera. I love it because I figure I'm capturing the moment like it was
Exactly. A lot of times those types are my favorite shots anyway. Years from now it'll be like a little peek back in time; a photo of what things really looked like.
Wow, I never even new that these tools existed. Thanks for the tutorial, Kristen! I love the tips
Thanks for the tips. I will definitely try these out next time I'm with my nephews.
Could you add a link to all of the "Shoot Better" posts in the right nav (like the recipes section)? Or at least add this to your category list? I'd like to go back and review the previous posts in the series and they would be a lot easier to find that way.
You are my favorite blog!
Yes, that's a good idea!
Hi Kristen,
Would you be able to share what crafts classes you can get with the intermediate bundle? I am trying to decide whether to get the basic bundle or the intermediate, and what free crafts classes are available make a difference in my decision. Thanks!