
I finished a piece of furniture! (the free bookshelf)
Alrighty, patient readers...as you know, I've been blessed with lots of free furniture lately, and I've been working on rehabbing most of it.
So, this is the first in an intermittent series of makeovers.
First up? This bookshelf.
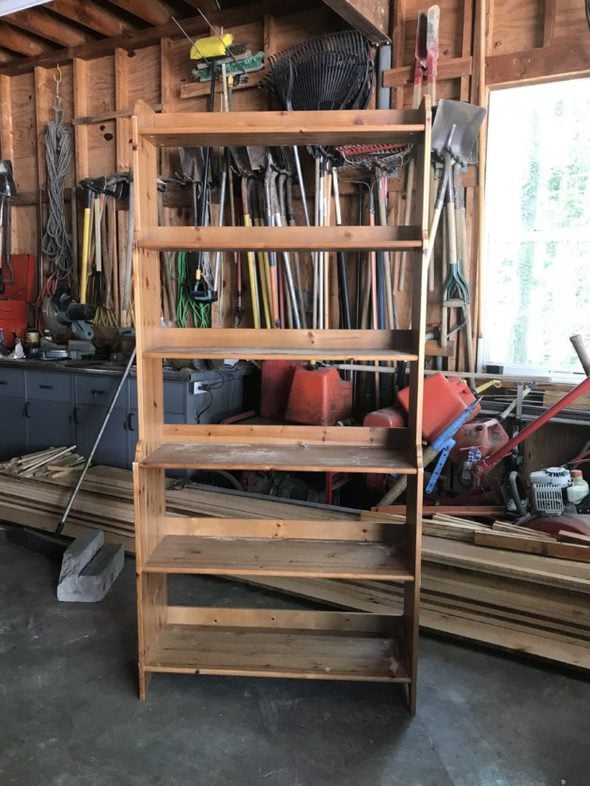
It popped up on the Buy Nothing group in my parents' neighborhood (I joined while I lived there!), so I went with my van to pick it up.
(Again: God bless the versatile minivan.)
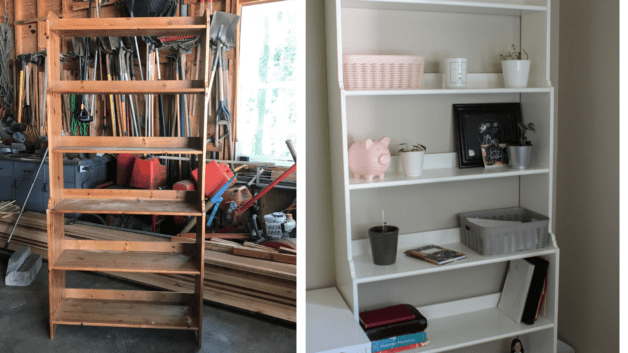
It's an Ikea bookshelf, and the person who was giving it away let me know that it was rather wobbly. I'm sure you know how those Ikea things can get after a while!
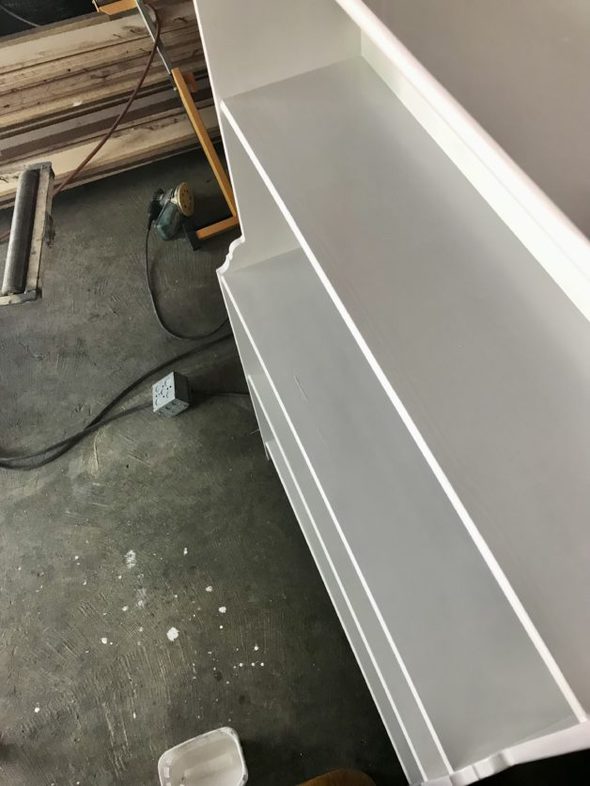
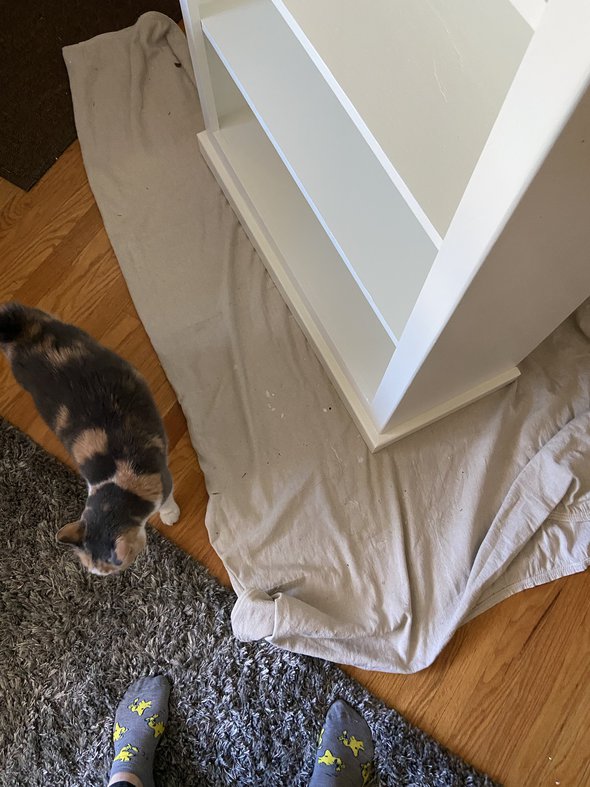
I showed it to my dad, and since he knew I was going to paint it, he suggested that instead of tightening the weird Ikea anchors, he could just drive a bunch of screws in.
He was very thorough:
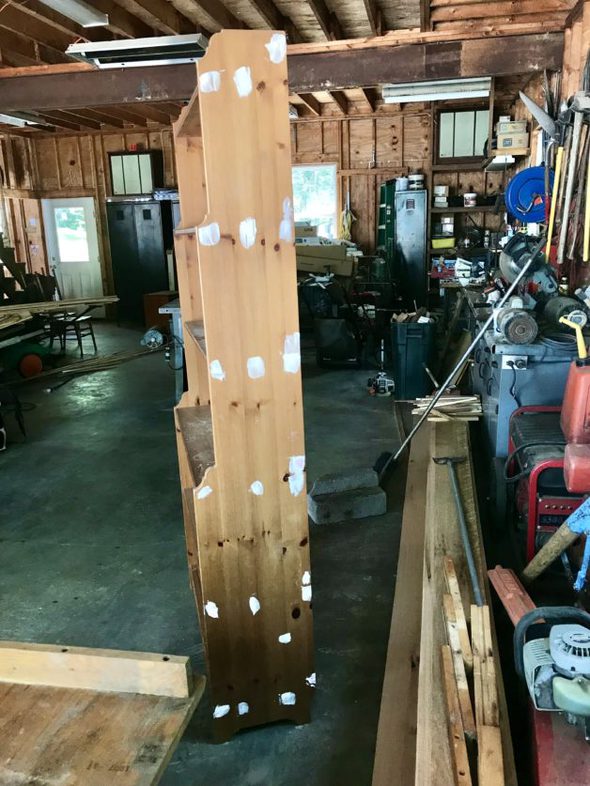
Not only did he use screws, but he also glued a lot of the pieces together. As a result, this bookshelf, in its current state, is very possibly the most sturdy Ikea piece in the entire world.
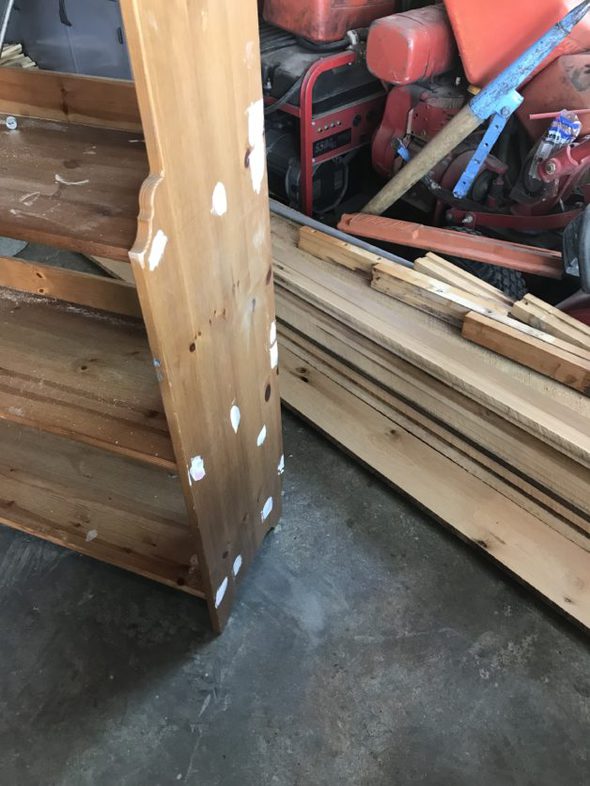
Whenever my dad makes something, it is always extremely solid. Usually, when he's finished securing something, he says, "Well, that's not gonna go anywhere."
And in this case, we could say, "Well, that's not gonna ever wobble again!"
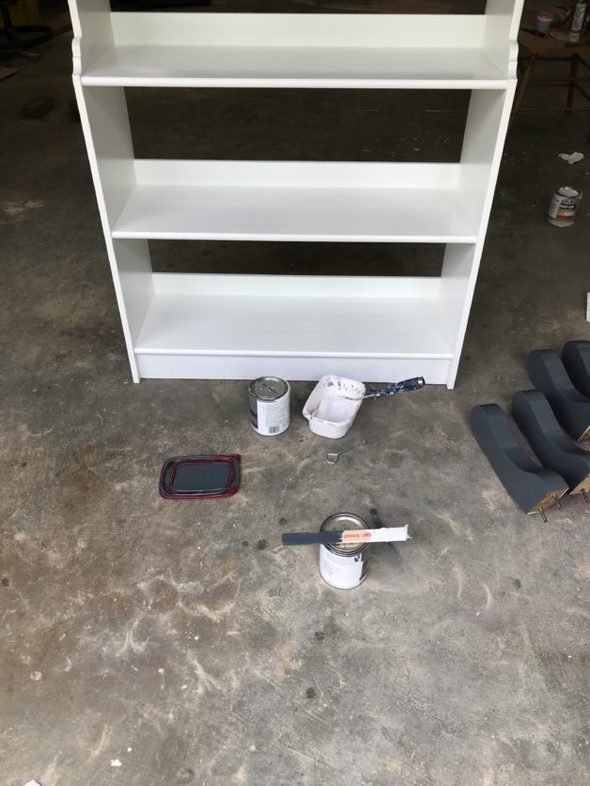
I sanded the whole thing down, primed it, and painted it. And I was again reminded that bookshelves are SO MUCH WORK. They've just got a ton of surface area, and so many corners and edges.
I remember thinking this when I re-did Sonia's huge bookshelf. Which was also a freebie! In case you weren't here then, a pic of that one:

Anyway, this bookshelf took forever.
Mid-project, I had an idea: what if there was a kickboard underneath the bottom shelf? I thought it would make the bookshelf look a little more solid.
See how there's no bottom piece in the front?
Luckily, my dad had a piece of wood that worked, so he screwed it in for me and I filled the holes and painted it.
Anyway! The bookshelf is now in the bedroom that I'm using as an office, and I DO really love the improvement that the bottom board brings.
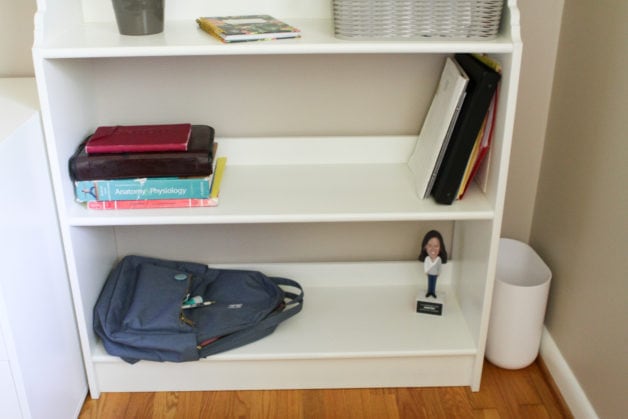
Edit: reader Rose wanted to see the bobblehead up closer, so here's a photo. I got it as a gift from All-Star Money because one of my posts was the most popular article they shared one week...I didn't actually go out and buy a bobblehead of myself. Ha.

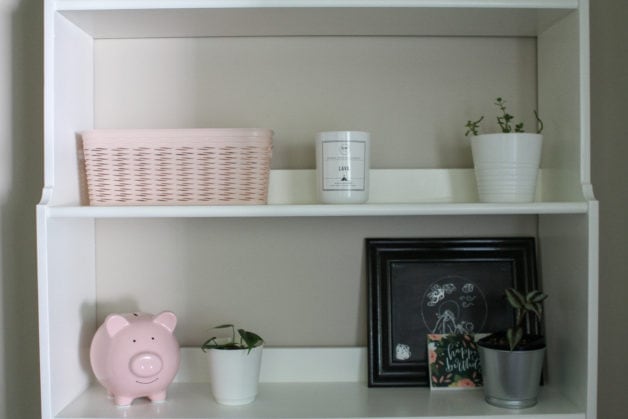
Here's what the whole bookshelf looks like; the picture is kind of grainy because it was getting dark yesterday when I remembered to take these photos.
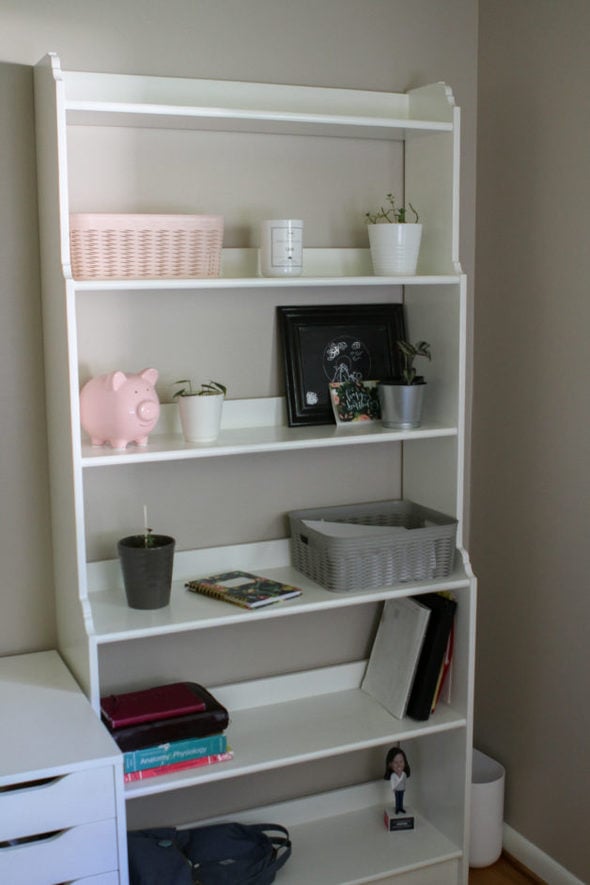
Another view of the bottom board:

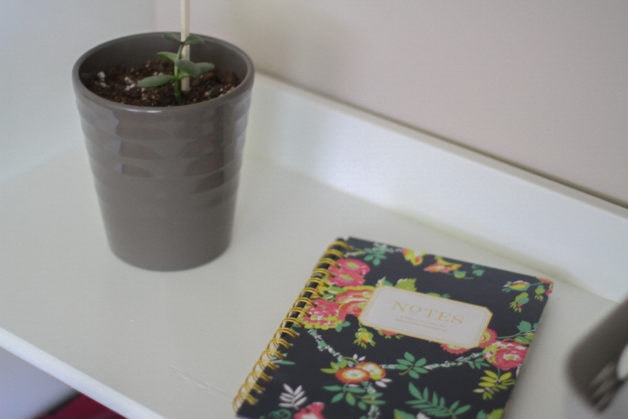
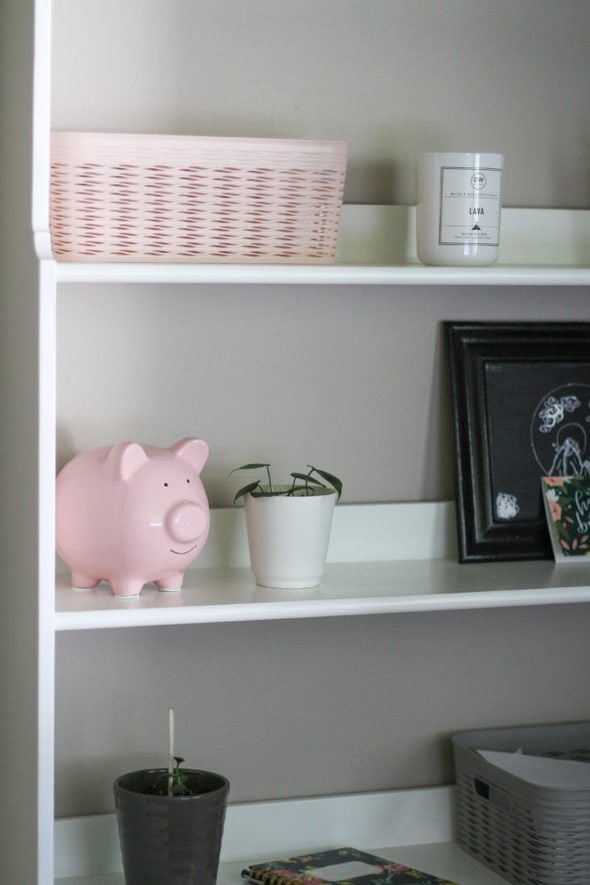
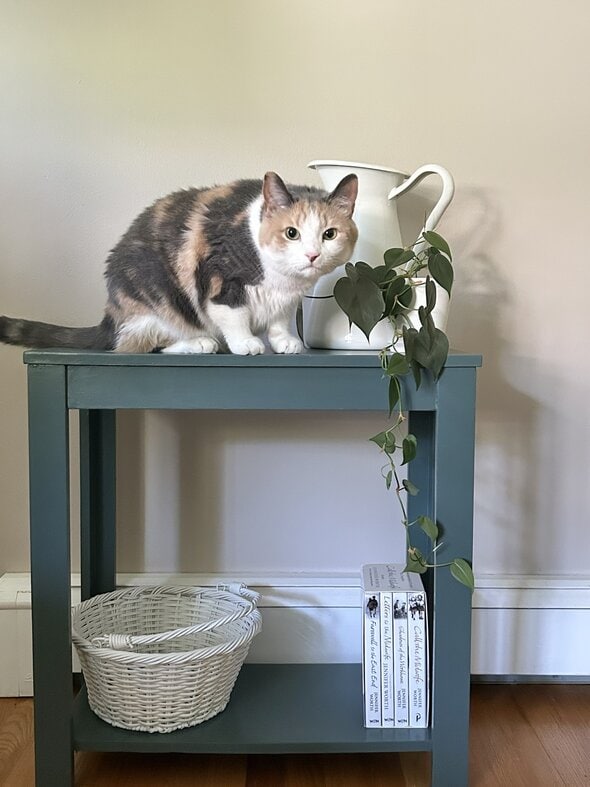
The shelves are still on the empty side of things; I haven't decided what all I want to store here. But I DID quickly decide that my unofficial mascot, the pink piggy bank, needed a home on the shelf. 😉

I kinda-sorta think the bookshelf would look better if it had a solid white back, and that would be quite a do-able project; I'd just have to attach a big piece of painted plywood on the back.
But for now, this is fine.
Since I'm renting right now, there's a certain temporariness to my life. And that's part of why it is rather satisfying to redo some furniture for myself; even when I move out of my rental, I get to take the furniture with me.
The house I'm living in is not mine, but my furniture IS mine! And that's a nice feeling.
_________________________
Supply/Equipment Details:
- I use a Bosch orbital sander
- Primer is Zinnser water-based
- Paint is Benjamin Moore Advance, satin sheen, in Cloud White
I explained my whole sanding/priming/painting process more thoroughly in this post.
Good job Kristen! And the baseboard does add some elegance to it.
It looks great!
The book shelf looks great! Good instincts on installing a kick board 🙂
@Robin, I like the kickboard too
That looks lovely and I honestly would be pretty happy with it as is.
But a suggestion: Instead of a solid back, you could also experiment with thin board inserts that snug into the shelving (that don't require any attaching as you basically just make them JUST the right size to be held into place) with fabric or color photocopied patterns/solid colors stapled/glued to them. I've seen the cutest patterns/colors used as shelving backings, and even if you're not huge into busy patterns, a solid color in a slight contrast (like a gray or a soft color that works with your accessories) could really be a fun way to dress the shelves and bonus would be that you could remove/switch them out when you got bored with them.
@frankiegirl,
That's a cute idea. Even easier would be to staple a bedsheet to the back. How about a vintage snoopy?
And I think the shelf is beautiful as is! I find it so satisfying to make one small thing beautiful, especially when it feels like larger aspects of life are outside of my control.
@frankiegirl, I was just going to suggest something along these lines. I got one of those bookshelves in dark brown (almost black) on freecycle a few years ago and the person I got it from had tacked a piece of fabric onto the back of it. It was great when I first got it as it was in the obnoxiously orange hallway of my then apartment and hid quite a bit of the orange. You can see a photo here if you're interested: https://livingthesimplelifeiwant.blogspot.com/2013/11/hall-before.html
Where I live now is all white walls, so I just removed the fabric. It's a nice way to add a splash of colour to your space if you wanted to, though. And not permanent, which has its pros and cons.
Ummm, wow. I am in shock at that wall color! I see those paint chips in bright shades at the paint store and I always wonder if people really use those for walls. This answers my question!
@Moonwaves, Your walls were very orange! One of the bedrooms in my house was that color when we moved in years ago. My son loved it though, so we left it that way for a while. We referred to it as the Pumpkin Room. Eventually we painted it. It took two coats of primer. Funny, I had forgotten about that until I saw your photo.
@Bee, When we moved into our last apartment, the previous tenant must have used whatever random mistints they could find at the hardware store. Every room looked like someone had bludgeoned a Muppet. Off-sherbet orange, decaying green, dried mustard yellow—you get the idea. Not surprisingly, our landlord gave us permission to paint so long as we went with neutrals!
Oh my gracious, I cannot imagine choosing those colors! My neutral-loving self would faint.
@frankiegirl, fantastic ideas.
@N, "bludgeoned a Muppet" just made me giggle-snort at my desk. 😀
@N, your description of that apartment sounds a lot like the way some folks in our larger neighborhood must have chosen exterior house colors. We've got one in screaming yellow and another couple in deep aqua blue.
@Bee, @Kristen To be honest, I had forgotten how dreadful it was. It was the smallest space in that apartment and the only one with no natural light, which made it even worse. I feel like a very sunny room might have compensated a bit perhaps. For various reasons, I ended up not painting as I agreed to when I moved in and it was only when I was moving out (eight years later!) that I finally did it. It took more than one coat of white but I was so annoyed with myself that I went the way of covering it with as many pictures and objects as I could instead of buckling down and getting it done much earlier. It has actually been a great reminder to go back and look at it and remember that it is more than ok to make my living space look nicer now. I need to stop waiting for that mythical have enough time/energy/money day. At least the place I moved to already had all white walls!
When building IKEA style furniture most people don't add glue. A bottle of Titebond 2 will make your IKEA furniture so much less wobbly when you put it together and keep it that way for a long time.
Also, a lot of the strain and stress on those pieces of furniture come from moving them. My parents bought some IKEA style shelves from a local grocery store (of all places!) and despite looking horribly dated with their faux wood grain sticker exteriors they are still standing and holding books and videos some 30 years later.
The bookshelves look fabulous! Well done. The addition of the kick board on the bottom was a really good idea. On another note, Buy Nothing can be such a great resource.
Very nice. Bookshelves are crucial in any home. I'm always impressed at your patience and thoroughness in painting. I hate it, and do anything to avoid it.
Wow....fantastic job! You are very crafty and talented, while I sit here still trying to figure out how to sew a button onto the back pocket of my jeans:)
I painted a dresser last year and that seemed like a lot of surface area. Shelves have so much more! Your bookshelf is a vast improvement from what it was and will serve you well. I think it's funny that you don’t have lots of stuff on it yet since mine are usually overflowing.
Thanks so much for sharing this process! I can't wait to see what you've done with the other pieces, especially that kitchen table. I have a table that I hope to tackle this summer, so I'm interested to see how you worked with yours. It's such a great thing to give new life to a used piece of furniture.
Very nice! I am anxiously awaiting all your posts regarding your furniture re-vamps! We bought several pieces of quality furniture 25+ years ago that now are tired, faded & need a serious refresh, so I am interested in your tips & tricks.
Yahoo, it looks great, and sturdy! Can't wait to see your other pieces as you finish them. 🙂
You do great work. I bet you make your dad proud.
I want to see the Kristen bobblehead up close!
But yes, great job.
Gosh, I could have sworn I had a photo of that here on my blog. Maybe I only posted it on social media?
I'll go add one to the post now.
@Kristen, That is very cute! I did buy my daughter a bobblehead of herself as birthday present when she was about 12....I haven't seen it around lately though.
@Rose, thanks for cutting to the chase and asking about the bobblehead. On first reading this post, I was scratching my head and wondering, "Is that really Kristen?"
Oh, that is lovely! You and your dad did an amazing job.
I like the little bumper edge at the back of each shelf that keeps things from sliding off. That's a big improvement over a completely open back.
Oh yes, imagine the challenge of keeping things on a backless bookshelf.
It looks great, and agree that the baseboard really ups the attractiveness. Well done!
It came out great.
This is an endlessly fascinating project and we are so lucky to be along on your journey. It’s a very good handbook for those starting out on how to build a comfortable and lovely home in a new place. On the cheap, as you say, but the result is nicer than if all was just purchased from a store, and much more personal.
A big gold star to your dad for his enlightened help!
Allll the gold stars to my dad. 🙂
@Kristen, it's a pity your dad can't be cloned. A lot of us could use a dad like that.
I love cloud white. it is my go-to! looks amazing.
Such a great paint. I have used it on kitchen cabinets, two beds, two nightstands, and two bookshelves!
Thank you for sharing. It looks like things are coming together in your rental. You did an amazing job refinishing the book shelf and I think it looks great with the items you have on the shelves. It's comforting, homey, and yet not cluttered
It looks great!
Like some others, I wonder about not using plywood on the back, partially due to the high cost of it right now. What about (don't laugh) a cardboard back covered in a pretty pattern of wallpaper, fabric or even less expensive, a nice contact paper? The back could be attached with regular staples, which would be easy to remove later and only leave teeny tiny holes. That's basically what makes up the backs of most assemble-it-yourself furniture that I see.
I bought an end of a roll of self-adhesive wallpaper at a wallpaper and paint store for $1 a few years ago. A piece of it backs the key cabinet that DH and I made out of an old wall-hung spice cabinet that has glass front doors. I'm also going to back my built-in bookshelves with it one day (it's on my list of things to do.)
Kristen, I'm ready to see more pieces and how they are set up! I try to bear in mind that you do have just a FEW things else to do, ha, so I can't expect it to happen immediately.
That's precisely what I was thinking...plywood is too pricey right now! So I will just wait; I can always add a backboard later if I want.
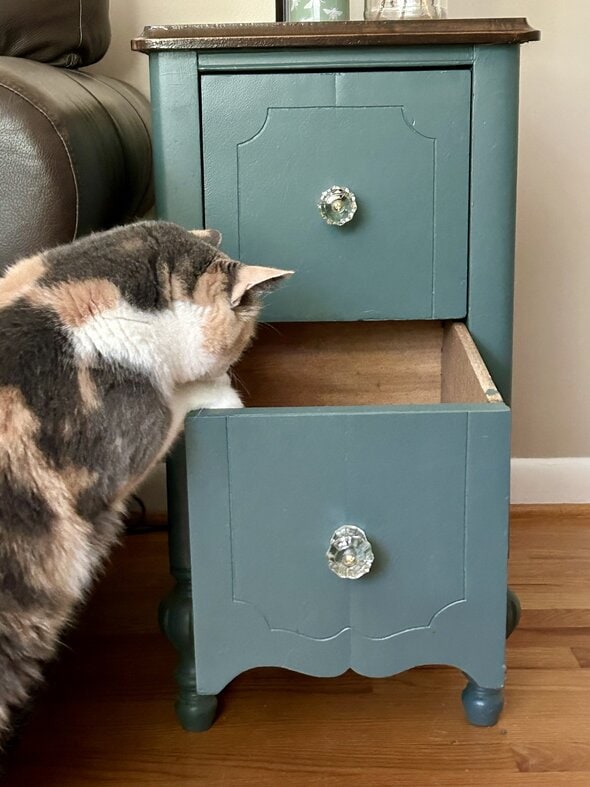
I promise I will do more furniture posts soon. I did finish my table, so.... 🙂
JD, Kristen—Yes, wallpaper. My sister built a tall bookshelf some years ago and she added back panels covered in a soft pattern of wallpaper. It’s beautiful and could be changed, if desired.
They look terrific! It's great to have a handyperson around who takes pride in their work and is so thorough. You are very lucky, I was too in that my dad taught us a few things about home care and repair that have helped me handle things myself when I can. I like the contrast between the bookcase and the different color of the walls, but I also like the idea someone here mentioned about slipping in panels with a pattern into each shelf, although one sheet of plywood on the back would be quickest.
I love the amount of pink that you have on the bookshelf. The day my ex moved out of our hose I painted the master bedroom pink and made it the girly oasis that I very much needed. Pink became my power color.
Well then, you will be happy to hear that I painted some of my rescued furniture pink. Stay tuned!
You were right - the kickboard makes a big difference. I'll have to keep that in mind.
I really like the bookcase redo. I would have probably just cleaned it up and called it good. 🙂
That would have been an option but then fixing the wobbling would have been challenging. The nice thing about painting a piece is that you can just go crazy with using screws for repairs; the holes can just be filled and covered!
Love it! Your stuff always looks so good when it's done. I have tried a few but probably need a lot more practice.
Love the white bookshelf. Great job. Just realized I have nothing to fill a bookshelf with. Ah, the simple life. >^..^<
We’ll done! I’m inspired! I have a couple of old dressers that need some help. I should put at least in on my summer to do list! Thanks for being my painting inspiration! (I’ve painted my whole house, inside, because of you and your tips! Oh! And we’re painting my husbands office next weekend!!! Hah!) much love to you Kristen.
Looks great, Kristen! The kickboard was a really nice touch. I think it's neat that in your transition time you had the space, tools, and your dad's help to let you accomplish these furniture rehabs. Blessings along the path.
The bookshelf looks great! You do such a good job on all your furniture. Your dad is so funny! Aren't Dad's amazing! Are you sure you don't want to reconsider your occupation choice? I can see you running a bookstore in a little out of the way place and maybe doing furniture refinishing on the side and doing some selling at a market on the weekend. : )) A sort of romantic notion. Have a great and blessed day, as you bless ours.
@Sandra Wyrick, I was thinking the same thing about Kristen or one of her daughters refinishing and selling furniture.
Your bookshelf looks great. I love your dad's improvement on it.
My husband, who is like your father in that anything he builds is extra-strong, always finishes his project by saying, "You could land a helicopter on that." (One of the jobs I had required quite a few helicopter trips so he knew that would resonate with me.)
I am astounded at how you can see the beauty and utility of such ugly things, this bookcase you finished being but one example of that. I am not good at that sort of thing at all, so I have probably passed right by some really good pieces of furniture that just needed some rehabilitation to reach their full glory.
I LOVE orange. I once painted the outside of our house a color called Artic Orange (the misspelling of arctic made me a little crazy, I have to admit). About a week later a neighbor came over and offered to repaint our house for free if I would use a more neutral color. I thought it was a very cheerful look in the middle of winter. The next house was log, so quite boring in color. Instead, our living room walls were brick orange and our bedroom walls were butter yellow. I adore vivid colors.
@Lindsey, My grandfather made extremely heavy, sturdy items. Our joke was always that, in case of a hurricane, instead of bringing the porch chairs he'd made inside, you could just hang on to them and you'd be fine.
That kickboard made such a big difference - good thinking and great job on the rehab 🙂
We got two of those bookshelves before my oldest was born (so at least 18 years ago), and we still love them and they are still going strong. I think the kickboard was a wise addition, because my one complaint is that, in our very old house with not-so-even floors, EVERYTHING rolls under the bookshelves (or couches).
It looks so nice and clean. Congratulations on a very successful rehab!
The bookshelf looks beautiful. Kristen, you really have the magic touch with rehabbing furniture- both with envisioning what it can be and the execution.
That looks terrific! Great job to you and your dad, nice to know it's so sturdy!
The pink piggy bank made me smile!
I'm so glad you chose to paint it white. The new place and the new furniture was seeming a bit dark, and you need some light in your life.
It turned out great. I have a 3 shelf bookcase that I want to paint white (it's espresso) but keep putting it off as I don't have a sprayer and painting all the corners with a brush and roller seems so daunting.
That came out great! I have enjoyed following your blog for years. Is there a reason I'm not getting daily emails anymore? Thanks
It looks lovely! Nice work. I also really like the pink basket. It's picks up the pink of the pig nicely. 😉
Well done, Kristen, that looks so much better!
Awesome ! Love the transformation! A great job! Love this! Looking forward to seeing your other furniture finds!
I like the style of the shelving. Good job, Kristen!
Wow you did an awesome job looks brand new and really sturdy!!
Thank you!
Love this transformation! Great job! Can't wait to see your other furniture finished! Have fun!
Hi Kristen,
I love reading your furniture posts! Well, all of your posts! I’ve been a loyal blog reader for 8 years? Give or take!
I have an old dresser, mirror, and matching night stands that I want to redo this summer. They were mine when I was a kid, and my cousin’s before that! They are the French provincial style that was popular 40 or so years ago. Do you have any tips? I believe the tops are Formica? Or that’s what I remember my mother saying.
Thanks for having an awesome blog!
Dawn
Does the furniture look at all like the ones at the end of this post? https://www.thefrugalgirl.com/the-nightstand-painted/
I've painted several things with Formica tops, and I've just sanded them to get the sheen off, and then proceeded with the primer and paint. I was a little nervous at first to see what would happen, but it's held up fine over the years!
As a cat owner, the big benefit I see in the kickboard is one less place for cat toys to go. 🙂
You and your Dad did a great job. I love seeing your furniture repair and redo!