
Shoot Better |On Lighting (Part 2)

This post is part of a Shoot Better, weekly (ish) series on improving your photography frugally
(a.k.a. not buying tons of equipment.)
Last week, I wrote a post about how to get better lighting in your photographs, but mostly I talked about what NOT to do.
So this week, here are some basic ideas about what TO do.
Do shoot in the shade.
Remember how bad shooting in bright sunlight usually is?

More sunlight is not necessarily better, at least not in the middle of the day when the sun is high.
So, try to find a spot where there's open shade.

midday on a sunny summer day, taken in the shade of a pool umbrella
What's open shade?
Just a shady outdoor spot that will give you more even, less harsh light.
For instance, a shady side of a building, the overhang on a porch, or a large beach umbrella will provide enough shade for you to take a better photo.

(taken in the middle of the day in July, on a side of the yard where there's some shade)
Do shoot early or late in the day.
The hour after sunrise and the hour before sunset are called the golden hours because of the warm, soft light they provide.

taken early on a summer morning
When the sun is high in the sky, it's at its harshest.
But in the early and late hours of the day, the sun is farther down in the sky and provides gentler, more even light.

Luckily for me, we did our Easter egg hunt this year late in the day, so I had pretty decent light to work with, even though it was getting a bit dark outside. 😉
So, if you're presented with the opportunity, take pictures early or late in the day.
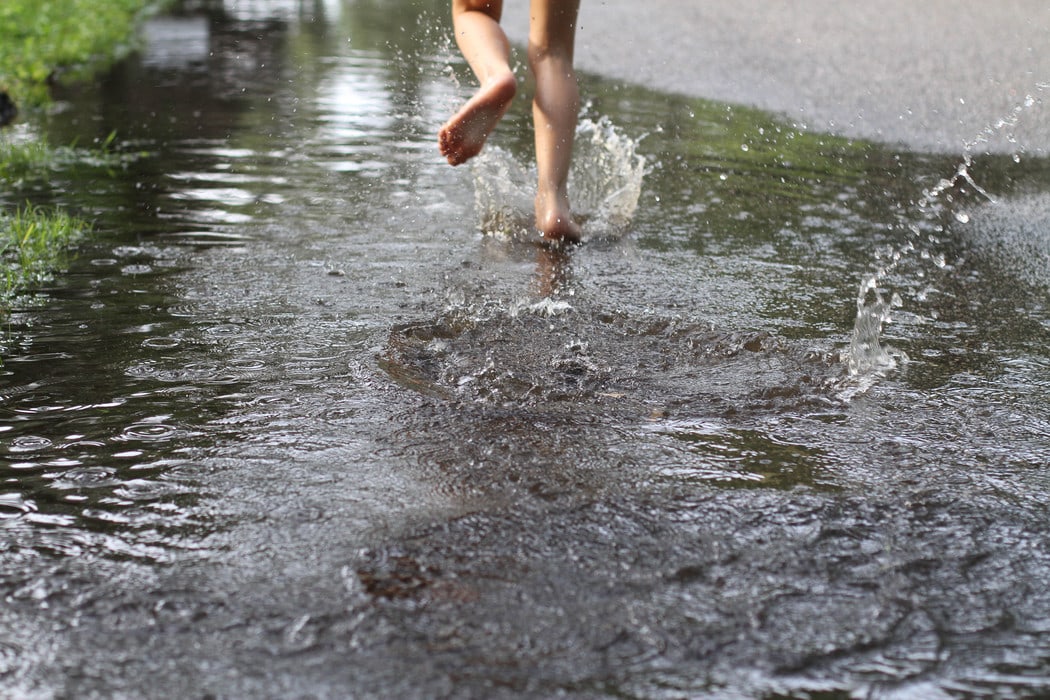
Do shoot under cloudy skies.
Many people think cloudy skies are useless for photography, but that's not so.
Here's why:
Above the clouds, the sun is shining brightly, but the clouds act as a giant diffuser, evenly spreading the harsh sunlight out over the world.

So, when the sky is cloudy, you can shoot anywhere, even in mid-day, and not have to worry about harsh shadows, squinty eyes, and odd colors.

(In fact, sometimes colors are at their most saturated and beautiful on cloudy days.)
Do shoot near a window.
If you can't be outdoors, use window light! Positioning your subject near a window often gives you enough light to shoot without a flash.
I shoot almost all of my food pictures on the floor near my sliding glass door, actually.

One caveat: try not to shoot directly into a window. The bright light from the window will confuse your camera and will usually make your photo too dark. Instead, position yourself with your back to the window or your side to the window.
In this first shot, the light from behind Zoe is really overpowering, and Zoe herself is too dark.

For this one, I turned her on the couch so that the window is to her left and my right.

__________________
I know this might seem like a lot to think about, but really, once you practice noticing light, it becomes more like second-nature.
Now, as you know, I'm a big fan of photographing kids in their natural environment, doing their natural thing, and I like to avoid posing when possible.

So, you might be wondering how in the world you can manage to take unposed photos of people (especially kids) in good light, because moving them to the good light would sort of ruin the unposed nature of the photos.
I've had lots of practice with this, so for next week, I've got a whole post full of tips for taking unposed photos of kids.
_________________________
Any questions? Let me know in the comments!


Thank you so much for all these great tips! I am just getting started and still use my iPhone for pictures. It's amazing what a difference it makes just following your tips.
Yes! The great thing is that learning about light is helpful no matter what camera you use. Even the most junky camera will still perform better if you know how to use light to your advantage.
And knowing how to use light costs $0, so there's that too. 😉
Thank you for your advice! I am waiting for your next post!
Thank you so much! I can't wait to try these tips. That picture by the window looks really tricky. Also, is there an easy trick of taking a picture of a Christmas tree with it's lights on?
Well, you usually will want to turn off ALL the other lights in the room, and also put your camera on a tripod or table or something else that can hold it. The light is so low, you won't be able to hold the camera steady enough by hand.
If you have a point and shoot, see if it has a setting for low light photos and give that a try.
On my SLR, in P mode, I usually bump up the ISO and then manually dial the exposure compensation down. In manual mode, you can play around with aperture and shutter speed until you get the look you want (but that's not quite as simple as the previous two methods!)
Ok! I have three kids under the age of 5 so I CAN'T wait for the "photographing kids" post;-)
I loved this two part on dos and don't very much!
Now I do have a question though... I do have a decently nice camera (they tell me it's one step down from a DSLR???) but I have NO idea how to use it and all the pictures come out grainy.
My question is: Do you have an IPhone and do you use it every for photography??? That is what I always have on me and it's easier than carrying my camera everywhere along with the carseat, etc.
I would LOVE to take a few classes and really learn how to use my "big" camera, but I think I need to upgrade because all the classes require a certain level camera.
I do have an iPhone, and I use the camera on it to take pictures for instagram. I've only had it for a little over a year, so I'm not super experienced with it. Also, I have a slightly older iphone (the 4S), so I don't think it takes pictures quite as nicely as the newer iPhones.
For a quick shot, I appreciate the phone, but if I want to take a really nice shot, I always, always use my SLR.
If your nice-but-not-SLR camera is taking grainy pictures, my best bet is that you're using it in less than ideal lighting conditions. Point and shoots are automatically set up to increase the ISO in poor lighting, and higher ISO makes more grainy photos. Have you tried taking a picture with it in open shade, or near a window with your subject facing the window? It might be less grainy that way.
Thanks for another clearly written post - very helpful. Looking forward to more.
That butter on top of jam photo still makes me twitch!