
Trash to treasure: a bookshelf with legs!
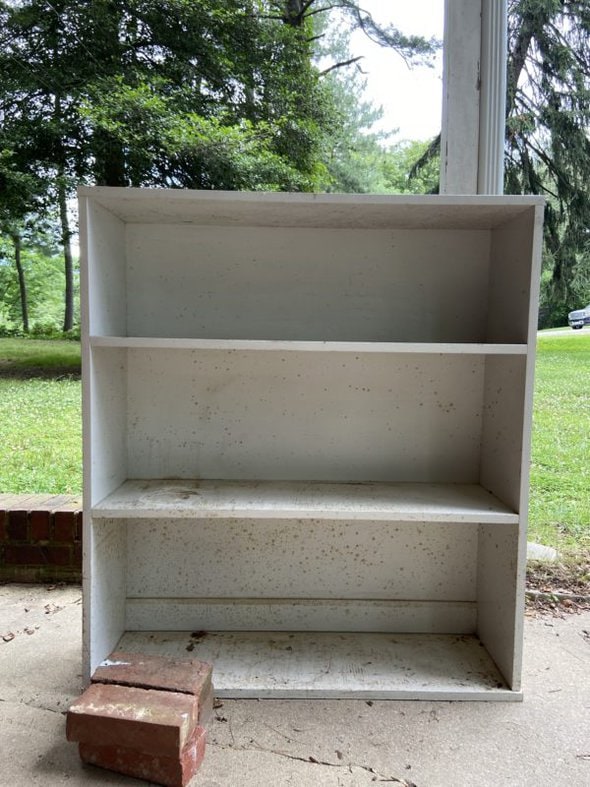
I first spied this bookshelf on Facebook Marketplace, where it was listed for $15.
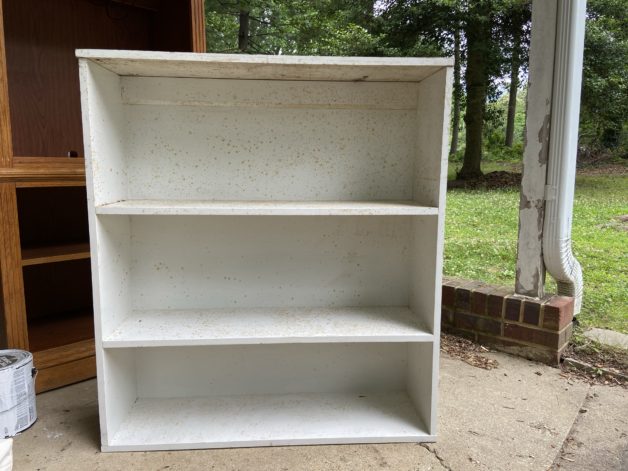
And I thought to myself, "Ummm, nope. Not paying cash for a shelf that looks that dirty!"
But then a little bit later, I saw the same shelf pop up on my Buy Nothing group. Apparently no one else wanted to pay $15 either.
For $0, I figured I'd bite.
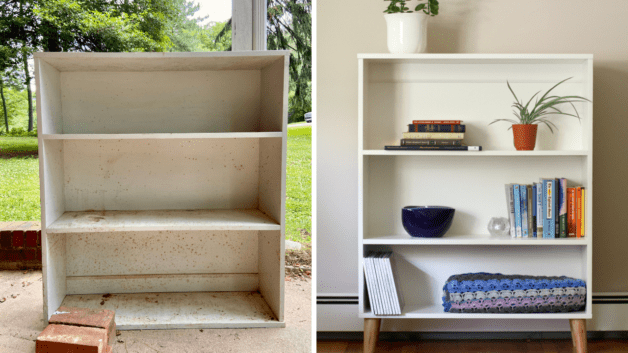
This shelf was indeed in terrible shape. For starters, it was spattered with some kind of brown who-knows-what all over.
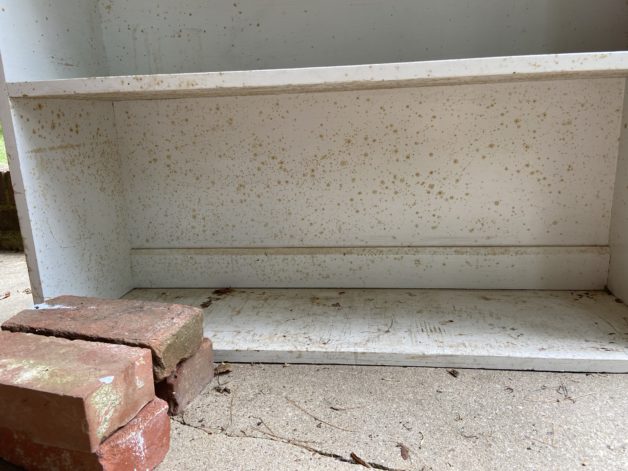
And one of the shelves had some serious damage to it; it almost looked like some kind of liquid and/or chemical had spilled and eaten the wood away.

But, I thought it had potential, so I picked it up.
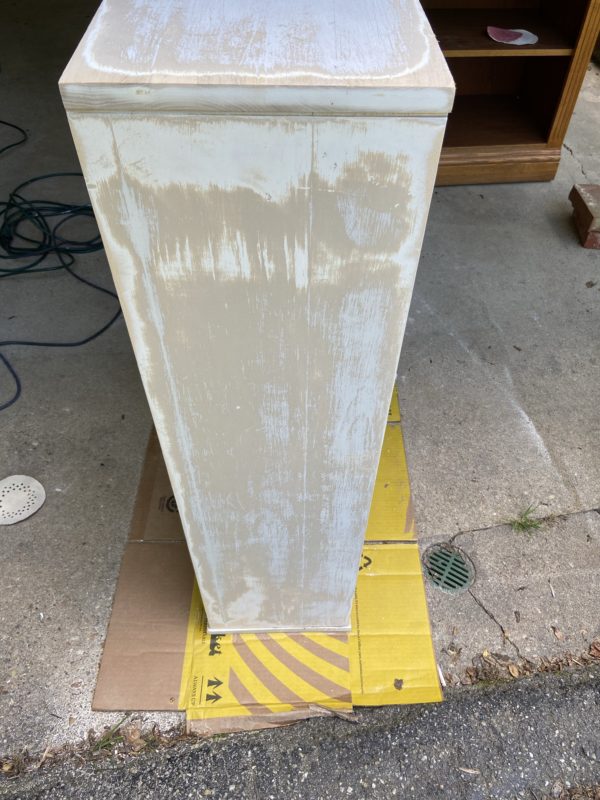
I sanded it down, and that was a process because the shelf had multiple layers of paint on it. Some of the layers were latex paint, which gets rather sticky as you sand it.
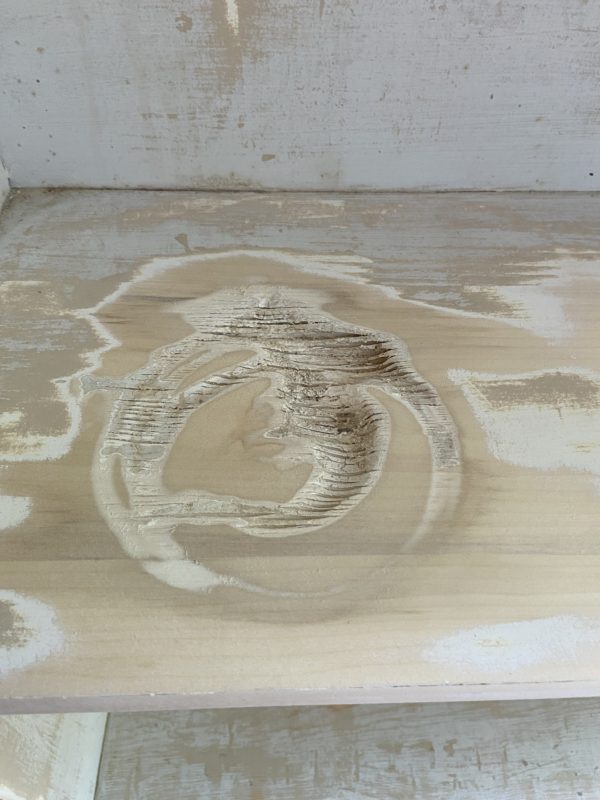
I sanded the damaged shelf, of course, and I was able to remove some of the damaged parts that way.
However, plenty of damage remained. And it was an awfully large area for me to consider a wood filler repair.
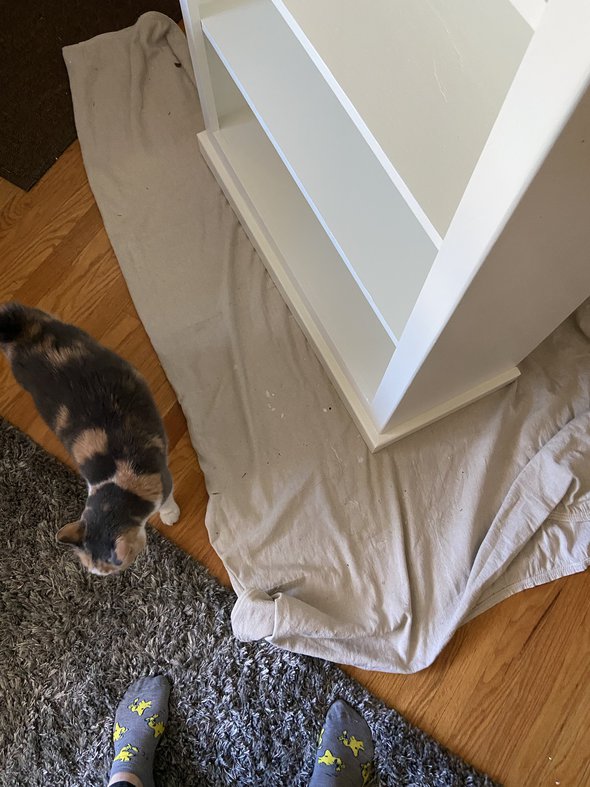
But then I thought, "Hmm, this bookshelf doesn't really have a designated top or bottom. What if I just turned it upside down?"
So I did.
Pro tip: If you can't see the damaged shelf, it ceases to exist. 😉
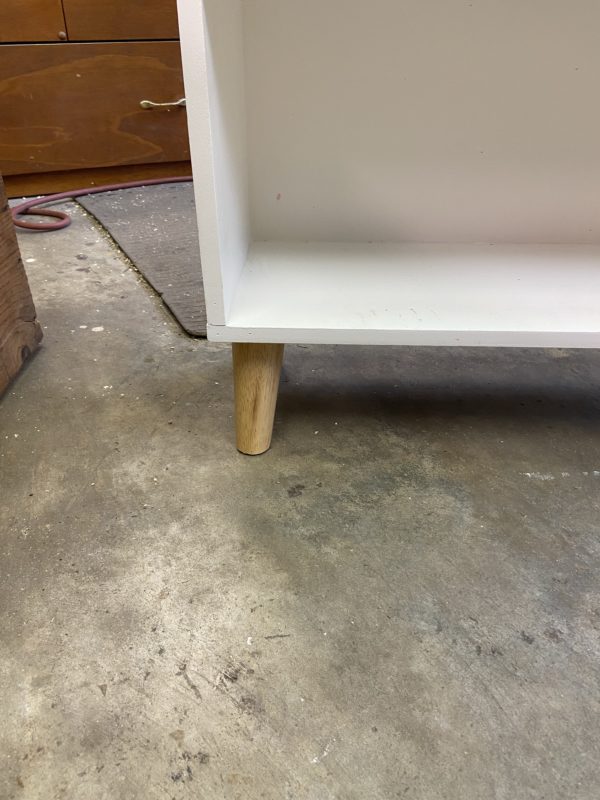
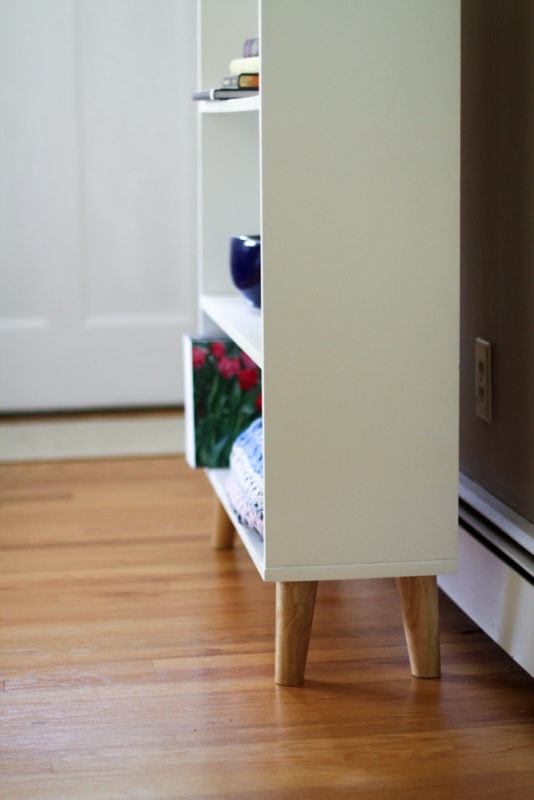
Damaged shelf out of the way, I thought, "Hmm, you know what would make this shelf look even better? Some legs."
So I ordered a set of four from Amazon and then put the bookshelf in my van and drove over to my dad's garage. I do not currently have the tools to install legs, plus the shelves needed a little reinforcing with screws.
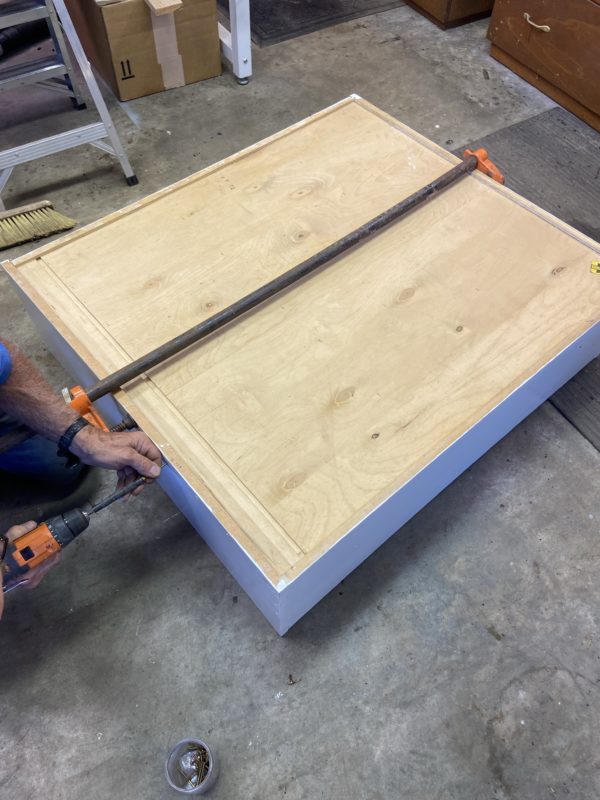
My dad is obviously very experienced with everything related to woodworking, but guys, even he agreed that these legs are tricky to install.
The problem is that they are angled, and you want them all to be pointing in the appropriate direction, so you have to be careful how you install the brackets.
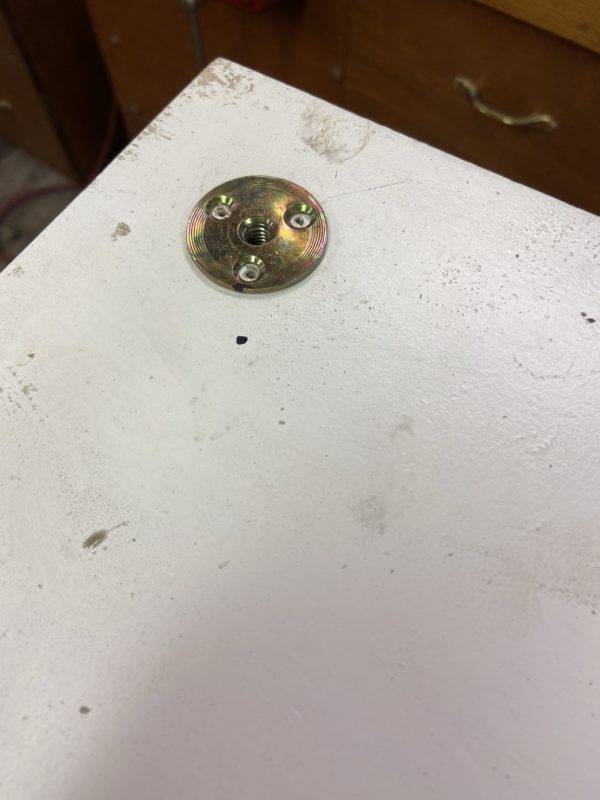
We (ok, mostly he) came up with a method that worked, but it was tricky.
If I did it again, I'd definitely order these straight legs instead! They're not quite as cool-looking but they would be a thousand times easier to install.
After the legs were installed, I filled somewhere around a million dings and dents.

Then I caulked all the gaps and did the usual: one coat of primer, and then probably 3-4 thin coats of paint.
Supplies I used:
(Amazon links, but this stuff is usually cheaper at your local store, like Home Depot)
- Zinnser 1-2-3 primer
- Benjamin Moore Advance paint (Cloud White, satin sheen)
- Dap latex caulk to fill in gaps
- Drydex spackle to fill in all the holes
So. Here's what this looked like before.
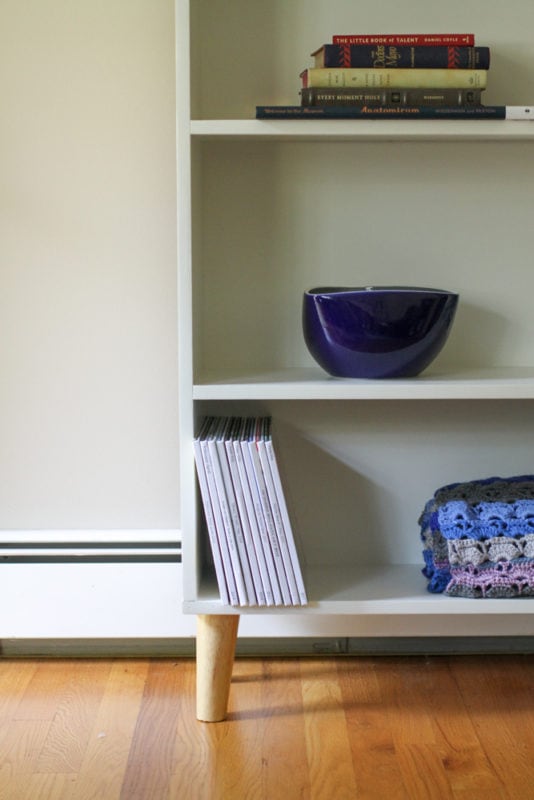
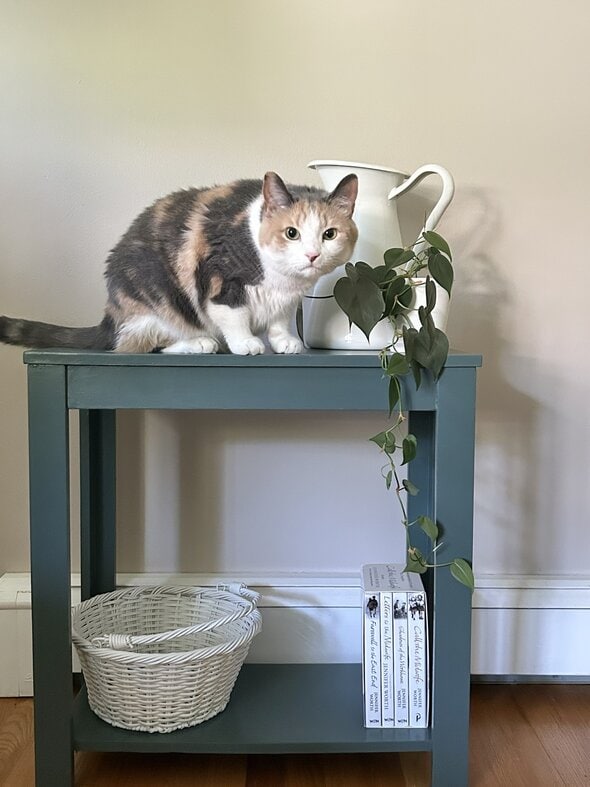
And here's what it looks like after.
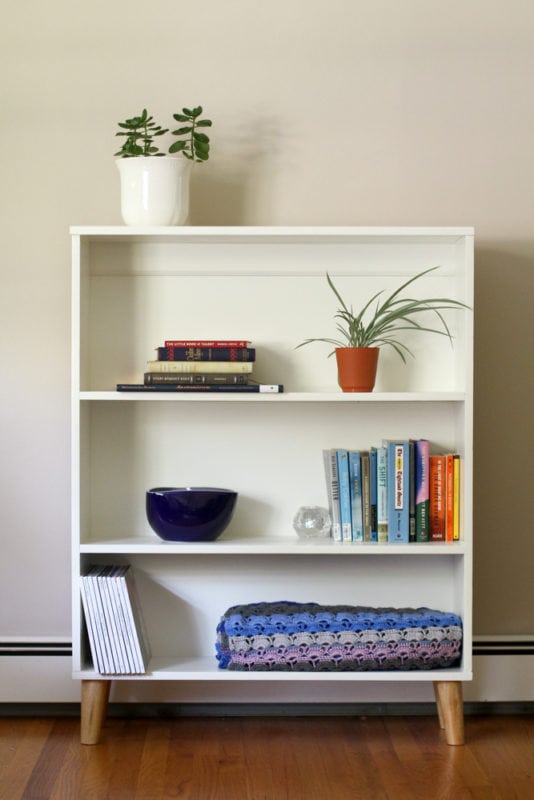
So, so much better!
I really, really love what the legs do for this shelf.
And I like the simple lines; I think this will have no problem looking good in whatever house I live in next.
Now, I have to tell you: these after photos are sort of a lie.
Since I have built-ins at this rental, I don't actually need a living room bookshelf! I just took things off my built-ins and put them on this shelf for the photo.
The bookshelf actually is down in my basement, in Zoe's little TV den, and it's currently holding things like Wii games. It's too dark down there for good photos, though, so staged photos it is. 😉
I really love the look of this bookshelf now it's rehabbed, and probably at whatever house I live in next, it will get a more prominent spot than the basement.
Girl, you constantly amaze me. This is awesome! Fabulous job!
Amazing! You and your dad are very talented (and patient :-)). You should send a before and after picture to the previous owner!
@Christine81, what a great idea!
Gosh you are good!!
Thank you, J!
So beautiful! I think the legs were worth the bother. They are really cool!
This is a serious upgrade! Zoe must be happy!
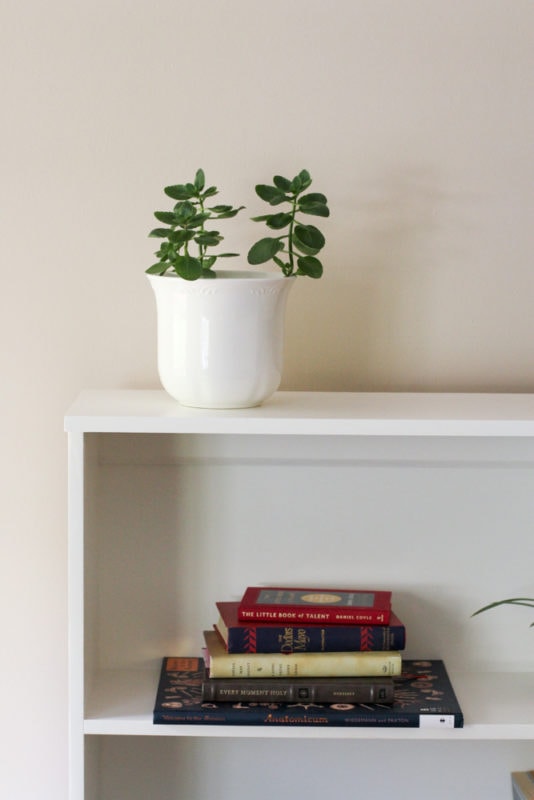
Beautiful. Plus I think I spy a Tightwad Gazette?
@Julia, no frugalist home is complete without a copy of The Complete TG! And Kristen obviously knows hers inside out (see the discussion of money vs. time, below).
You do!
So beautiful! What a wonderful addition those legs are.
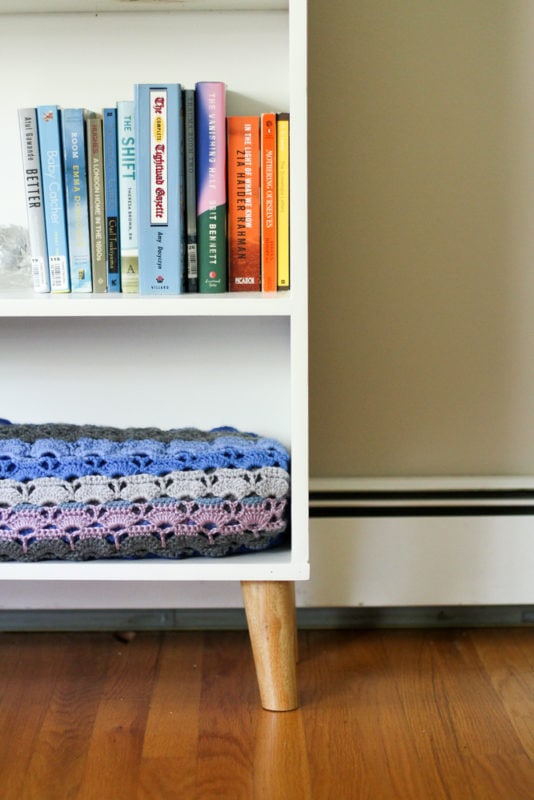
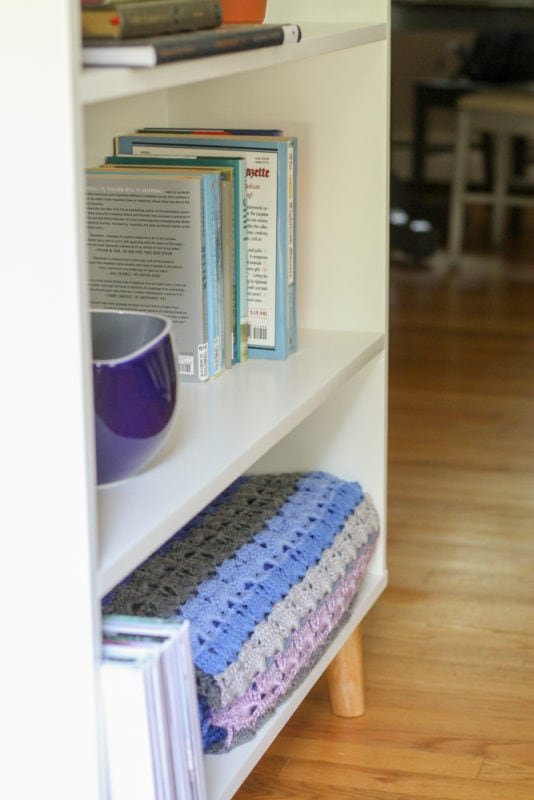
And I love the afghan. What a nice gift.
I've noticed that mid-century modern design is making a strong comeback. So not only are you thrifty, you are fashionable. (: Looks great! Genius to turn it upside down!
Incredible! Your vision and execution for this project is amazing!!!
This is my favorite rehabbed furniture yet. Though I must admit to being disappointed that such a lovely BOOKshelf is languishing in a dark basement holding video games. But that's just the book lover in me talking. 🙂
@kristin @ going country, while I agree with you in theory, after all BOOK-filled BOOKcases are one of life's most joy inspiring gifts, but basement burrows and electronic wires, controllers, and consoles can also spark joy. So how better to celebrate that than with a very intentional beautiful piece of furniture!
Well done, Kristen!
Ha, well, that's because my built-ins and my office bookshelf are already holding all the books I currently have with me!
An Amazing Transformation!
The trim piece at the top of the shelf makes a huge difference!
It looks great, especially with the legs added. It never would have occurred to me to do that.
That blanket is beautiful! I was going to ask who had made it. 🙂 Any chance of Shannon telling us where the pattern came from?
Maybe she will pop into the comments and tell us!
It looks amazing! Those legs......worth the effort! Big kudos to you and your dad on a beautiful job. Also - what a great outside-the-box idea to flip the bookcase so the damage can't be seen. So smart.
The legs make it!
Adding the legs was a great idea. I never would've thought of it. Well done!
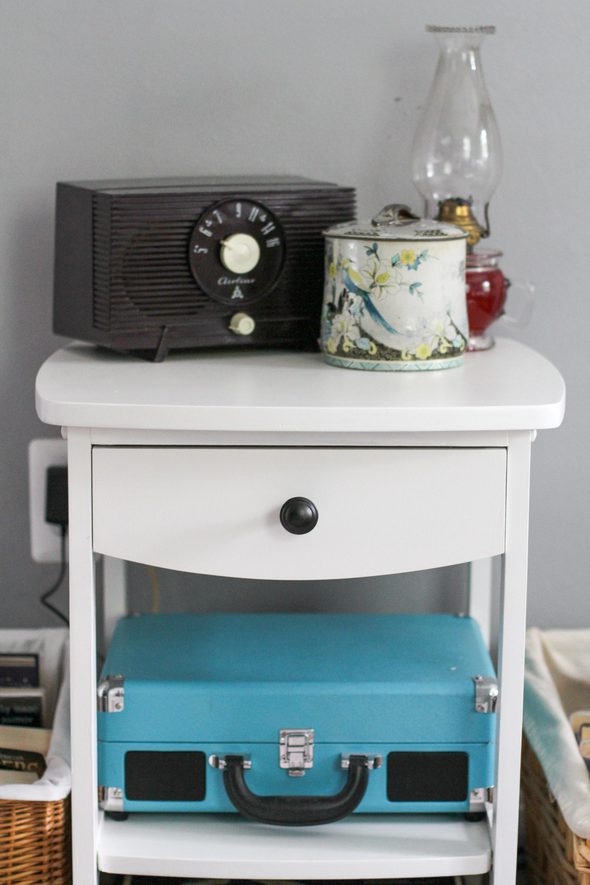
I used midcentury style legs like that--longer, though--to make a side table out of an old hardsided suitcase. Just drilled the screws into the bottom and screwed the legs in. Easy peasy. The suitcase had some old stickers and a tag attached for Twin Falls, Idaho.
@Rose,
That sounds awesome!
My second thought was "Impressive!" My first thought was that your free bookcase was rather expensive, timewise.
Unfortunately, I have absolutely no idea how many hours I spent on this because I was working on three bookshelves at the same time (I will show you guys the other two in the future).
I CAN tell you that I was getting really tired of painting all the nooks and crannies that bookshelves have. 😉
@WilliamB, I remember from my reading The Tightwad Gazette that there are two kinds of investments you can make: money or time. Clearly, Kristen chose to invest time in this furniture, so that she could reap the benefits of a beautiful bookcase that might even become a family heirloom! I can totally see this being passed down someday to one of her girls. She could have spent money to buy a bookcase that looked like this, or invested her time. And it sounds like she batched her worktime, by working on two other bookshelves as well, which is quite efficient, if you ask me. 🙂
@WilliamB, if Kristen someday moves into a house without built-in bookshelves, she'll be glad of the time put into that one, or it can go with one of her girls when they move out on their own.
I love that you turned the bookcase upside down to deal with the damaged shelf. That's thinking outside the box. As usual, your work is beautiful and inspiring.
Orrrrr...it's me pressing the easy button. Ha.
Great job! That's a thousand times better. I love seeing ugly furniture become beautiful.
I'm really curious as to what on earth made that damage on the shelf. I can't imagine what happened there. Flipping it was a great idea.
And I see the Tightwad Gazette! Yay!
Posts like these inspire me to look at what can be, not what is, when checking out old furniture. There are some exceptions (such as the 1970's bold orange, yellow and brown striped, 8ft long, uncomfortable, velour-covered sofa someone once donated to the church), but many pieces, especially solid wood pieces, can be made into something attractive with the right imagination. Obviously, Kristen has that in spades.
Yes, solid wood can usually be transformed! Fabric stuff is much harder to turn around.
And thank you!
You are the free furniture wizard! That is an amazing transformation and the angled legs were definitely worth it.
Gorgeous! You have way more patience than I do with this kind of project!
I can't believe someone thought they could sell the original? Your makeover is amazing! I don't have 1/2 of your creativity on this stuff. I would have never thought to flip it over, or add the legs, which do add a fantastic touch to it.
Great job. Love the legs. Definitely a keeper.
Wow, nice! You are so patient to do all this. To me this sounds pretty much like hell, aha.
Love this!!! Those legs were worth the extra work for sure.
I never get tired of before and after photos. A lot of hard work, but that bookshelf looks amazing. Great job!
This looks fabulous! You are seriously giving me the urge to rehab something. Sadly I don't need any more furniture, but I did join to Buy Nothing Group and have been happily gifting things that can have use for someone else. And got a fort building kit for my kids (think tinker toys but bigger). Tip for installing the brackets for the angled legs, screw the legs into the bracket and then orient them and mark the holes.
Yet another demonstration of awesome work by you and your dad, Kristen! I think the angled legs were worth the extra time and trouble. And I'm hoping we get the Meet a Reader interview with your dad soon!
Yes! He's on a month-long trip with my mom right now, but when he gets back I will interview him. 🙂
I think that's my favorite rehab yet. Those legs make it! Definitely destined for an up front spot in your next home!
You did a great job of refinishing the shelves. I like when someone takes something that looks like something that could go the the trash and makes it new again. I also love the stitch in the afghan. What is that stitch name?
I'm gonna have to email Shannon and ask!
Kristen - This is so impressive to me. I feel like it would take me forever to finish this sort of project. Kudos to you - the shelf is stunning and those legs totally make the whole look of the shelf. I love it!!!
Wow. This is amazing. It seems like you get a lot of satisfaction out of these projects and that is very cool to see.
Yes, I do! I love to make something beautiful from something ugly.
This post is inspiring me to finish painting the trim in my house.
Fabulous makeover, but I love the crocheted blanket on the bottom shelf. Did you make it or was it gifted?
Reader Shannon made it for me!
Wow, that's an amazing transformation! It sure didn't look like solid wood - I thought for sure it was particleboard that couldn't be refinished. I imagine you don't really take your time into account for determining value on a project like this, but I'm curious roughly how much time you put into this?
Those legs gave this project the wow factor! Send a picture to the previous owner. Great job for sure!
I love the remark: "If you can’t see the damaged shelf, it ceases to exist." That could go for a lot of things in life!
Wow! The bookshelf looks beautiful, Kristen! Great job to you and your Dad. The legs are a wonderful added touch.
I am so impressed! I don't have the patience for all that work.
Flipping the bookshelf over was genius!!!
I love that you took something ugly and made something beautiful out of it. Awesome job!!
Also, it made my heart smile that reader Shannon made that afghan for you.
Darn Kristen, you are so cool! I am impressed. What a fun rehab.
Christie
Absolutely LUV this revamp. Wowza! Great work to you and your Dad.
What a great rehab! Eventhough the legs were a pain to install, they completely upgrade the look of the shelves.
You have such great VISION for very dilapidated, dirty things! And PATIENCE, patience, patience to see each project through! I am beyond impressed with how you have furnished your new home with "new", free, and/or cheaply acquired pieces. You inspire me!
I agree....I never tire of before and after photos and commentary.
Excellent work! I was going to ask if Sonia crocheted the afghan, so I'm glad you gave us the story on that.
The stitch is Beautiful Shells Stitch from Rich Textures Crochet blog. Done with acrylic (washable) medium weight yarn and either a G or H hook. May she get many years of use from it.
@Shannon, thanks for stitch info!
I'm glad you post about this hobby/practice, because it inspires me to rehab furniture and things, too. No whiskers required, but it also keeps my dad close to heart since he taught me how to use a handsaw at age 5... He just lives 3hrs away so it's hard to get his help!
Holy cow! What a transformation! You are supremely talented in this area. Thanks for sharing.
I would never think to put legs on a bookshelf. That looks great!
Amazing that you saw the potential in that wreck of a bookshelf, lol.
Love these kinds of legs! I’ve taken several from furniture meant for the dump, the legs are often hardwood even if the rest is not. My partner did an amazing job stripping paint from two sets of teak legs, even the brass was painted. Made our Ivar cabinets from Ikea look like a million bucks!
And I agree with several other commenters, even though you used so many hours on this I think it’s a good investment. It looks so nice now that it can become a family heirloom. Good job!
If you are half as good at rehabbing patients as you are furniture, you are going to be an amazing nurse!!!
Aww, thank you!
Make sure you post a photo of the finished project in your Buy Nothing group as a gratitude post! My group loves to see before and afters, and it makes the gifter feel so good to see something they've gifted be restored and loved!
I probably would have passed on that myself, but then, I'm not handy with projects nor do I have a resource to fall back on. Nice job!
great idea turning it upside down.
I love love love this! I do have to ask: did the spattered brown stuff just come off when you sanded it, or did you have to somehow remove it or clean it off?
It just came off when I sanded! There were a lot of layers of paint to get through, so the brown spatters had no chance of survival. 😉
You are amazing. You could flip these for a tidy profit. Good job!
I am super-duper behind on FG reading, but here to say that you’re super-duper inspiring! I appreciate you so much.
Aww, thank you!
This bookshelf looks great! I love a good repurposed / renovated piece of furniture.
Me too! So rewarding.