
5 Tips for Delicious Chicken Breasts
This post contains affiliate links, which earn revenue for this site at no extra cost to you. See my disclosure policy here.

Over in the Frugal Girl Facebook group (Click here to join! I approve readers promptly.), reader Karen was asking for tips about cooking chicken breasts, since hers often turn out rubbery or chewy.
So, I thought I'd put together a list of my best tips for good chicken breasts.
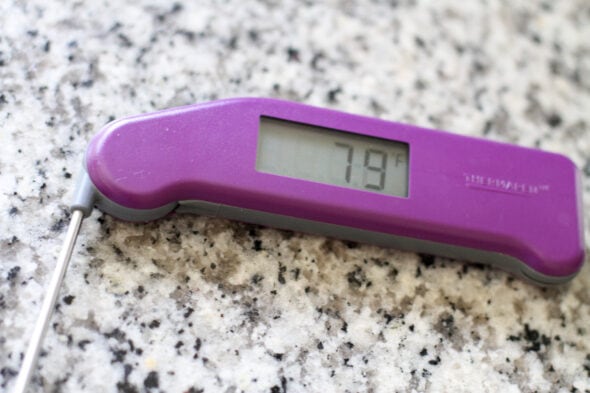
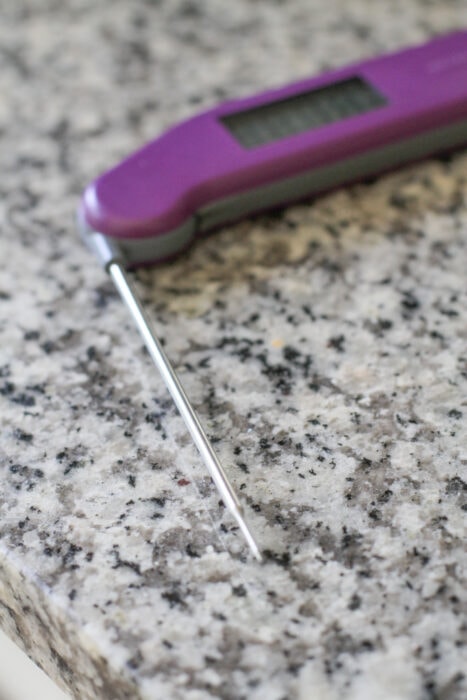
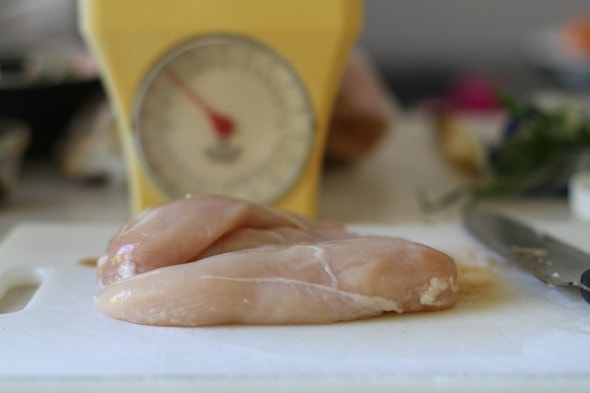
1. Use a meat thermometer.
This is my single best tip. If you do nothing else, buy an instant read thermometer.
A lot of people overcook their chicken because they are scared of food poisoning (Understandable.)
A thermometer will help you cook your chicken JUST until it's safe rather than 50 degrees past safe, which brings you into the Land of Dry and Chewy Chicken.
Cook your chicken breasts to 160-165°F and no further!
I got the classic Thermapen for Christmas a few years back and I use it multiple times every week.
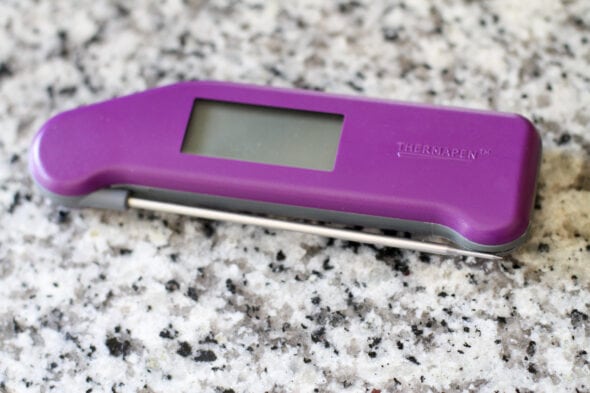
I'd spring for the Mk4 if I were shopping now, or if you want a budget model, try the $35 Thermopop.
I know even $35 might feel like a lot, but I think it's worth it. Skip a night or two of takeout and spend the money on a good thermometer that helps you make delicious food at home!
(I'm not affiliated with Thermoworks in any way, as they're not sold on Amazon. I just love my Thermapen and it's way outlasted the cheap digital thermometers I had in the past.)
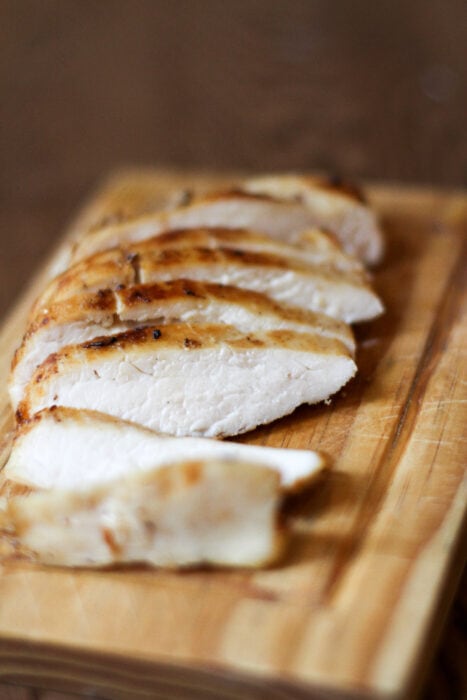
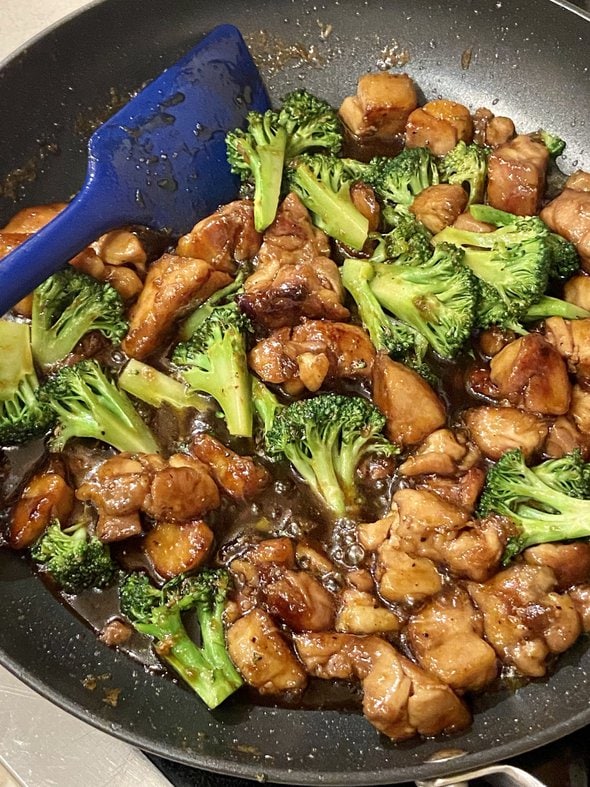
2. Use a hot pan for a good sear.
I usually heat a little oil or bacon grease in a pan until it's nearly smoking and then I add my chicken.
This gives the chicken breasts a nice golden sear on the outside, which makes them taste (and look!) delicious.
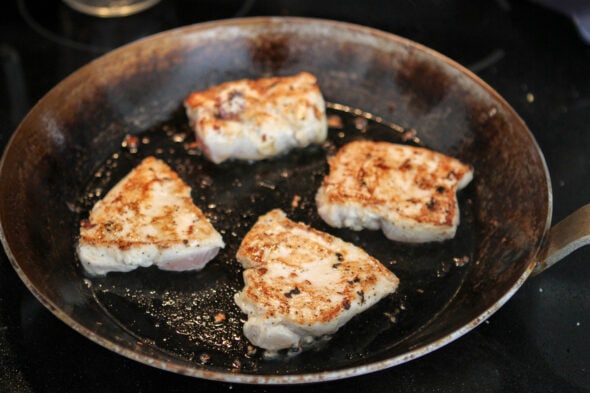
A Frywall is pretty handy to use for this, to help keep your stovetop from getting spattered.
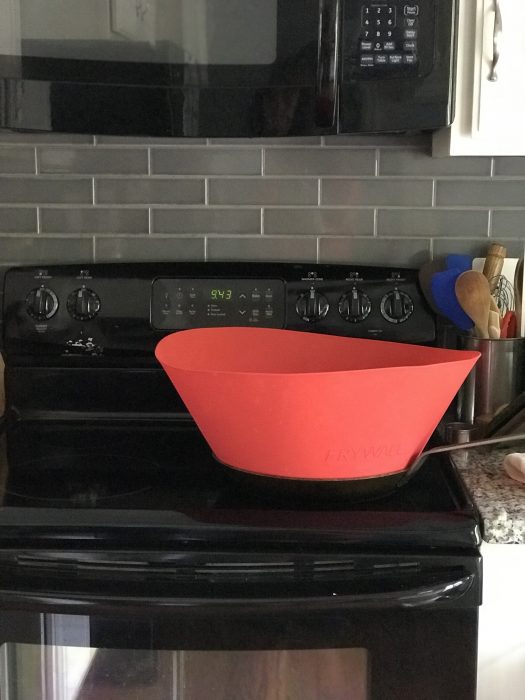
(Here's my post all about the Frywall.)
3. Try a brinerade.
The editors at America's Test Kitchen/Cook's Country/Cook's Illustrated are big fans of a brinerade, which is sort of a mix between a marinade and a brine.
It's basically just a salty oil mix, and it makes a big difference in how juicy and flavorful your chicken will be.
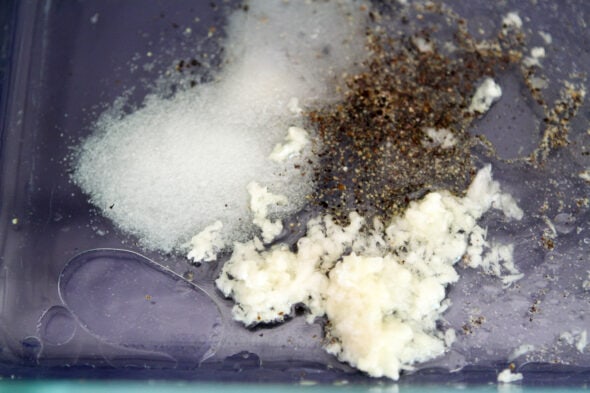
Here's the best basic chicken brinerade, which uses pantry ingredients you probably already have!
4. Cut your chicken breasts up.
Unless you buy organic chicken breasts, the ones in stores these days tend to be enormous.
And it's a little hard to cook something like that thoroughly without drying it out.
So, I pretty much always cut my chicken breasts up into three pieces.
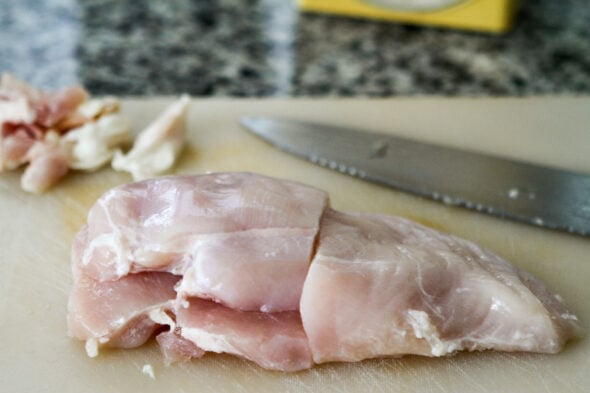
I've been doing this for years, but handily enough, the latest Cook's Illustrated magazine had a drawing of exactly the method I use.
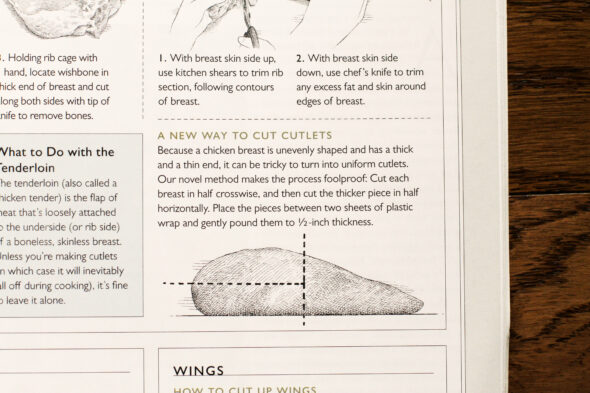
Except I usually don't bother with the pounding.
5. Let your chicken rest before you cut it up.
Even if your chicken is cooked properly, it'll be a little dry if you cut it up right away.
Letting the chicken rest will ensure that the juices stay IN the meat, rather than running out onto the plate.
For a piece as small as a chicken breast, a short 10 minute rest should do the trick. Even a five minute rest is better than no rest at all.
Let me know how your chicken comes out once you try these tips!

Your chicken posts have come at the perfect time for me. I've been married for over 20 years to a man with a poultry allergy, and have generally avoided cooking chicken all this time. I'm so tired of eating beef and pork and just in the last few weeks have started cooking up a pile of chicken for my children and myself to eat over several days. However, I've often joked that I'm the only woman in America who doesn't know how to cook chicken! I think the brinerade and cutting advice will be quite helpful and am looking forward to giving them a try. Thank you!
6. Make sure the pieces are the same thickness, or as close as you can get it. IOW - pounding might be a good idea.
Pieces that are the same thickness, will cook evenly. If they aren't, some parts (such as the thin tip) might be overcooked while other parts (the thick end) might be undercooked.
I have the therma-pop and it has changed my cooking. I don't know how people cook anything without one!
Love it!
I do pound my chicken, as it seems to help with tenderizing and getting everything to the same thickness. I don't use a meat mallet, though - I put the chicken in a ziploc bag (wash, dry, store in the freezer and only use for chicken!), and whack it with a 32-oz rubber mallet.
My dad is the one who introduced me to using a rubber mallet instead of a "meat mallet", and it's so much nicer - a lot more control to avoid mashing part of the meat, less hand fatigue, and the flat surface doesn't destroy the bag.
When resting my cooked chicken, I usually put it into a large warm pot with a lid (like a Dutch oven that's been warmed a bit), so it all stays nice and hot. This is especially helpful if I'm cooking multiple batches on the stove or grill.
I do not have much experience cooking chicken as I decided years ago that I can't eat it with a clear conscience. The condition of growing and slaughter, even for ecologically grown chicken, are so so bad. Additionally, I recently read in "How not to Die" about the increased risk of infections, UTIs and some cancers due to chicken consumption which was very depressing.
My tip is: buy the best quality you can afford. I buy only Bell & Evans and my chicken never tastes tough or rubbery. Cheap chicken often does and I can't stand the texture.
Bell and Evans chicken is SO good!
My best tip is to cook chicken breast in the Crock Pot. Most recipes, other than something like fried chicken, can be adapted to cook in the Crock Pot. I’m sure it’s possible to dry chicken breast out in the Crock Pot, but I feel like it would be pretty hard to do. Add to that the fact that dinner mostly cooks itself while you’re doing something else, and it’s a win-win.
I've started using a thermometer when cooking meat, and yes, yes, yes, it makes a difference! I have a cheap digital one, but suddenly I have an idea for when the kids ask me what I want for Christmas....
I often get whole chickens from a natural farmer (she isn't certified organic, but she basically is) and she raises the biggest chickens I've ever seen, yet they are always tender. When I cut the breast meat off of the chicken, I get two meals worth for the two of us, easily, usually with some leftover for one person's lunch. I started cutting up the breasts into smaller pieces, too, but I was inconsistent in my cuts. I was glad to see that page in Cook's magazine on the best way to cut.
My only tip is that I started cooking them in my cast iron Dutch Oven. The heat is nice and even and the high sides cut down a ton on the splatter. Even though I can cook them on fairly low heat once the pan is hot, they cook faster than in a skillet, so I make sure to use that thermometer!
I totally agree that the thermapen is worth the extra money. After years of cheap instant read thermometers I realized I’d spent the cost of a thermapen on $15 thermometers that broke repeatedly. So I sprung for the MK4 and I LOVE it. Top kitchen buy ever.
I have the same cheap digital instant-read thermometer (Pyrex brand, probably from BB&B) that I’ve had (& used frequently) for more than 20 years! It works great! I’ve replaced the battery only once! I guess I’m very lucky! Although when I bought it, I bet it was under $10, but it felt like a splurge because of a very limited budget. It helps with all meats. I especially had trouble gauging big roasts and turkeys done-ness. I would naturally way over-cook things. My Mom was afraid of trichinosis and such.
I tried the brinerade yesterday and posted a comment about it. Long story short, we had delicious chicken even though I over cooked it a bit! I have a meat thermometer but I rarely use it. I do frequently over cook my chicken because I get busy doing other things.
Also, I often buy boneless-skinless chicken thighs because they rarely are dry no matter how I make or neglect them.
I prefer boneless skinless thigh meat to chicken breasts myself. More taste, and more naturally tasty.
I intend to try the brinerade and all these tips, but I have a question or two. I do sear my chicken but perhaps too much and don't turn down the heat soon enough. Is that like a minute each side to sear and then turn the heat down to medium, or lower (?) and do you cover at this point. I would use my thermometer but is this about 10 minutes more?
My son "fries" chicken for chicken and stuffing and it never gets a sear and is always good. I don't know how he does it.
I've intended to try the buttermilk soak but never remember to get it--at least I have brinerade ingredients on hand.
That cut up technique looks good. I have trouble cutting a whole long strip evenly. BTW, if organic chicken is still the way chicken has "always" been, it's sort of an unsettling thought as to how/why today's chicken breasts are so huge.
Now a harder question, do you know the secret to cooking pork chops. My chicken is good sometimes but I've nearly given up on pork chops.
It's different for fat pork chops than for thin pork chops.
For fat pork chops (or any other thick slice of meat):
- salt & let rest for 30-60 min
- bake at 325F till they are almost your desired doneness
- sear in well-heated pan (cast iron works very well) over high heat to get a crust
- let sit 10-15 min before cutting
For thin pork chops:
- salt & let rest 30-60 min
- cook over high heat till a bit short of your desired doneness, turning frequently to prevent burning
- let sit about 10 minutes before cutting
Thank you, WilliamB. That salting/resting beforehand is something I never do so you may have unlocked the secret!
The biggest pork revelation for me was about temperature! I wrote about it here: https://www.thefrugalgirl.com/52-new-recipes/
The amount of time needed to cook the chicken breasts all depends on the thickness of them and also how much sear you like. I often keep mine on medium high heat for several minutes on each side before turning down the heat.
I recently came across this method for cooking moist chicken breasts on pinterest that works wonders. Season the chicken however you like, place on a baking sheet and cover with parchment paper closely around the chicken. Bake at 400 degrees for 20-40 minutes depending on the size. The actual "recipe" I follow is here: http://www.thekitchn.com/how-to-cook-the-best-chicken-breasts-in-the-oven-cooking-lessons-from-the-kitchn-211453
This is one of the best posts ever, thank you