
WIS, WWA | spring fever
What I Spent Boyyyyy, am I ready for the semester to be done. Three weeks from today, I will be officially on summer break! It’s …

What I Spent Boyyyyy, am I ready for the semester to be done. Three weeks from today, I will be officially on summer break! It’s …

(see below for the toast issue) This week, I am thankful: for a clinical bag from a sweet reader A blog reader messaged me letting …

I’ve been enjoying hearing your Instagram posts playing the piano. I’ve gotten in a rut with my piano music and wondered if you would consider …
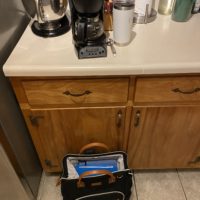
My formica countertops make three appearances in this post. I’m out here being a formica influencer. 😉 Do you all wanna run out and exchange …

It’s not stream of consciousness today…it’s more of a miscellany collection, because I have a bunch of small things I want to share with you! …
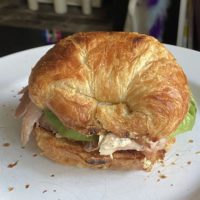
What I Spent I put this post together and realized that I have eaten a version of a sandwich almost every night. And I did …

Hey guys! I have an exam in 45 minutes (as of this typing), so I do not have time to do a full-on Thankful Thursday …

The gray hair in question: In the inadvertently selfie-heavy Five Frugal Things post yesterday, reader Crystal left this comment: I especially love your hair! Lovely! …

I didn’t realize until I put this post together that it was gonna have so many pictures of me. So, it’s the Inadvertent Selfie Edition. …
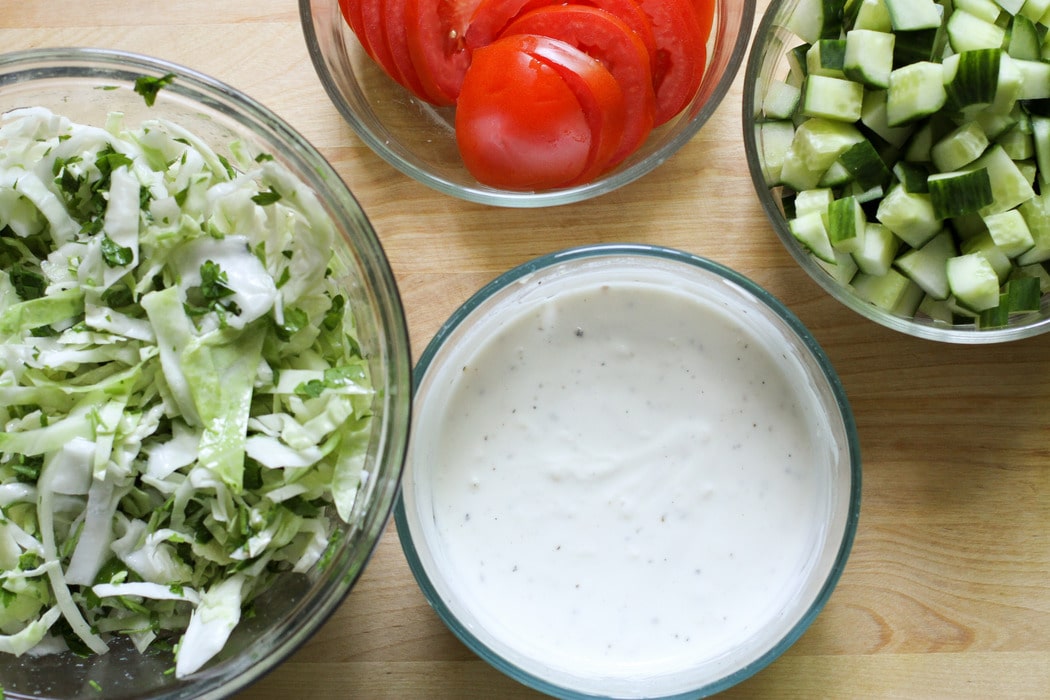
As you guys know, I am a big fan of sauces. In my book, pretty much everything is better with a sauce, especially if the …

What I Spent I spent: $10 at Lidl $15 at Safeway $30 on a Hungry Harvest box $7 at Aldi $98 at Sam’s Club Annnnnd …

This week, I am thankful: for the green that’s spreading through the trees I know this happens every spring, but my goodness, every year I …

On a podcast, I recently heard Ira Glass mention that sometimes, he finds himself eating meals and paying no attention to what he’s eating at …

I have an entirely food-themed Five Frugal Things today. Ready? 1. I used a stretched-out coffee filter to make Greek yogurt You know how sometimes …

Otherwise known as…stream of consciousness. I don’t have any Meet a Reader submissions in the queue, so here we are. 😉 Six more weeks! My …

What I Spent I spent: $29 at Safeway $32 at Aldi $22 at Chick Fil A So, $83 this week. What We Ate Saturday I …