
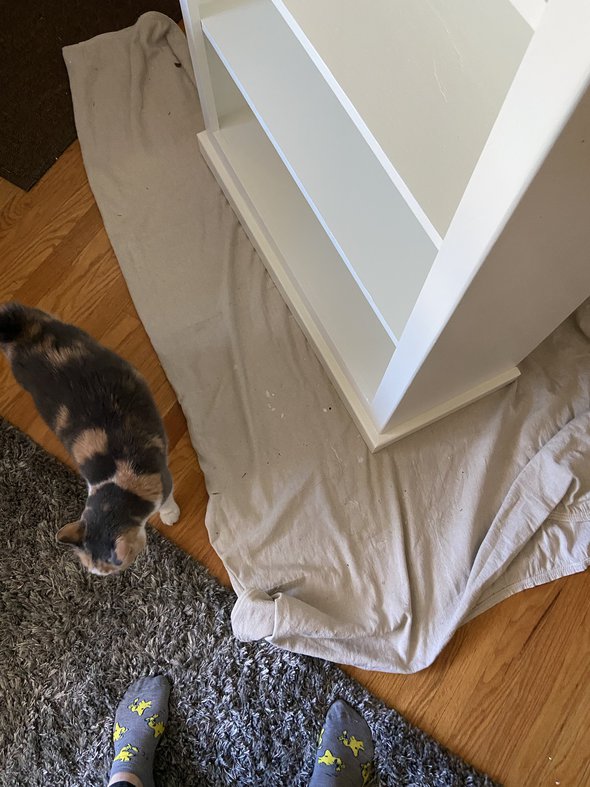
Cabinet progress update
Here's what's been goin' on!
-I took all the doors off of my cabinets. This took about 45 minutes or so, and that was with me working super fast, using a drill.
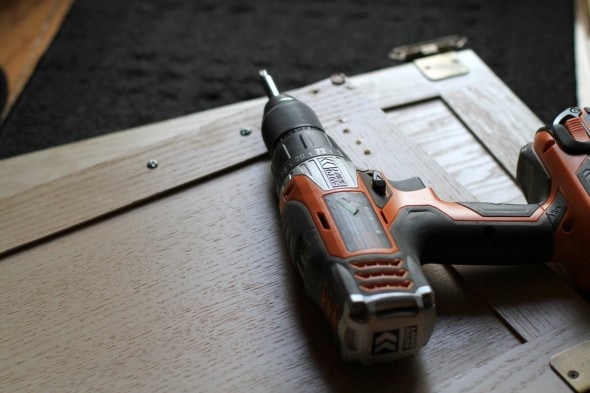 |
Without a drill, I shudder to think how long this process would have taken!
Having all the doors off is driving me crazy. I keep feeling like I need to go around shutting doors, but there are none to shut.
 |
The good part about this is that it is keeping me motivated to press on. I am sooo not letting this drag on for months.
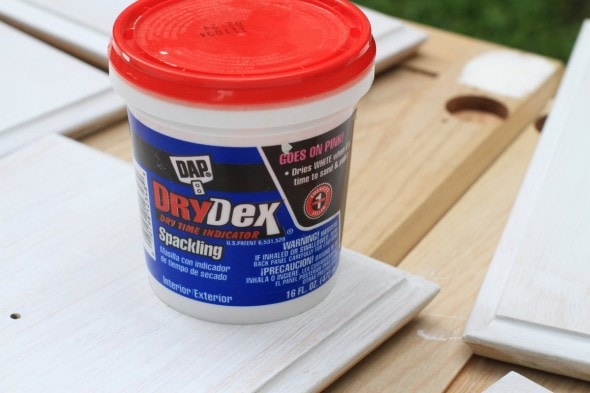
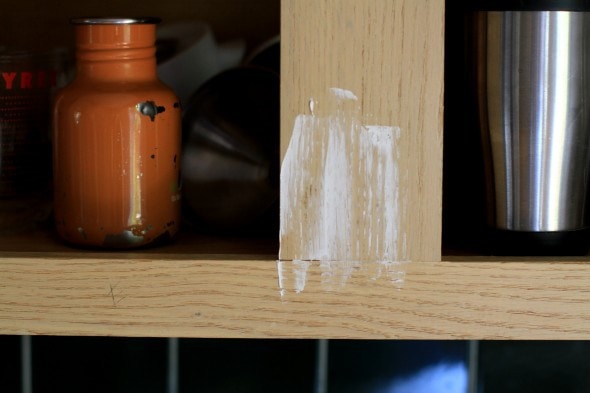
With all the doors off, I was able to work on filling the holes from the old hardware.
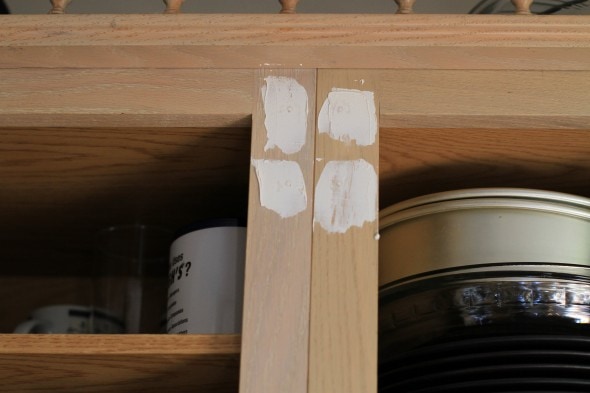 |
I'm just using a lightweight spackle for this.
 |
My cabinets have also got some gouges in them, and I figured this was as good a time as any to address those.
 |
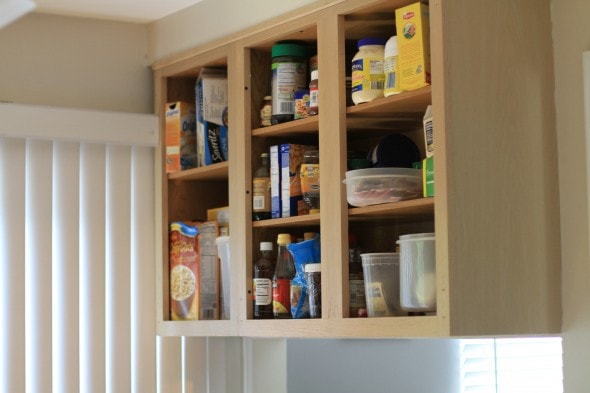
During this process, I remembered another reason I wanted to paint these...the cabinets don't really match each other.
See?
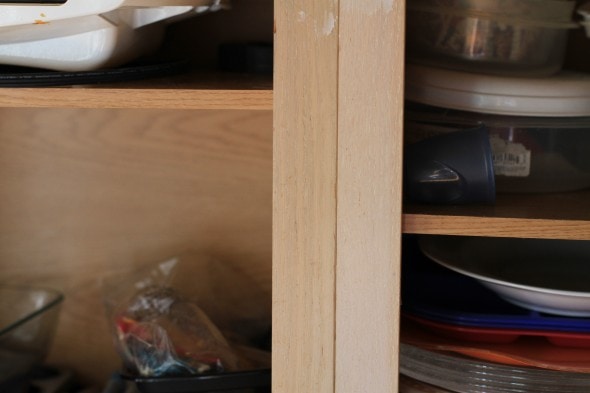 |
It's like that all over the kitchen.
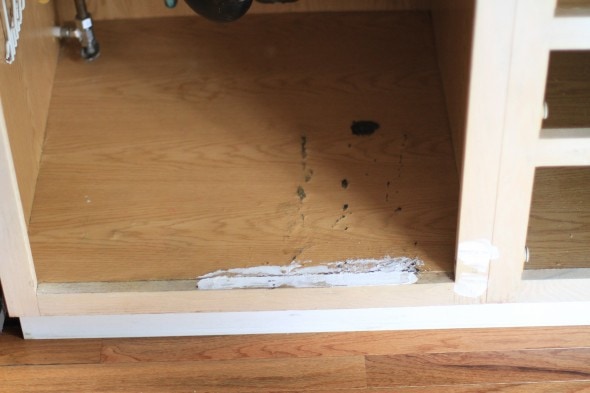
I'm not painting the inside of my cabinets, at least not for now, but I'm making an exception for the under-sink cabinet. It's in pretty dreadful shape, with some water damage, so I'm going to sand it down and paint it.
 |
The next update I share with you should have some more exciting photos...like white painted things!
_______________________________________
Joshua's 365 post: I'm back!
How do you sand the inside of a cabinet? Especially under the sink, which is so irregular and crowded? I'm imagining a lot of finicky work.
Well, the bottom isn't too bad to sand with the orbital, and since the sides and back get little use, I'm priming and painting those without using the orbital.
This is a big job. Keep up the good work.
It's going to be great!
We put peel and stick floor tiles on the bottom of our cabinets under the sink to protect it from water damage. It's easier and better than painting, not expensive either 🙂
I would like some of your energy! Seeing your picture of under the sink makes me think of mine-and how much better yours looks. Woah. Perhaps I had better get going. ahem. ... 🙂 I can't wait to see the finished project!!
Thanks for showing this! You are giving me hope for redoing my own cabinets!
Can't wait to see how they turn out 🙂
Have you ever considered using a peel and stick vinyl type tile under the sinks?
It makes liquid messes so easy to clean up, and you don't have to buy a whole box full. You can buy them by the piece, and it's a pleasant suprise each time you open the bottom cabinet doors.
I found mine at the Habitat ReStore for .15 each, and I only needed 5. They were 12x12.
I was just going to suggest the same thing. Peel and stick, quick, easy to wipe clean.
I would love to do this to mine! Keep up the good work.Looking forward to seeing the end result. Last summer I worked under my kitchen sink cabinet( water damage) and ended up using vinyl tiles as the covering,which has worked out great...and cheap to do!
The suspense is killing me! I'm so excited to see what they look like!
May I offer some advice to NOT paint the inside of the cabinet under the sink? Well, I'm going to anyway. Don't paint the inside of the cabinet under the sink! 😛
Go to your local flooring store and ask if they have any vinyl/linoleum scraps they'd sell cheap. I mean, it doesn't have to match or anything. Glue it down and you're all set and it has the benefit of being a bit more water resistant should you get a drip.
Otherwise, good job so far! I'd love my kitchen painted but after finding all the functional issues (cabinets when there should be drawers, lack of usable space etc.) I'm thinking it may end up being a rip and replace job. :-/
I can also tell you would not be a fan of the open shelving that is so popular in kitchen design these days. 😉
I second the comment about using linoleum. It makes clean up under the sink so easy!
Me too, we have peel and stick under all ours including the bathroom. They wipe clean so easily.
Oh, the non-matching cabinets would make me nuts, too. As would being unable to shut cabinet doors. It will all be worth it in the end.
My dad had a great idea for under the sinks. We had some extra linoleum, so we cut out the cabinet shapes and put some under each sink. Now if/when the sink or piping drips, it doesn't ruin the cabinet and we can just wipe off the linoleum and we are good to go.
The cabinet doors were taken off of our cabinets when we bought our house. I lived with no doors for 4 1/2 years until I finally asked for them to be installed for my birthday. I had sanded, routed the edges and painted them but since we didn't know what went where and there were doors missing poor Hubby was overwhelmed!! Once they were on it took awhile to get used to having to open/close doors. Its such a tedious project but so worth it in the end!! Lots of luck!
Hi Frugal Girl! I've just decided to start a little blog which will be mainly about frugal food and other frugal activities. For the last few years I've read loads of blogs and websites and gained lots of useful knowledge and recipes and my attitudes about a lot of things, including food, have changed. Your blog was the first I ever read, and has inspired me hugely, bringing me to today, as I write my first blog post all of my own! Because of this, I would love to link to your blog in my first post, and would like to know if that's alright with you? :o)
Thanks!
Lucy
You will be so happy that you painted under your sink! Every time you open those doors, it will be bright and clean, and will make you feel good.
I need to do that.