
Yesterday I posted a picture of a shirt in the midst of being made thinner, and several of you had questions about how I do that.
And since this kind of thing is way easier to explain with photos, I thought I’d share my process in pictures.
This is a great technique for rescuing shirts that have gotten shorter and wider over the years, and I wish I’d figured it out sooner! It’s also good for older shirts that have been around since the days of higher-waisted pants (shirts from those days are definitely shorter than newer shirts are.)
Basically, you’re taking a larger but too-short shirt and you’re cutting it down to a smaller size. That way, the short length is no big deal, since a smaller shirt needs less length.
I hope that makes sense.
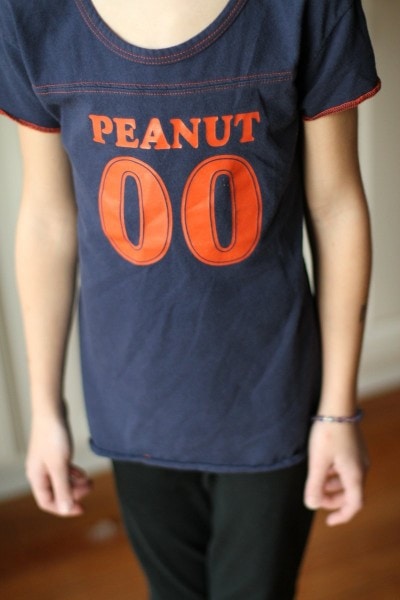
I’m starting with this hand-me-down shirt, which is wide enough for someone Lisey’s age, but is way too short for someone of her size.
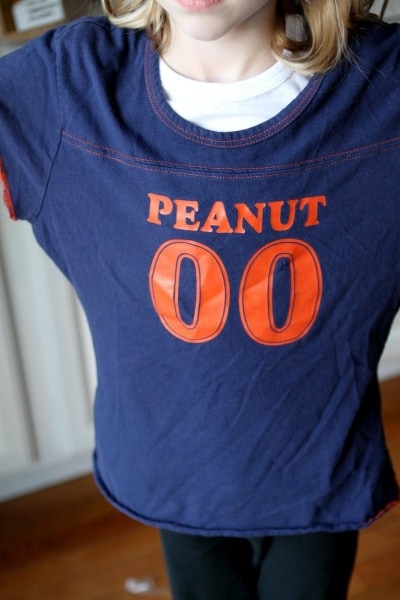
Appropriately enough, I’m sizing it down for Sonia, who is my peanut-sized kiddo. 😉
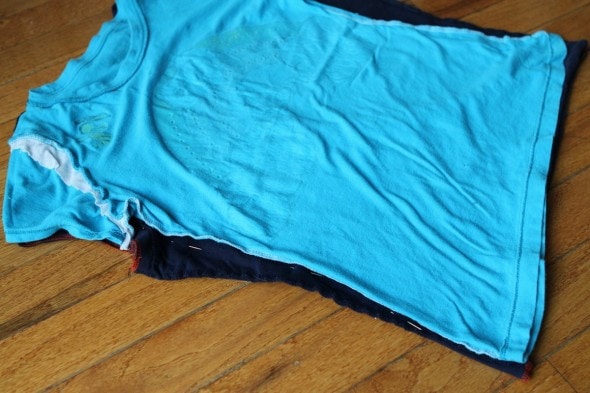
So, like I showed you yesterday, I turn the shirt inside out and lay another (well-fitting) shirt on top so that I can see where the problem areas are.

I line them up to the best of my ability, and then I place pins on the bottom shirt, all along the sides, to mark where I want to sew.
(I don’t pin the two shirts together.)
Because it would be awkward to take in the sides of a shirt without addressing the armholes, I also pin there. I find that shirts which are too wide generally have armholes that are too big as well, so it makes sense to take care of both problems at once.
Then I just sew along my pin lines, taking care to make sure I’ve lined up the edges of the armhole and the bottom edges as well.
Once that’s done, I have the kiddo in question try it on, and if it fits properly, then I snip off the excess fabric.
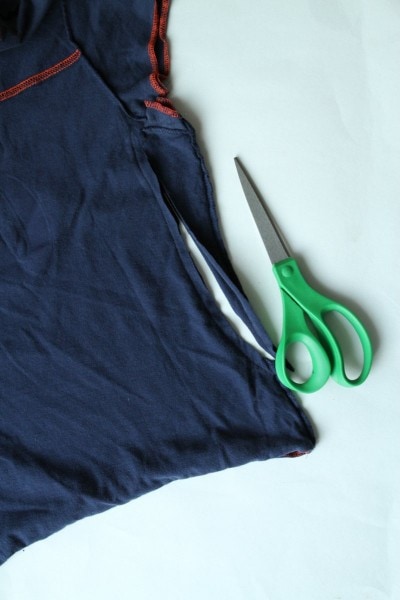
(after I did this, it became obvious that my bottom curve was too sharp, so I fixed it. )
If you’re working with knit t-shirt fabric, you do not need to worry about the edges fraying, and you can leave them as-is. If you’re sewing a woven fabric, then you’d want to serge or zig-zag the edges.
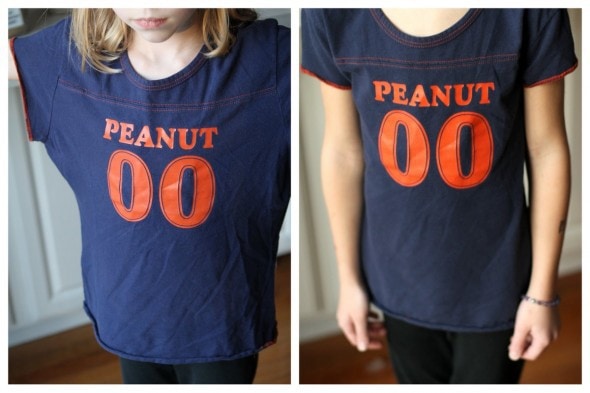
Here’s what the shirt looks like now…such a much better fit!
Here’s the side-by-side again. So much better!
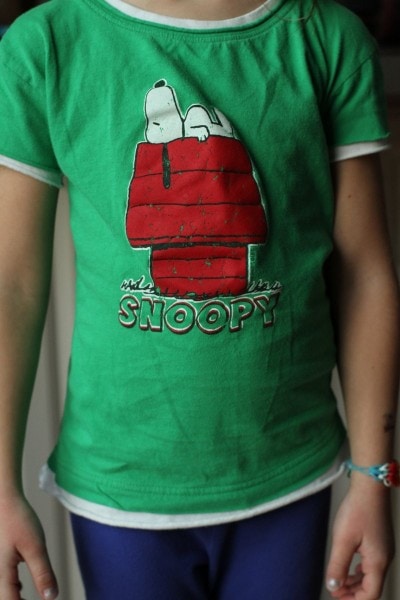
While I was at it, I also fixed this one for Zoe. I didn’t take a before picture, but it was even wider than Sonia’s shirt, and the fit is much improved now.
A lovely thing about working on old hand-me-downs: it’s super low-pressure.
The shirts were free and they weren’t going to fit anyone as-is, so if I screwed this up horribly, it’s not like I would have lost much, except for a little bit of time.
It’s kind of like painting old furniture…if it’s ugly and it was free, then hey, you couldn’t possibly make it worse than it was and even if you could, you wouldn’t have wasted money, except for the cost of supplies.
This kind of project warms the cockles of my frugal heart…it costs almost nothing, and it gives new life to clothing that wouldn’t have been worn otherwise. Yay!
I also modified a few other long-sleeved shirts and not gonna lie…I am super pleased with how I handled the long sleeves. But I haven’t taken photos, so that will have to wait for another post. 😉
P.S. Food Waste Friday is at Simply Being Mum today.
Allergy Cookie
Tuesday 22nd of April 2014
Thanks! This was super helpful for me when I was given an XL men's t-shirt to wear as the coach of my son's T-Ball team (I am a women's XS). It worked out great!
Cindy
Tuesday 22nd of April 2014
I, too, have a "peanut-sized" granddaughter that this will work great on. Love your site, by the way. I'm new to your blog, so, thanks for all the great, useful, common sense tips!
mariainchicago
Tuesday 22nd of April 2014
So cool. Love the new, custom fit on these shirts!
Elizabeth
Monday 13th of January 2014
That shirt looks great!! Thank you so much for the instructions!
I've tried this a couple of times with t-shirts that were too wide and I always end up having a problem with the armholes/sleeves. I have no problem taking in the torso of the shirt, but essentially the shoulders are still too wide, the seam falls too far down the arm and the whole thing looks weird. On my last attempt I actually tried to cut the sleeves out and re-set them, but it was labor-intensive enough that I got distracted in the middle of the project and haven't gone back to it.
Any additional tips about what to do with shoulders/sleeves?
Kristen
Tuesday 14th of January 2014
Ooh, that is a tough problem. I guess the shirts that I've done this with so far haven't had super wide shoulders...it's the torso part that's been too wide.
You could take off the sleeves and reattach them, but that's a ridiculous amount of work for a t-shirt. Another option is to chop off the sleeves and make a sleeveless shirt.
I wish I had more helpful advice!
The Frugal Flirter
Sunday 12th of January 2014
Great tutorial, I have a huge box full of t-shirts that are 'past their best'. I keep saying I'll get round to tailoring them, but never seem to get round to it...how do you find the motivation?
Kristen
Monday 13th of January 2014
Well, it sometimes takes me a while! Those shirts have been sitting in my pile for a few months, and I just happened to get a burst of motivation one day.