 Every Wednesday (ok, most Wednesdays!) I share a baking recipe. And lots of pictures of said baking recipe. I don’t call this Wednesday Baking because I bake solely on Wednesdays…no, my oven gets a workout much more frequently than once a week! Wednesday just happens to be the day I share baking recipes with you. All the past baking posts are archived in the Wednesday Baking category, which can also be found in a tab underneath my blog header.
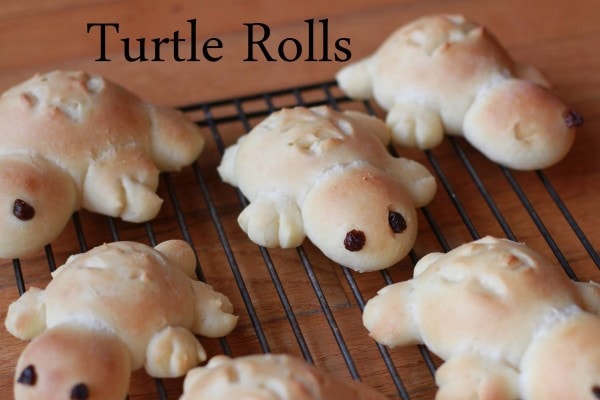
If you’ve been a Frugal Girl devotee for long at all, you probably are well aware of Sonia’s turtle obsession. For her birthday last week, she requested that I make snake rolls, so that was the plan.
But around lunchtime, plans changed because somehow, I remembered that in one of my Fleischmann’s Yeast cookbooks there was a recipe for turtle-shaped rolls. Sure enough, I looked it up, and there was a photo of turtle rolls!
The original recipe was for a peanut butter yeast dough, though, which kind of squicks me out. I suppose it’s possible that the recipe is delicious, but I’m skeptical.
Peanut butter + chocolate? Yes.
Peanut butter + jelly/honey? Mmm-hmm.
Peanut butter in most non-yeast baked goods? I’m totally open.
But for some reason, the idea of peanut butter bread is just…weird.
So, I made my usual Basic Roll recipe and use the Fleischmann’s directions for the shaping.
One recipe of Basic Roll dough will make 16 turtles. I’m going to warn you, though, they do take some time to shape. I was in a bit of a hurry the day I made them, so I made 8 turtles and used the rest of the dough to make simple rosette rolls (directions and photos are included in the basic roll recipe).
Ok! So, you’ve got your risen batch of roll dough. Divide it into 16 equal pieces.
You can shape your turtle using any proportions you want, but here’s how I did it.
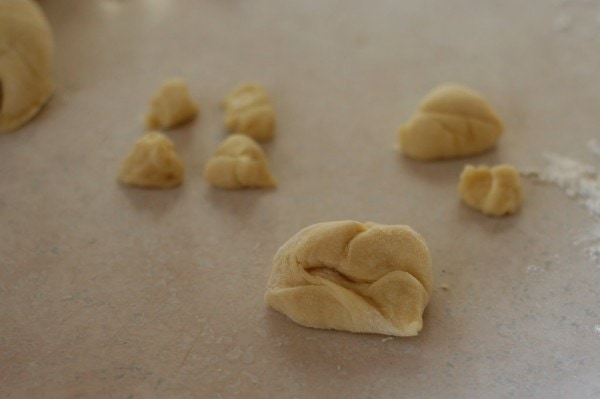
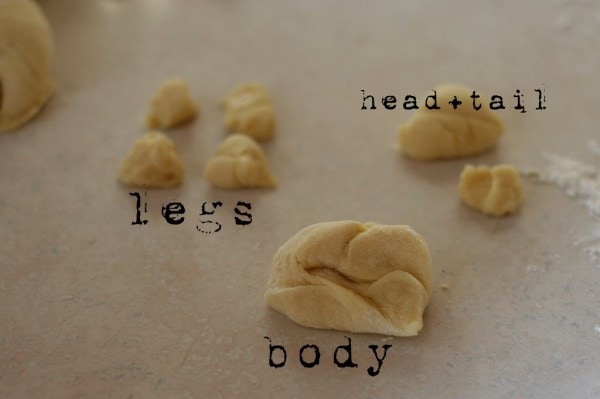
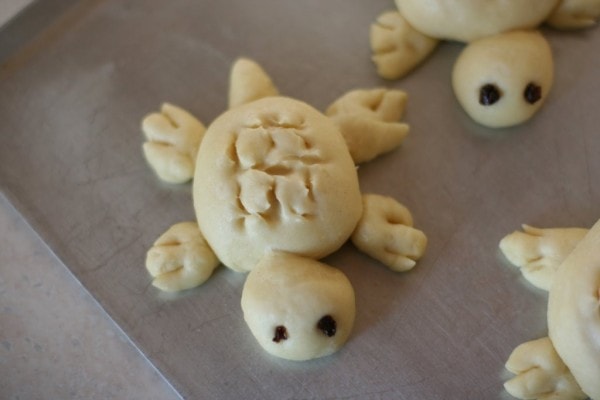
Take one of the 16 portions of dough, and remove 2/3 (this will be the body). Divide the remaining third in half. Use half to make 4 legs, and use the other half to make a head and a tail.
Here’s a labeled version, in case you like more detail.
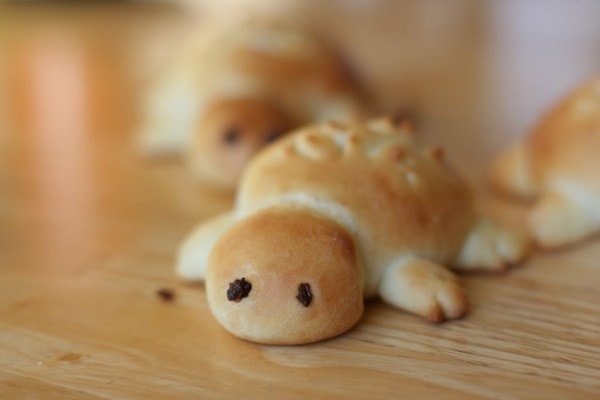
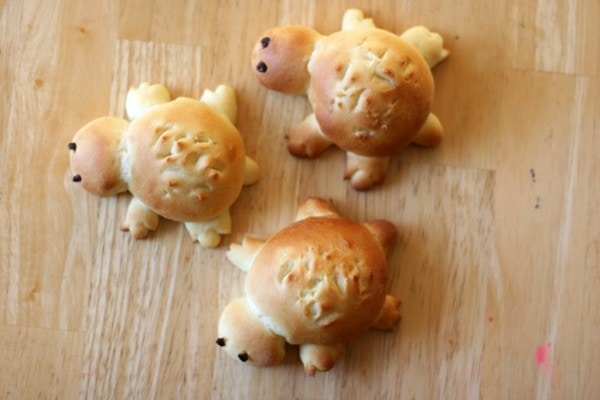
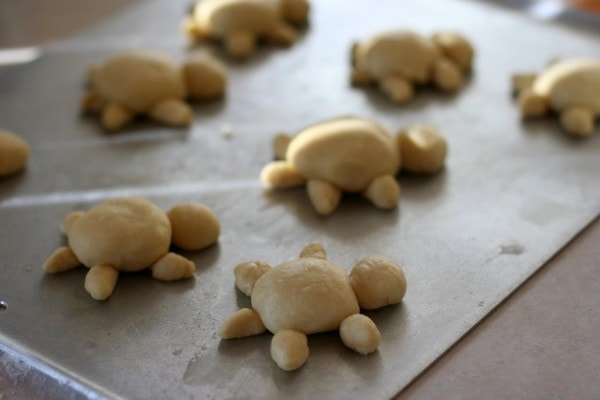
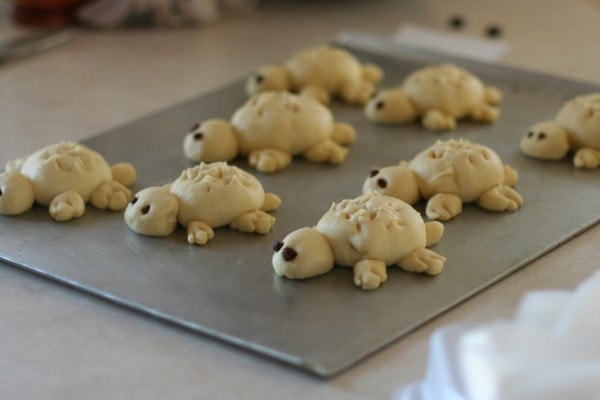
Shape the body and head portions into a ball shape and place on a greased baking sheet. Roll the tail and leg portions into small, stubby rope shapes (I made the tail portion more pointy), and tuck under the turtle’s body in the appropriate places.
Once your baking sheet is populated with turtles, cover them with a damp tea towel, and let them rise in a warm place for about 30 minutes (45 if your kitchen is chilly).
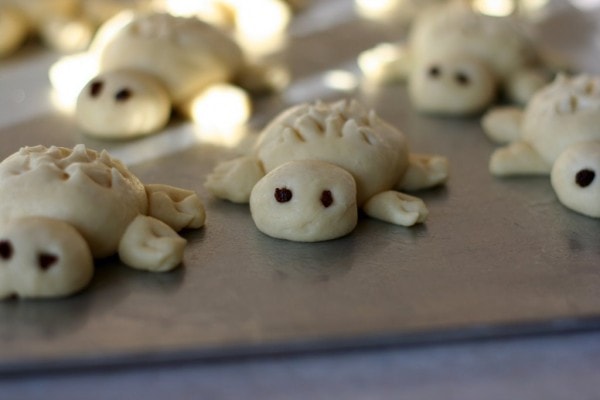
Before the turtles bake, cut raisins into small pieces, and push into the turtle’s head for eyes.
Using a kitchen scissors, make cuts on top of the turtle’s back for texture and on his flippers to make them look webbed.
Your turtles are now ready to bake!
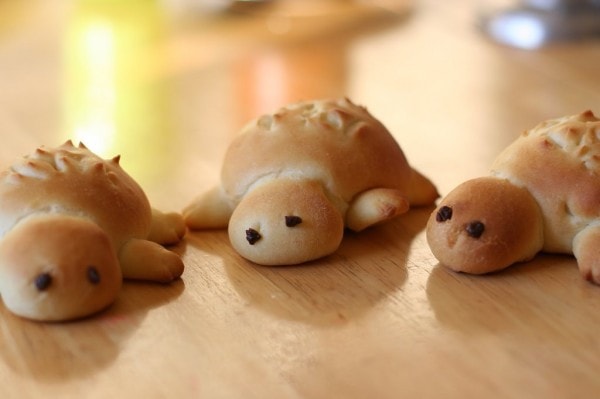
Bake them in a preheated 350 ° F oven for 12-15 minutes, or until they’re lightly browned.
Let them cool on a wire rack. I think they’re at their yummiest served warm, but then again, leftover rolls never linger long at Chez Frugal Girl, so they must not be terribly inferior when completely cool.
Now, some of your turtle’s eyes may pop out during baking, but never fear! Blind turtles are easily healed. Just cut up a new raisin, use a paring knife to make two slits in the turtle’s head, and tuck the raisins in. No one will ever know. 😉
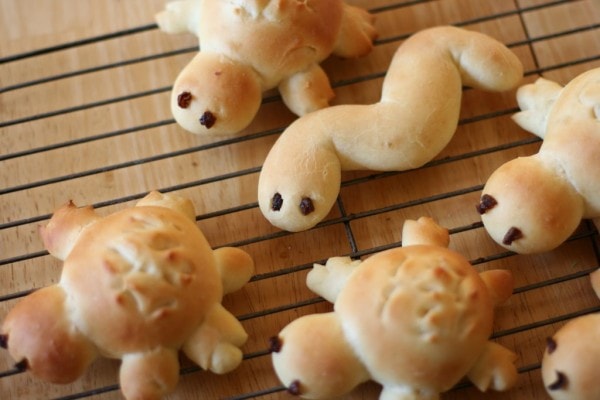
Incidentally, the roll-shaping possibilities are nearly endless….I’ve made bears, bunnies, and snakes before(as you can see above!), so if turtles aren’t your thing, try something else. As long as your shape isn’t too big and can lay down flat on the pan, it should work.
You know what I just realized I haven’t made? I did snakes for Joshua, Peep bunny rolls for Lisey, and turtles for Sonia, but I have not made any aquatic creature rolls for Zoe. I need to rectify that…I bet I could make whales or fish.
And of course, when I do, I’ll report back on how it works out.

Skirnir Hamilton
Saturday 3rd of March 2012
Those are some of the cutest rolls ever. I hope Sonia enjoys them for her birthday. :)
Megan
Wednesday 26th of October 2011
Baked thees today. My kids loved them.
Sarah
Thursday 10th of March 2011
Yummy I would like to do that with other types of breads to serve with dinner. My kids love that. Great ideas you always have.
Bettina
Wednesday 9th of March 2011
Oh my goodness! Those are the cutest little guys!
CathyG
Wednesday 9th of March 2011
So cute! We use the same concept to make teddy Bear pancakes - just use a spoon to put out the big circle, smaller circle for the head, smaller still for legs and ears. The kids loved it.