
We got this bed back in 2001 as a hand-me-down from an extended family member (Mr. FG’s uncle’s wife’s aunt, I think!).
When it arrived at our house, it was stained with a somewhat dated-looking color, and it didn’t go with the white dresser at all.
So, my younger brother and I scuffed it up and slapped a coat of white paint on it.

I really had no clue about painting furniture back then.
I think I might have used wall paint, actually.
And horror of horrors, I think we used a wall roller to apply the paint, so the finish was, shall we say, not too smooth.
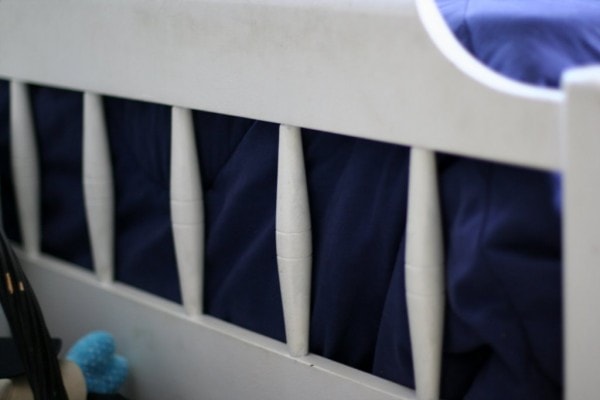
After 9 years, the white paint was sort of off-white, and it was starting to chip off in places from wear and tear. Since all the other furniture in this room is black, I thought a black bed would be more appropriate, and he agreed.
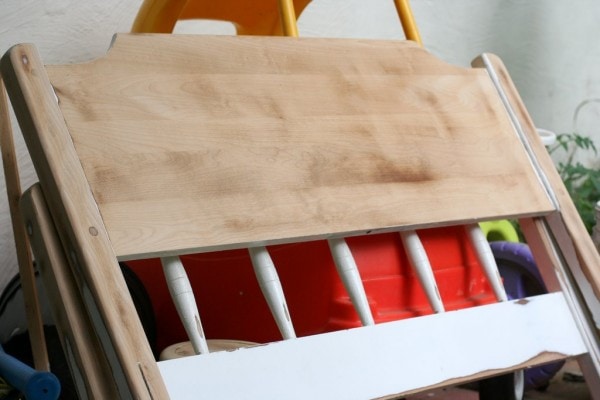
So, we took the bed apart, and found it necessary to do a little bit of decluttering and vacuuming.
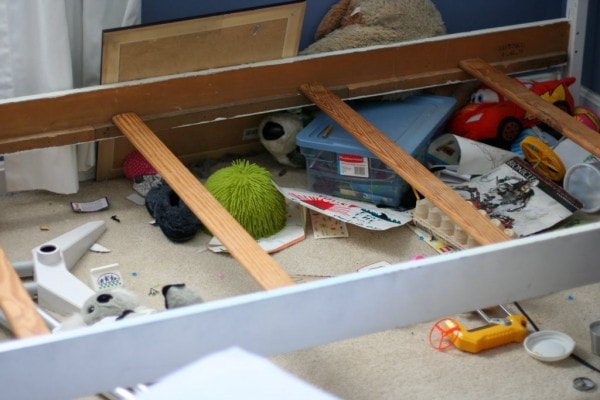
Because you can’t exactly put a boxspring and mattress directly on top of all that.

(as you can see, a lack of underbed space does not deter my children from keeping things cluttered!)
This took me two afternoons and I could probably have gotten it done faster, except that I really wanted to sand down to the bare wood wherever possible, just because I love to have the wood grain show through the black paint.
Unfortunately, whatever paint I used on that first go-round was remarkably resistant to sanding.
Either that, or the problem was the gobs and gobs of paint I used.
Ahem.
Whatever the cause, my orbital sander and I had to spend a lot of time together to get rid of the paint (and I went through a small pile of 60-grit sand paper!).
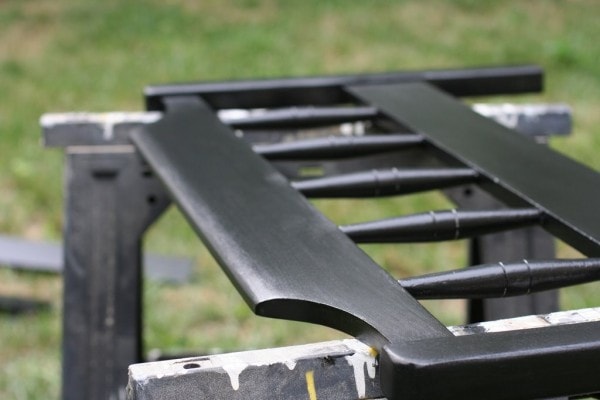
Once it was all sanded down, I used the painting method described in my How to Paint Wooden Furniture post to paint the bed black.

(excuse the dust on the left piece. And these really are black-black, not gray like they appear!)
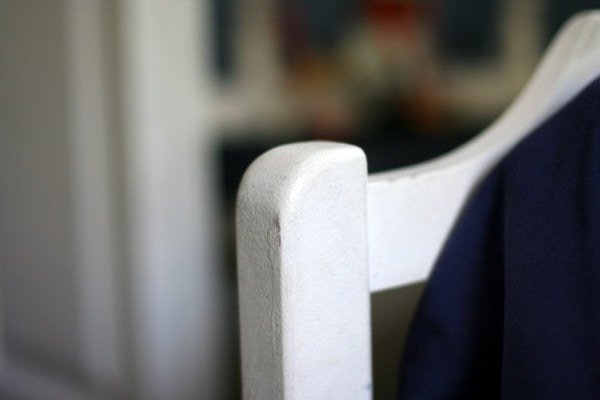
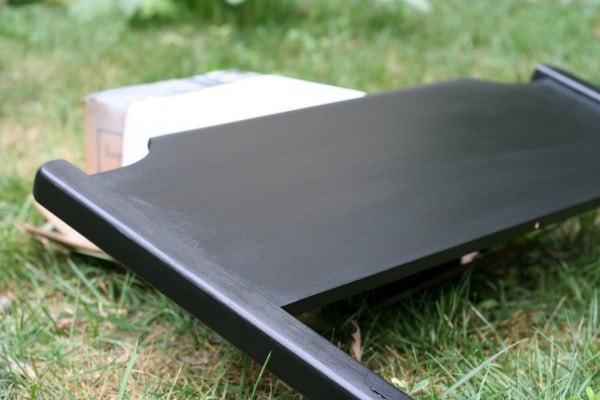
You can see how the wood grain is showing through on the one side rail. Love that.
I don’t actually paint in the grass, just so you know. I use sawhorses whenever possible.
And sometimes I use cardboard boxes to prop things up. 😉
I was going to let the pieces sit overnight before putting them back together, but Joshua wasn’t going to have any of that….he was very excited to get his new bed!
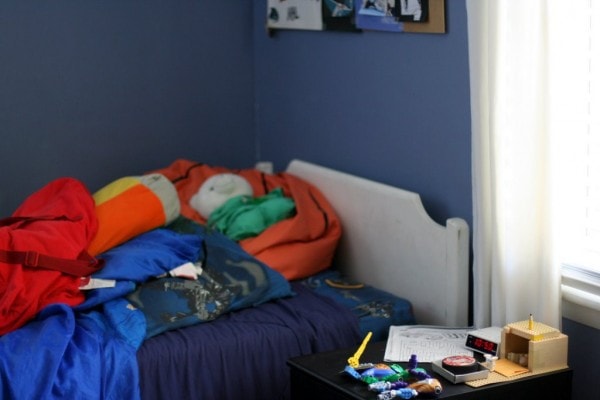
Unfortunately, the bed is in a dark corner of his room, and it’s kind of a cloudy morning here, so I had trouble taking pictures. None of these really blow my hair back, but I’m too impatient to wait to share about his bed, so here you go!
First, check out the underside of his bed…there’s nothing there! At least, not for the moment.
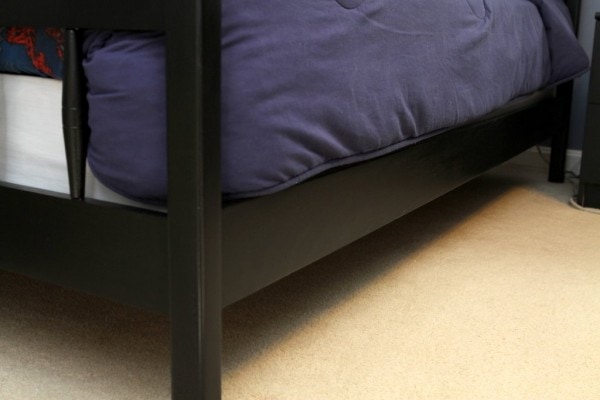
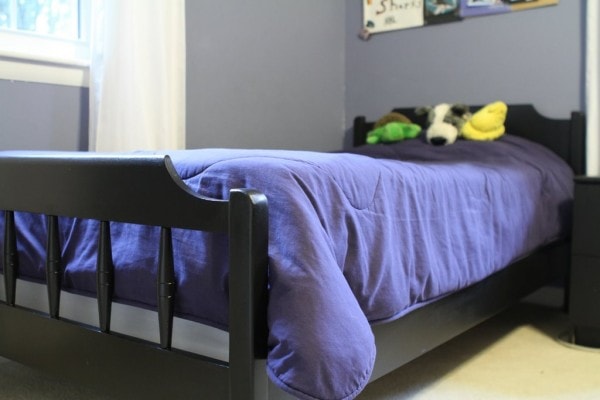
I’m not a big fan of the blue comforter/black bed combo, but we will get another comforter soon.
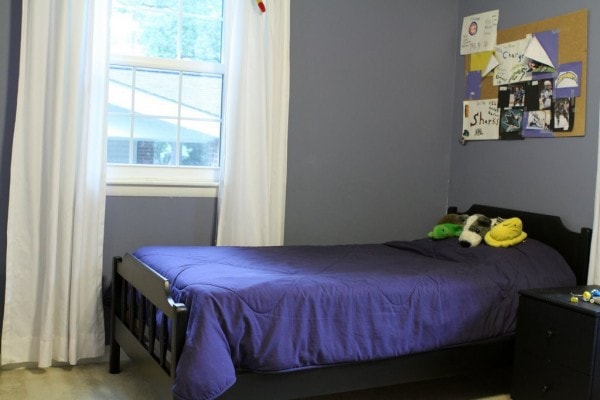
I’m so pleased with the look of this bed…it really does seem like a brand new piece of furniture! The pictures don’t do it justice, so you’ll just have to trust me on that. And Joshua’s very pleased as well…I think he feels that his bed looks a little more manly now. 😉
Not only is the bed beautiful, I think it was a total bargain, especially for a bed made from 100% real wood.
A black twin bed from L.L. Bean, made from birch and, uh, manufactured wood comes with a $399 price tag.
Even Ikea’s only twin black bed, which is made from “Fiberboard, Particleboard, Acrylic paint, & Foil” costs $129.
Pottery Barn carries a solid wood bed (not in black, though) but that would run me $599 (on sale!).
This bed, on the other hand, was free!
And a $3.50 can of primer, a pack of sanding pads (I already had those, so I don’t remember what they cost! It’s usually less than $5, though), and a $7 can of paint have made it look like those beds that cost hundreds of dollars.
Plus, that can of primer and can of paint are also going to rehab three picture frames and a mirror and possibly a few other items as well.
So, my out-of-pocket cost for redoing this bed is actually far less than $16.50.
Stuff like this just makes me all happy inside…yay for hand-me-downs, for high quality furniture, and for fabulous paint.
Lyndy
Thursday 20th of July 2017
I just came across this and your other post - how to paint furniture. I love the look and have an old bed frame and dresser that was mine as a little girl (literally decades ago) ;). My dad had refinished it then (stripped and re stained) but after years of abuse - getting handed around to other family members - and then stored in a basement for 10 yrs, it needs a lot of TLC. I believe the wood is maple and he stained it a light stain which is very yellowish in tone. We are updating my sons' room and decide to dust this off to give him a bigger bed plus it's solid wood. I am glad to have found your blog and hope you can help me with this question - but how do you finish both sides of the headboard? I know it's a silly question, but I'm pretty new to the diy of painting wood. I imagine you work one side and let fully dry then work the other. But, it sounds like you worked pretty fast on your projects. Also, what would be a good cleaner for lots of dirt and grime?
Kristen
Thursday 20th of July 2017
Yep, I do one side at a time!
I used TSP 20 to clean my greasy kitchen cabinets before painting them...but you might not need something quite so strong for a bed frame!
What about a spray cleaner, like Fantastik?
Tina
Saturday 17th of October 2015
What happens if I don't sand the bed down? Will it still work?
Kristen
Saturday 17th of October 2015
If you don't at least sand off the glossy finish that's currently on the furniture, your primer and paint will have a hard time sticking, and over time, it'll peel and chip off. If you want a durable finish, you've got to at LEAST sand off the hard gloss that's already on the piece.
Sanding to bare wood is quite optional, though.
Cindy
Thursday 7th of August 2014
The bed looks great. Good job!
Kristen
Thursday 7th of August 2014
Thank you! The piece you saw isn't quite done...that was just after one coat. It looks a lot less blotchy now. :)
Jennifer
Thursday 20th of June 2013
I love your blog and the whole "frugal girl" idea. Almost every piece of furniture in my house is something someone wanted to get rid of and I took for free or bought inexpensively. I love to repurpose! I have a specific question about painting furniture. I have a chest of drawers that belonged to my grandparents. It is all wood and has veneer on the drawer fronts. It is chipped in a couple of places on the drawer fronts. In your directions about painting wooden furniture you mention patching some chipping veneer. Can you please elaborate? I want the piece to look good when I am finished. Did you completely strip off the chipped veneer or patch it? The chest has about 6 - 7 drawers and only two of them are chipped - it seems like more work and a shame to peel the veneer from all drawer fronts. Please let me know what you have done with chipped veneer on pieces you have painted. Do I use wood filler and sand? Do I sand off the edges of the chip and paint over it? Your suggestions are appreciated. Thanks much!!
Kristen
Thursday 20th of June 2013
I've done both, actually, depending on how much is missing. If it's just a small bit, then I spackle over it, sand it, and the prime and paint as usual. If the damage is significant, then I've sometimes pulled off the whole piece of veneer on just the affected drawer.
You could also use wood filler instead of spackle if you like, although I think the wood filler is mainly important to choose if you'd be staining instead of painting.
(You'd need a whole different set of instructions if you were going to stain instead of paint. Painting is much simpler, in my opinion!)
Amy
Saturday 30th of July 2011
I LOVE all of your posts, they have totally inspired me to stop wishing for new furniture and paint what I have to make it look new! Here's what I'm wondering...I've only really seen people painting old furniture black or white. Is it possible to paint it brown (like an expresso shade) and make it look as good?
Kristen
Saturday 30th of July 2011
Yes, as long as you use the paint I specify in my How to Paint Wooden Furniture post (Painter's Touch in the can), it will turn out like my furniture. :) Don't be tempted to try another kind of paint because I can't guarantee the results!