

Why should you bother making yogurt at home?
Well, homemade yogurt is ridiculously good, ridiculously cheap, and not very complicated to make.
Basically, you:
- heat up milk
- cool it down
- add a cup of prepared yogurt
- pour it into jars
- let the jars sit in a cooler with warm water for several hours.
It’s not at all fancy. 😉
The first time I made yogurt, I thought it was a total pain-in-the-rear and I was SO never doing it again.
But, after I did it a few times, I realized that it didn’t really take that much hands-on time, and that I could get some kitchen tasks done easily while I waited for the jars to boil and for the milk to heat up.
And of course during the three hours that the yogurt sits in the cooler, I’m free to do whatever I want to do as the yogurt requires no supervision.
If you still need convincing, you can read about why I bother with this process each week.

When I can get local milk, that’s what I make my yogurt with, but when that’s not available, I use commercial whole milk.
Unless you’ve got a specific reason for avoiding milkfat, I would caution against using lower fat milk products to make yogurt. Whole milk will make your yogurt much thicker and creamier than low-fat or fat-free milk will.
You can feel free to make a smaller quantity of yogurt if you worry you won’t be able to use 4 quarts. Just use a half gallon of milk and two quart jars. The yogurt keeps for a month, though, so if you can use a quart a week, just make the whole gallon and you’re set for a month!
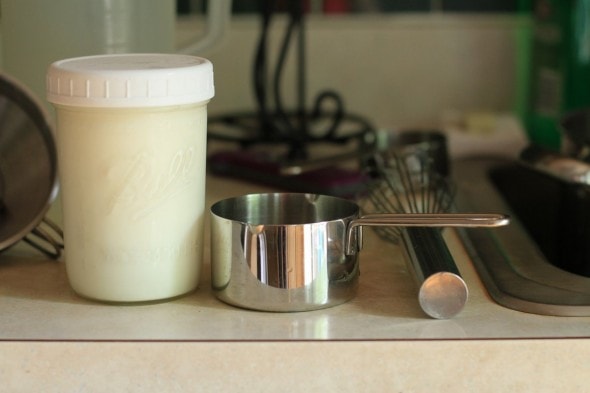
The recipe requires no special machines…you probably have most, if not all of these items in your kitchen already.
Here’s the equipment that I use (plus a un-pictured cooler).

The recipe I have suggests sterilizing the jars. I’ll include the directions for that, but I have to tell you that I’ve tried the recipe with and without sterilizing, and I haven’t noticed a difference.
If you don’t have a dishwasher, this step might be more essential, but if you run your jars through a dishwasher, they should be sufficiently sterilized already.
To sterilize the jars, you just boil them in about an inch of water, along with the bands and lids for 10 minutes.

Next, you need to heat the milk to 185-195 ° F. A heavy bottomed pot works best for this because your milk will be less prone to burning and sticking to the pot bottom while heating.
Edit, June 2014: I now own an All-Clad 8 quart stockpot![]() and it is the BOMB for heating milk. For some reason, I have zero trouble with milk sticking to the bottom of the pot. Highly, highly recommended!
and it is the BOMB for heating milk. For some reason, I have zero trouble with milk sticking to the bottom of the pot. Highly, highly recommended!
If you own two stockpots, you can just leave the jars and lids in the first pot and use a second pot to heat the milk.

Once the milk reaches 185-195 degrees, take it off the heat and place it in a sink filled with cool water until the temperature drops to 120 degrees.
A hot cast-iron stockpot can break if you put it into a sink full of cold water, so at this point I pour the milk into the pot I used to sterilize the jars.

Once the milk drops to 120 °F, it’s time to add the starter.
The starter is just previously cultured yogurt, which will spread the yogurt cultures all through your gallon of milk, turning it into yogurt.
If this is your first time making yogurt, you’ll want to use 6-8 ounces of plain (or vanilla) yogurt.
If you’ve already got jars of homemade yogurt in the fridge, though, you can use a cup of that as your starter.
For a purchased starter, I can heartily recommend Yoplait, Dannon, or Stonyfield Farm. Other brands or store-brands might be iffy, though.
I used an off-brand cup as a starter once and my yogurt didn’t turn out at all.
Better to be safe than sorry, I say, so pony up the extra $.25 and buy a name-brand cup. 😉
(NOTE: A number of readers have reported failed batches using Greek yogurt. Also, a Greek yogurt starter will not give you Greek yogurt, since Greek yogurt is made by draining whey from regular yogurt.)
Once your yogurt turns out nicely, you should hardly ever have to buy a starter again.

The original recipe I have specifies that you should not open your starter until you’re ready to use it. I don’t know how necessary this precaution is, but I haven’t been brave enough to try using an opened quart of yogurt as my starter. I’ll let you know if I try, though!
At any rate, you’ll need to whisk the cup of starter into the 120 degree milk. Make sure it’s entirely mixed up so that the yogurt culture is spread throughout the whole gallon.
Once it’s mixed up, pour the milk into your quart jars. I’m no good at pouring from a pot, so I pour the milk into a clean pitcher and then pour it into the jars, using a funnel.
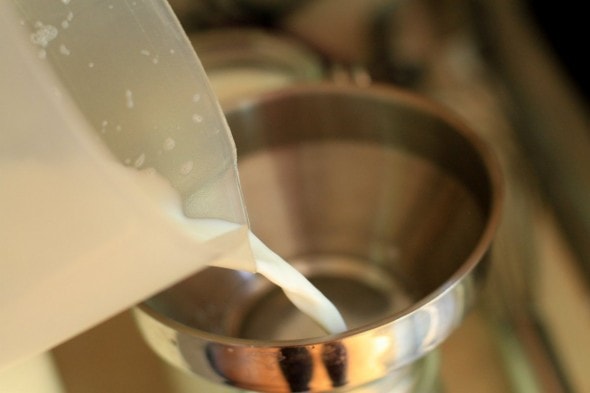
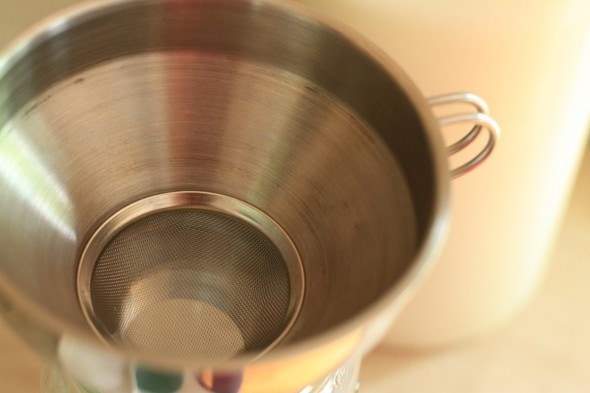
I own this fabulous Kuchenprofi stainless steel funnel![]() . The removable strainer is great because it can catch any bits of milk that formed a skin during the heating process, but if you don’t own a funnel like this, you can put a small strainer over top of your funnel.
. The removable strainer is great because it can catch any bits of milk that formed a skin during the heating process, but if you don’t own a funnel like this, you can put a small strainer over top of your funnel.
The milk will probably have some bubbles on top, which you can leave if you like.
They won’t affect your yogurt one way or the other, but if you prefer a neater surface, you can skim them off.
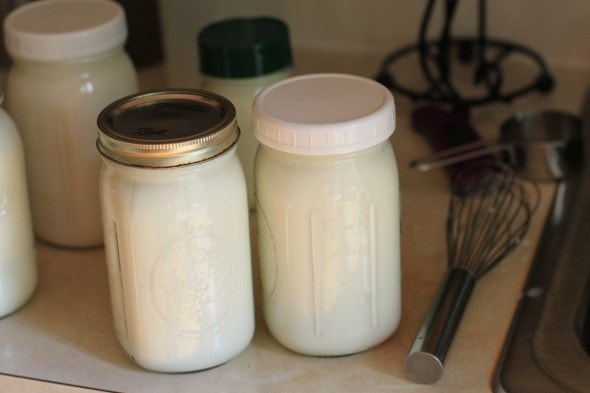
Top each jar with a lid.
You can either use lids and a band, or for $5, you can get a set of Ball Wide-Mouth Plastic Storage Caps![]() , which I just love. They are so very convenient.
, which I just love. They are so very convenient.
For regular-mouth jars, you can use the lids from grated Parmesan containers (you can see one in the background of this photo.)
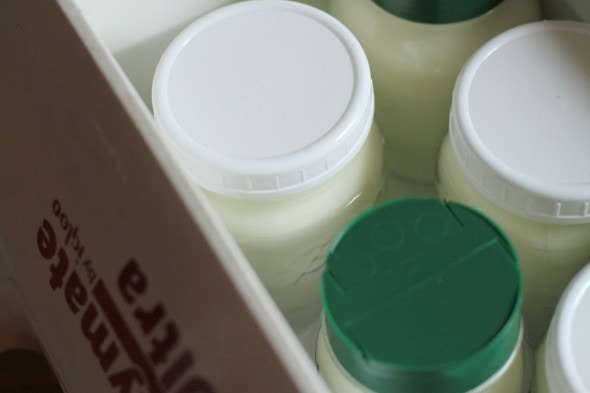
Place the jars into a cooler, and fill with a gallon of 120 ° water. You want the water to come at least 3/4 of the way up the jars, or the yogurt will not stay warm enough to incubate.
So, if you’ve got a really large cooler, you may need more than a gallon of hot water.
Shut the cooler lid and leave it in a draft-free place (not outside, for example, and not right by your front door in the wintertime) for three hours.
After three hours, remove the jars to the fridge. The yogurt should be fairly firm at this point. It will firm up more in the fridge, though, so don’t panic if it’s still a little sloshy.
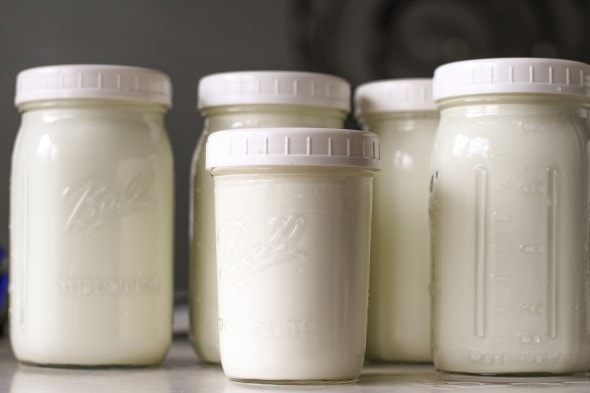
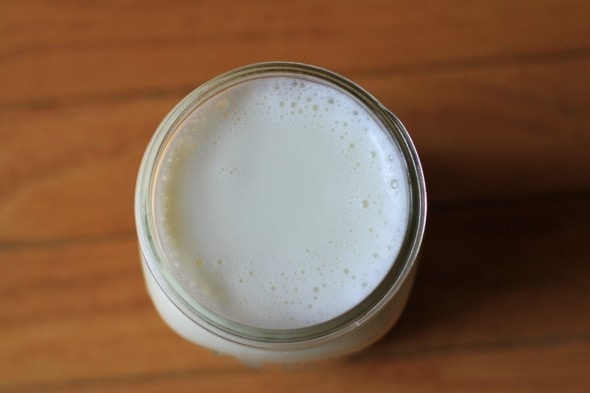
Once it’s been refrigerated, your yogurt should be about this thick.

And when spooned into a bowl, it’ll look like this, as long as you’ve made it with whole milk. Yogurt made with lower fat milk will not be as firm.

Homemade Yogurt
Printable Homemade Yogurt Recipe
(makes 4 quarts, which will keep for at least a month in the fridge)
For vanilla yogurt directions, see the bottom of the recipe.
Ingredients
1 gallon of milk
1 cup yogurt starter(you can use a small cup of plain Dannon or Yoplait yogurt, or you can use a cup from your previous batch.)
1. Place four quart glass canning jars, four lids, and four screw-tops in a large pot. Fill with an inch of water; cover with lid and heat to boiling. Boil for ten minutes. Leave the lid on the pot and move it off the heat until you are ready to use the jars.
2. Pour one gallon of milk into a large, heavy bottomed stockpot or Dutch oven. Heat the milk to 185-190 degrees Farenheit(90-90 Celcius).
3. Place the pot in a sink filled with cold water and let the milk cool to 120 degrees fahrenheit(50-55 degrees celsius)
4. Stir one cup of yogurt starter into the cooled milk, using a whisk. Stir well to ensure that the starter is thoroughly incorporated into the milk.
5. Pour the milk into jars, and put the lids and bands on. Place them into a cooler.
6. Heat one gallon of water to 120 degrees F(50-55 degrees C) and pour into cooler.
7. Shut cooler lid and leave in a warm place for three hours. When the three hours are up, place the yogurt in the refrigerator.
To make a delicious vanilla version of this yogurt, add 1/2 to 1 cup of sugar to the four quarts of milk when it’s cooling in the sink. Then stir in 1-2 tablespoons of vanilla, depending on your preference, and proceed as usual with the recipe.
_______________________________________
Here are more of my yogurt-related posts:
Why I Make My Own Yogurt
Cost Comparison of Yoplait and Homemade Yogurt
Yogurt Q&A
Did you have a yogurt failure? Here’s a whole list of things that could have gone wrong and what you can do to fix them.
Bob
Sunday 7th of April 2024
I don’t normally partake of whole mil (People around me need to breath) so making this last (third) batch, I broke down and bought lactose free milk for my yogurt. Worked fine. I am wondering how almond milk would work. Almond milk is what I normally drink and cook with.
Speaking of which, I have almond milk and a fudge round here somewhere…
Bob
Sunday 7th of April 2024
Good evening. I made my third batch of yogurt this past Monday. The first turned out perfect. The second, not so much. The third was a repeat of the first. Fantastic. I just finished the first jar of the third batch. After it sat in the refrigerator a couple of days I added sugar and flavoring and let it sit overnight in the fridge. Absolutely wonderful.
My question is, to 16 oz’s of yogurt, how much sugar would you recommend and how much concentrated flavoring would you suggest. Also, I want to add bananas to the mix, suggestions?
Thank you in advance for your help.
Bob
Kristen
Sunday 7th of April 2024
If you want sweeter yogurt, I suggest adding a cup of sugar to the pot of milk when you add the starter, along with a tablespoon or two of vanilla.
I like to add fruit right before I eat my yogurt; nice and simple, and no worries of the fruit going bad.
Bob
Tuesday 12th of March 2024
Making my first batch as I am posting. ?When should I add flavoring? I assume I should add flavoring with starter. Pls advise. Thx in advance.
Kristen
Wednesday 13th of March 2024
I always just make my yogurt vanilla, and then I mix things in when I'm ready to eat (like fruit, nuts, granola, chia seeds, etc.)
Marie
Tuesday 9th of January 2024
Does the Bulgarian yogurt work for a yogurt starter?
Kristen
Thursday 11th of January 2024
I have no idea; I have no experience with Bulgarian yogurt. If you try it, let us know!
June
Wednesday 13th of December 2023
Hello. I tried making a 1 gallon batch yesterday. I don't see anything in the instructions about using fresh raw milk or how old the milk can be, so I used raw milk that was 2 weeks old. Well, that did not work at all. Also, I did not see anything in the instructions on whether we are suppose to stir the milk while its getting up to temperature or to just let it sit. The more I stirred it, the bigger the clumps got. Looked like I was making mozzarella cheese. I just kept on with the process because I did not know what to expect. I also did use an open container of yogurt as my starter. Plus I don't think the temp of water in my cooler stayed at 120° and my quart jars were not hot. I am pretty sure I did every thing wrong that I possibly could. Please respond. I would like to try again.
Kristen
Wednesday 13th of December 2023
Hmm, that's interesting that it was clumping up as you heated it! You were just heating the raw milk, with nothing added? I'm trying to imagine what made it clump, since you hadn't added any starter to it.
I would try with a fresher batch of milk; I've used raw milk from a friend and it worked just fine. I'm guessing the problem was your old milk.